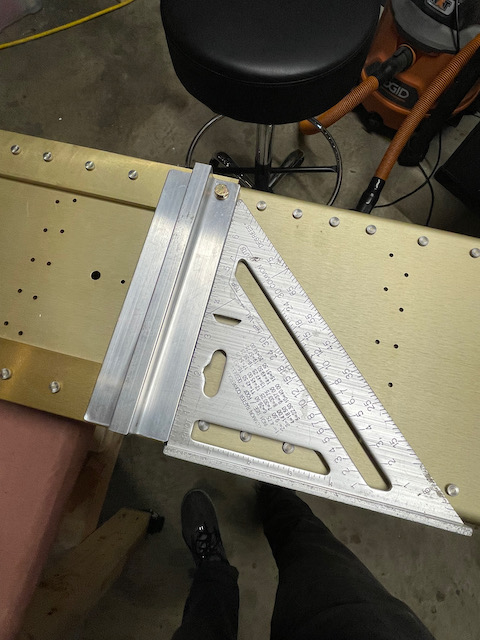
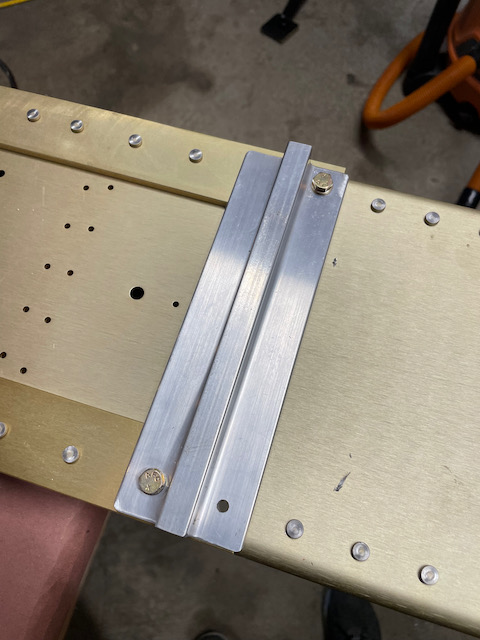
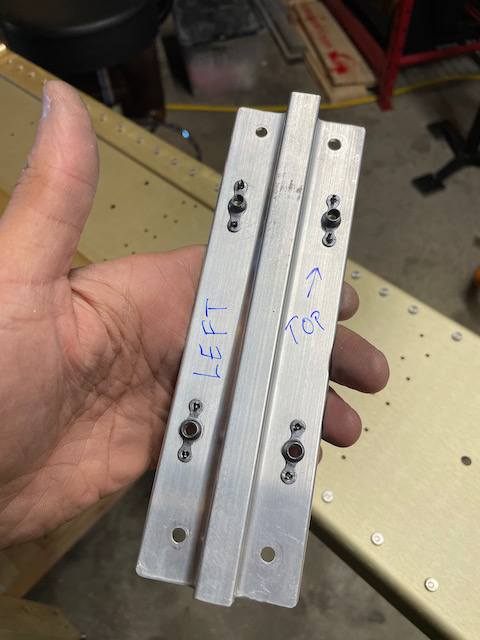
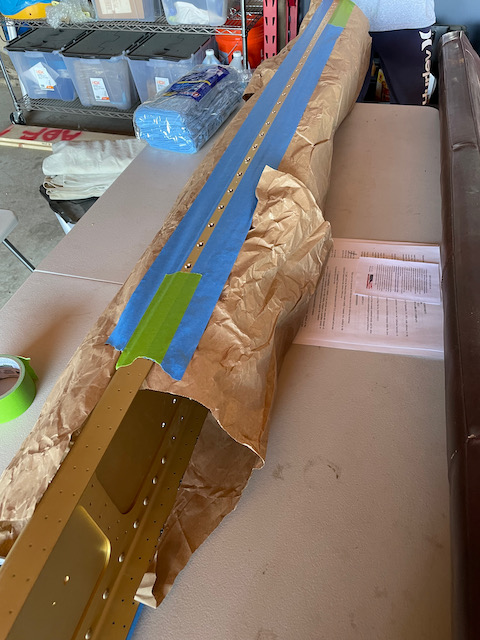
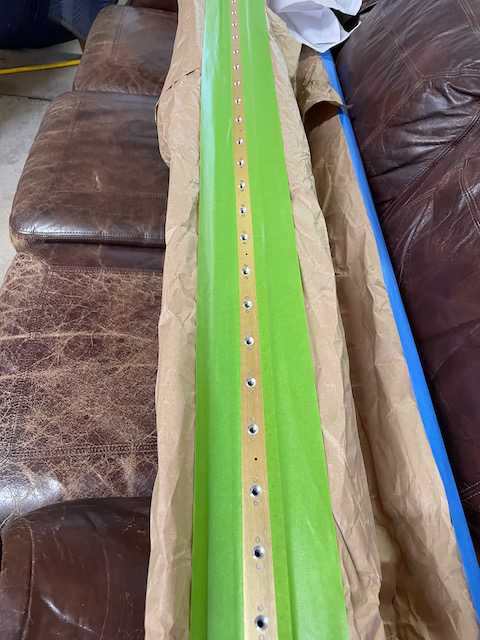
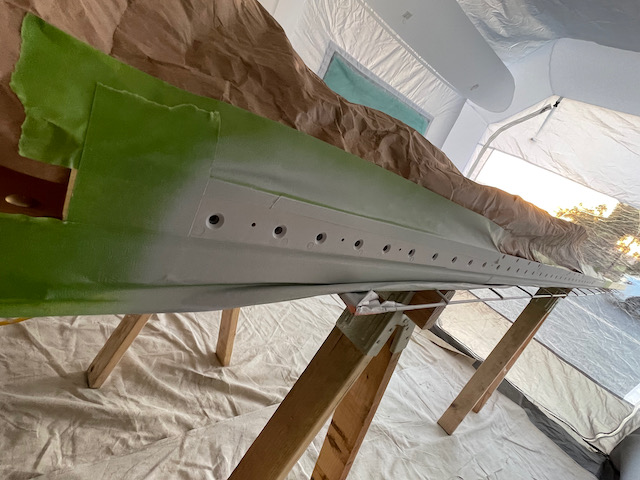
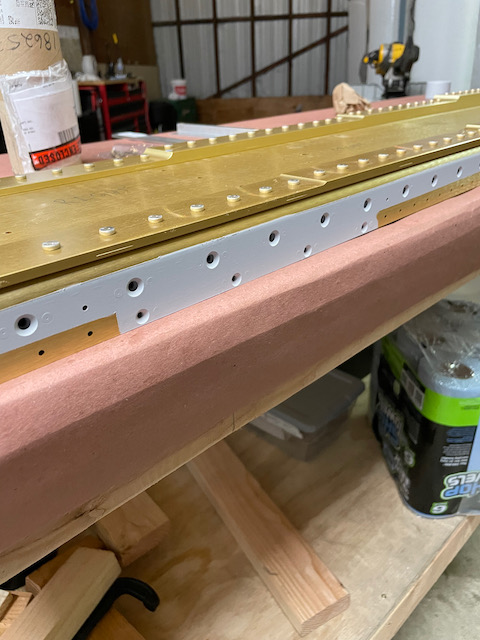
First actual priming day today! It was a big hurdle to learn about priming on Wednesday, and an even bigger accomplishment to start priming actual parts today. The day went smooth (although quite long), and it started with getting the tie-down bar that was remaining drilled out and ready for priming. From my learnings of the previous attempt I wanted to make sure the tie-down bar was nicely square to the spar. By tightening down the location hole, clamping a different way, and selecting a different hole to drill for the first hole, I set myself up for a better chance of getting it square.
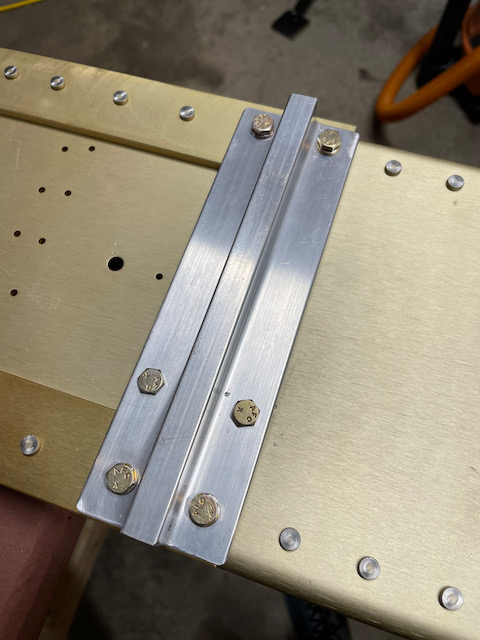
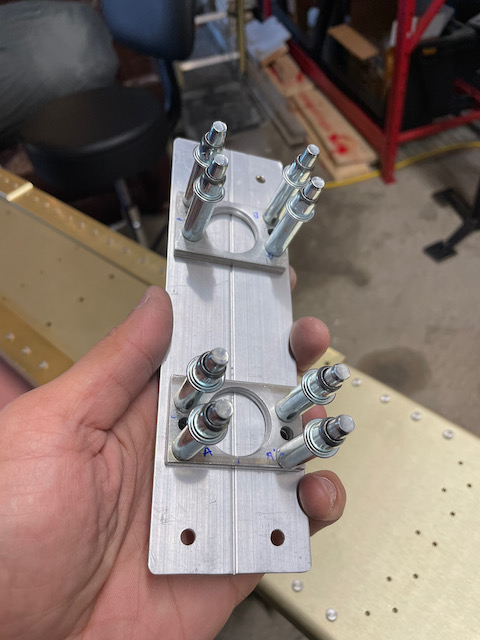
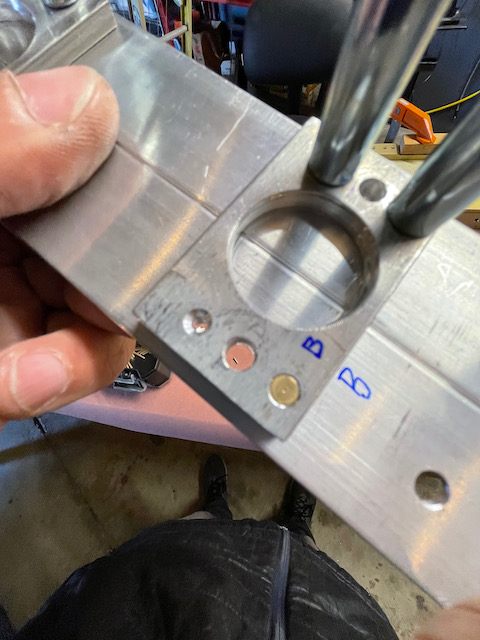
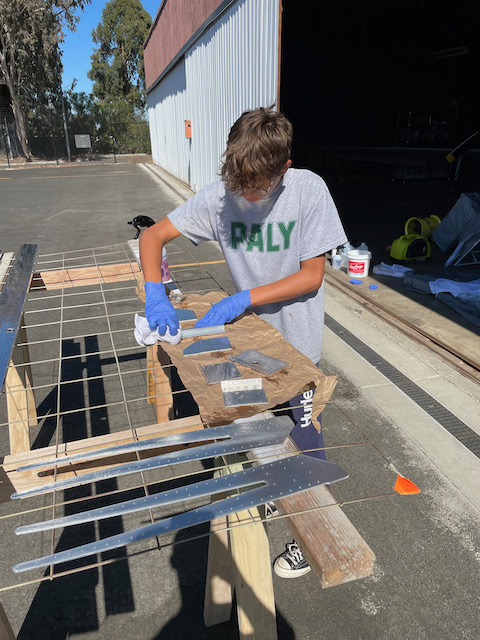
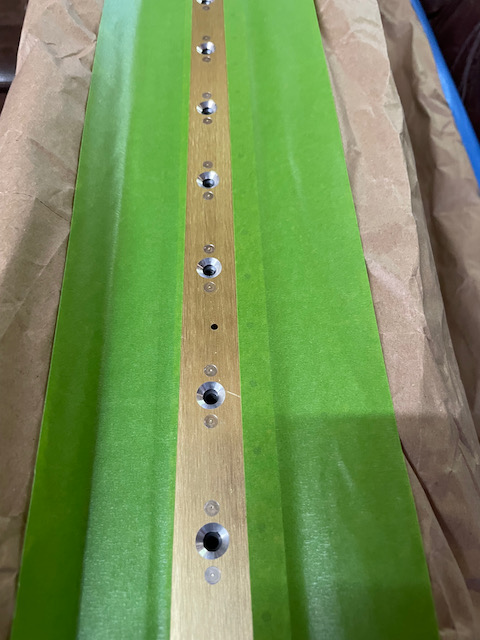
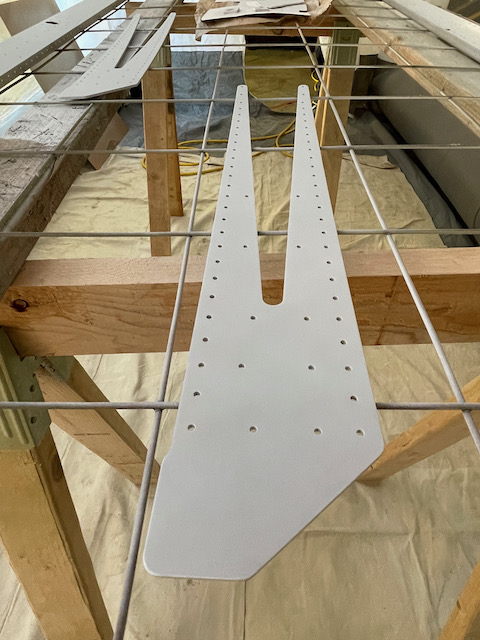
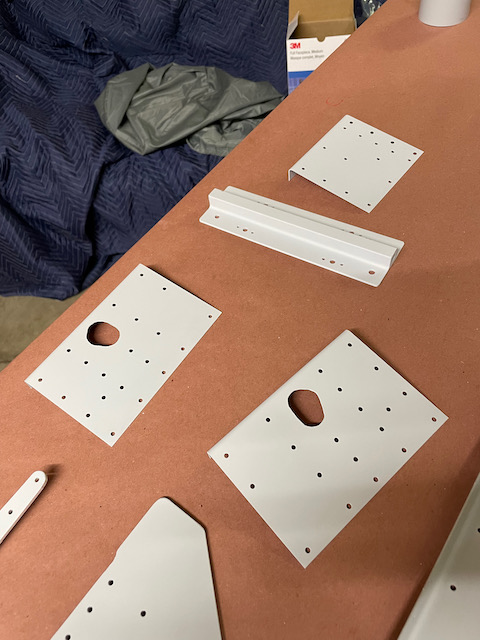
With the tie-down disassembled and deburred, I had all the parts I was going to have for the priming session. Back home to get Jack, and then we will start the priming preparation.
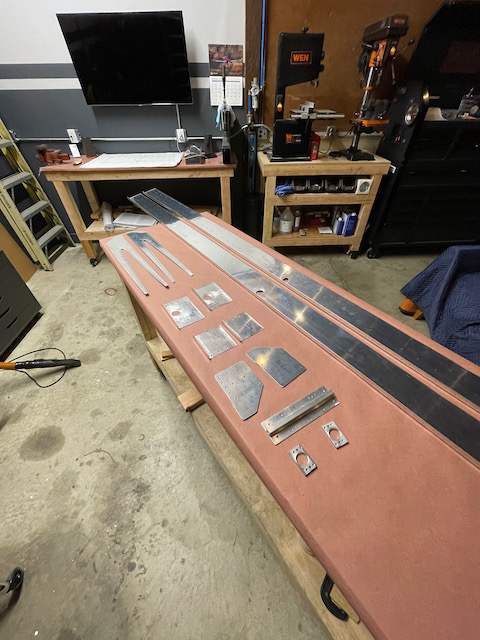
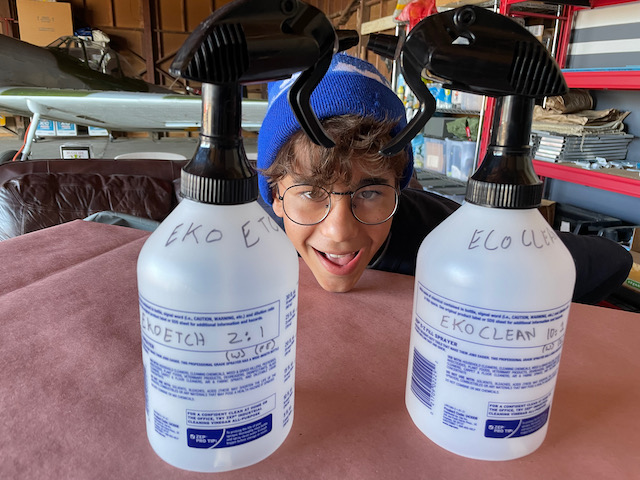
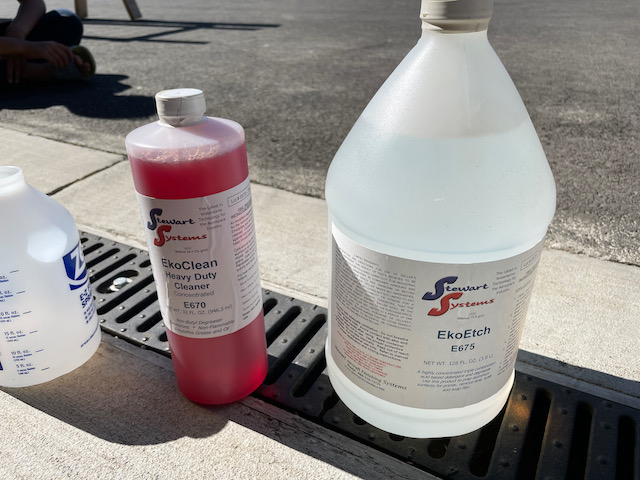
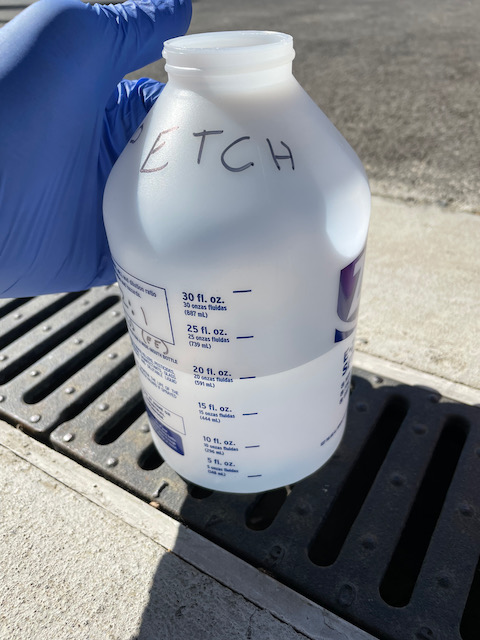
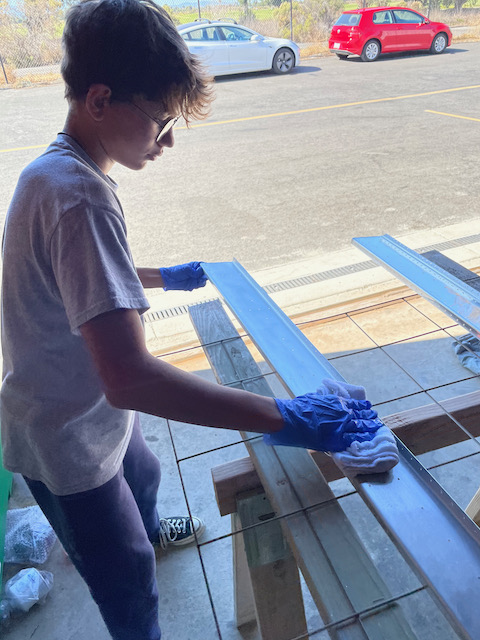
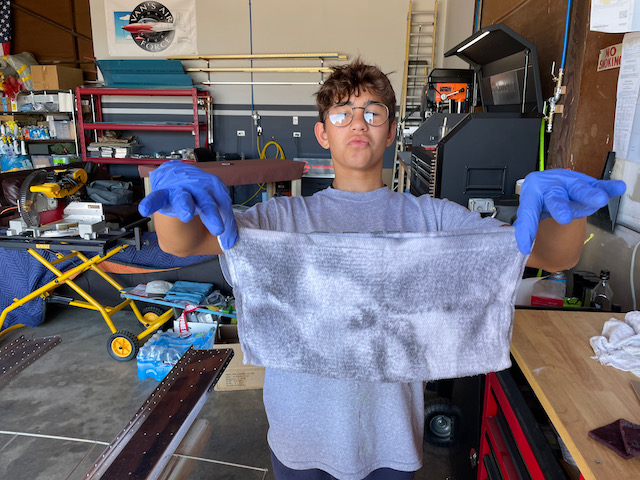
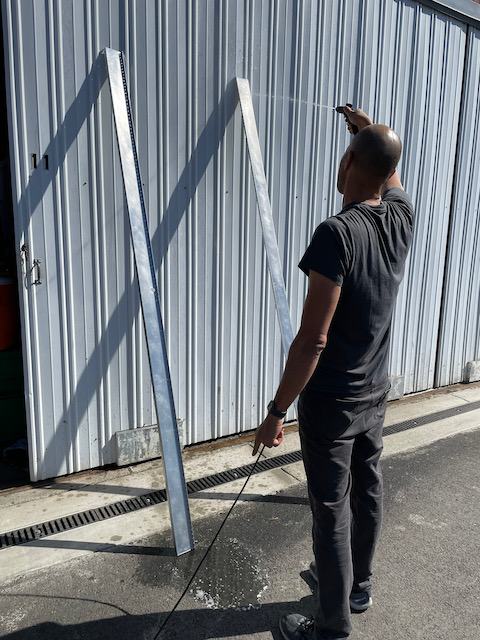
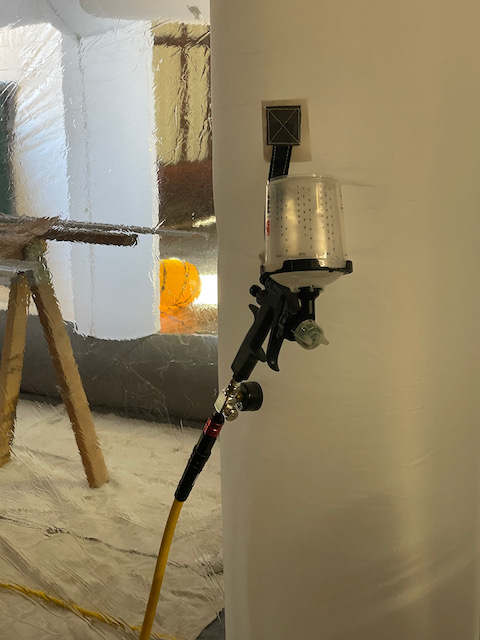
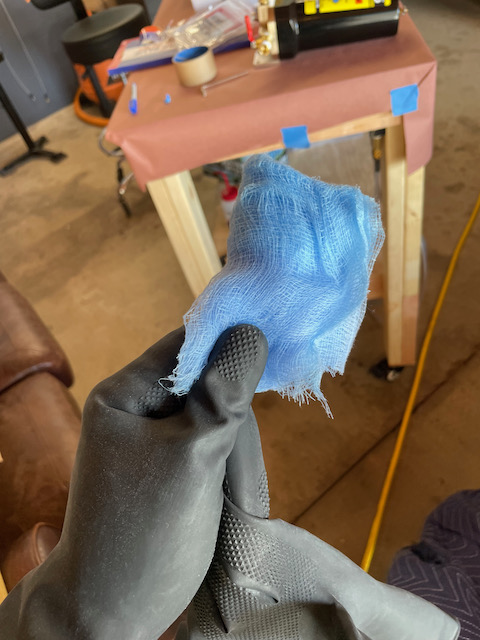
I have chosen to use Stewart Systems painting system for my priming. For internal parts that aren’t expected to interact with humans or chemicals (ex., inside the wing), I will be using the one part water based primer “EkoPrime”. For other more challenging areas (ex., inside the cockpit), I will use the two part “EkoPoxy” as it is much more resilient. Since these parts are inside the wing, I was able to use the one part system. Prep is still important and consists of two steps. First is cleaning the aluminum to get off any extra oils or contaminants. For this, Stewart Systems has something called “EkoClean”. After cleaning this off, the aluminum must be etched. With “EkoEtch”, I get mechanical etching (through the use of the scotchbright pads), and chemical etching through the mixture itself. The process requires a “pressure wash” of the parts after a short period of exposure to the chemical (approximately 3 minutes). To do this at the hangar (where there is no water), I brought a portable pressure washer, and some extra buckets of water.
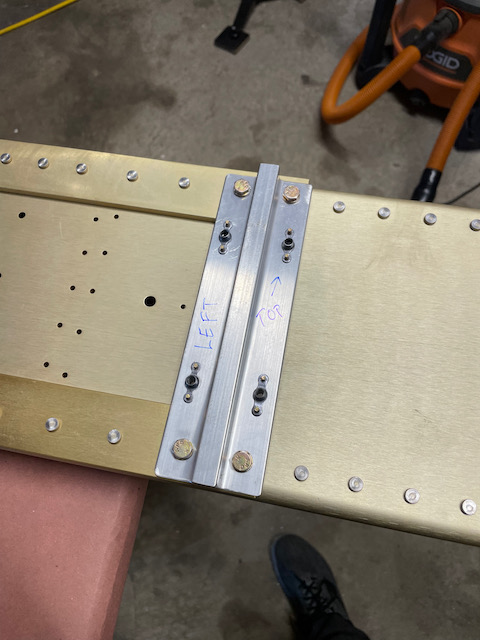
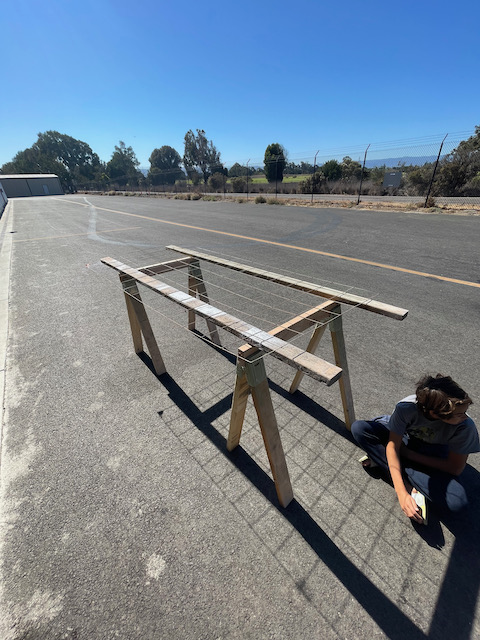
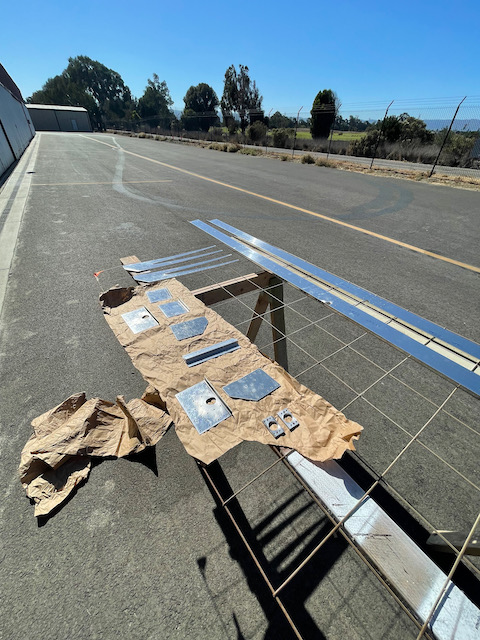
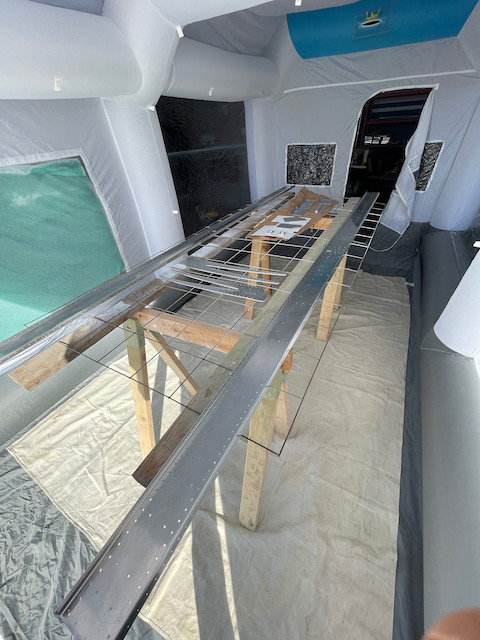
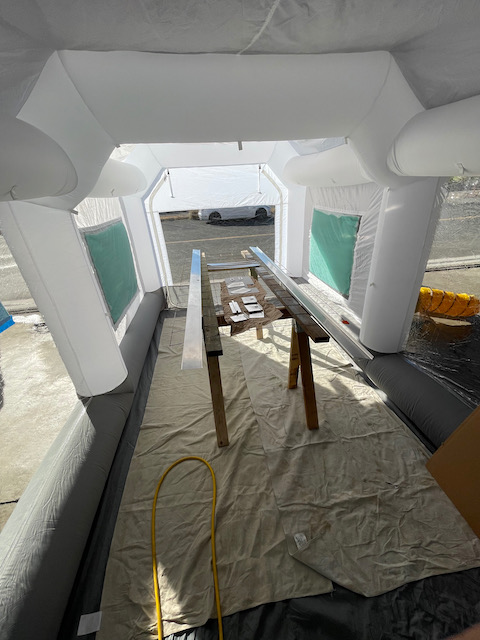
After everything was cleaned and etched and pressure washed, we setup the paint booth and moved all the parts inside. I also masked off the main spars to spot prime the countersinks. After testing the gun I was ready to go!
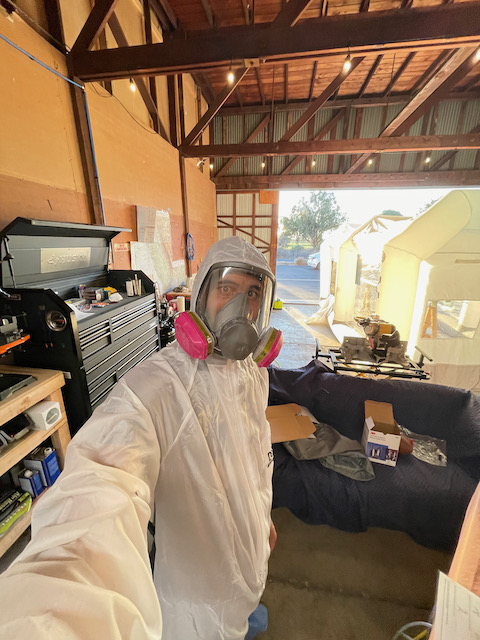
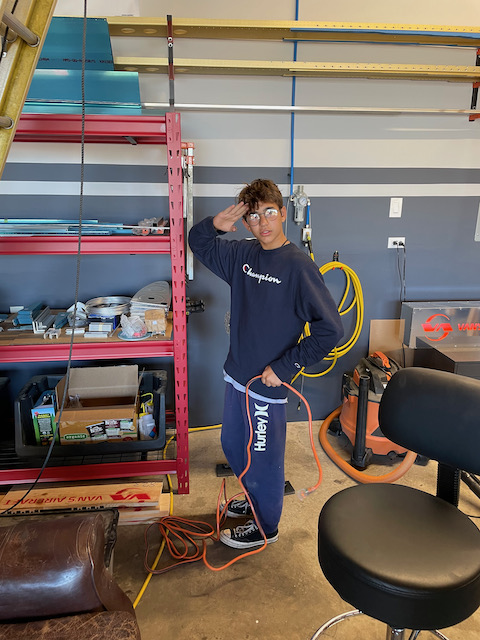
During the spraying, I obviously couldn’t take pictures (Giacomo had left for his homecoming dance!), but here’s one of me dawning the bunny suit and respirator.
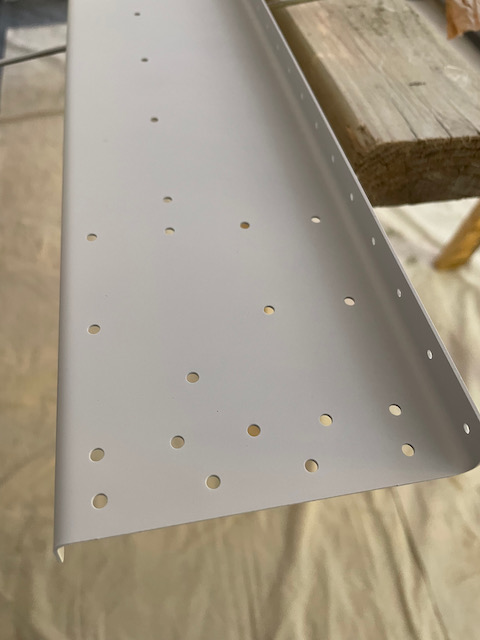
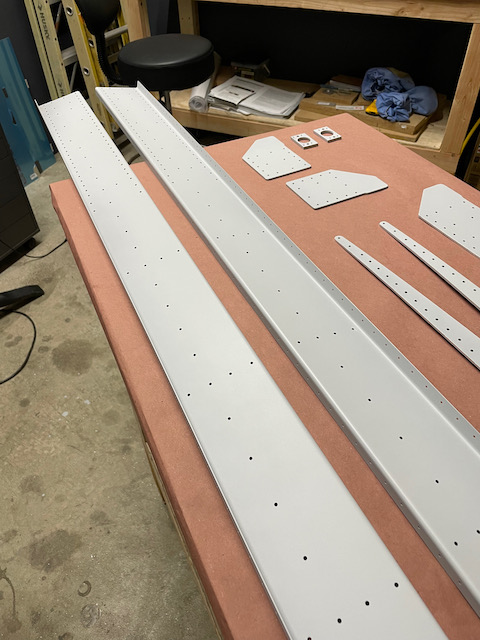
After a few hours of priming, drying, flipping, and priming again, the end results were pretty good. There was a few issues such as parts getting stuck to the paper, and leaving debris when pulling it off, but I was able to make the necessary fixes. I also learned that the paint gun doesn’t feather much, so I learned to pull the trigger all the way, and adjust the coat based on distance and speed of the stroke. Overall a great result for a first try at this.
Tommorow the priming should be cured, and I can start to rivet together the rear spar. Exciting!
1 comment
Nice work. It has started. ….. dancing is on …. 😂