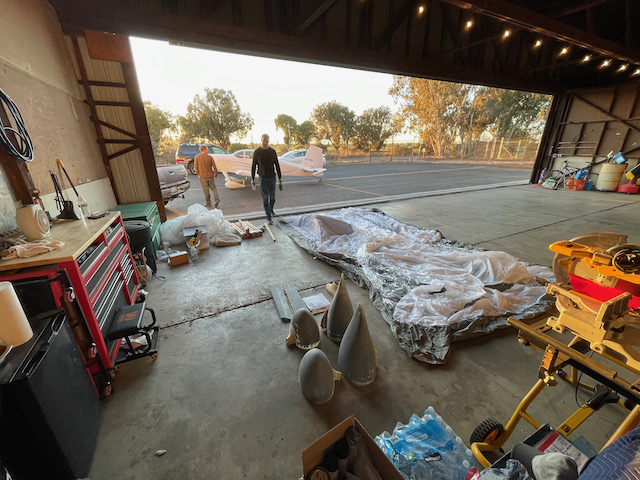
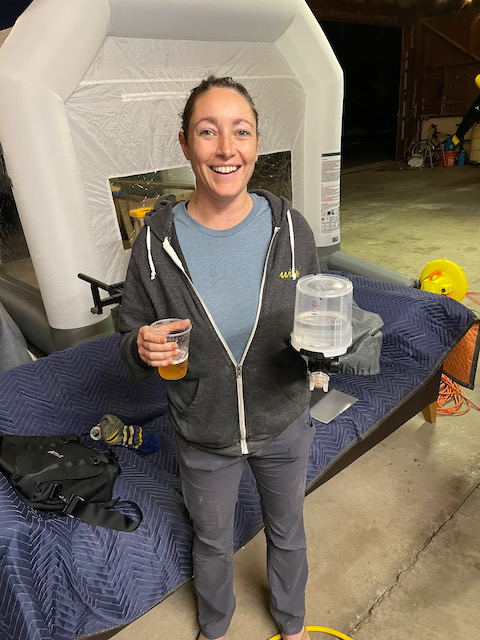
So I realized in hindsight that I have been avoiding priming for quite some time because I really had no clue what I was doing. I had bought all this fancy equipment, but was nervous to start. Well, in talking with Paul and Kacy, the owners of the RV-7 a few hangars down, we decided we could use their need to prime some wheel fairing parts as an opportunity for me to learn how to do all this stuff. Serendipitously, an old colleague of mine Finn and I were planning on hanging out, so he joined! Paul and Kacy just got married over the weekend, and so some parents were in town and they joined in too! It became one heck of a crew. Wednesday night we finally made it happen and had a thoroughly enjoyable evening of community, hangar flying, learning, and priming.
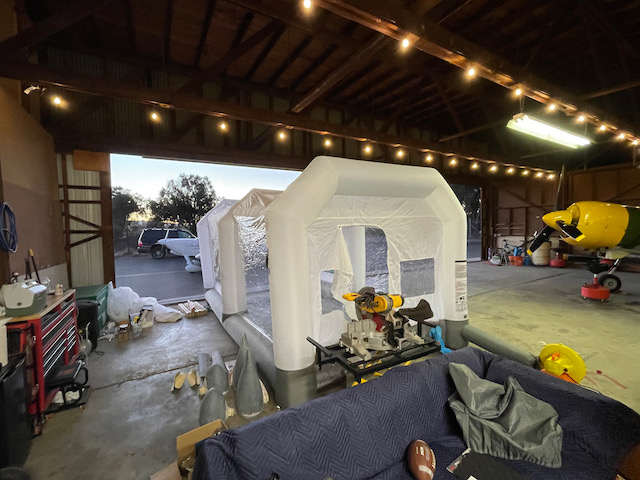
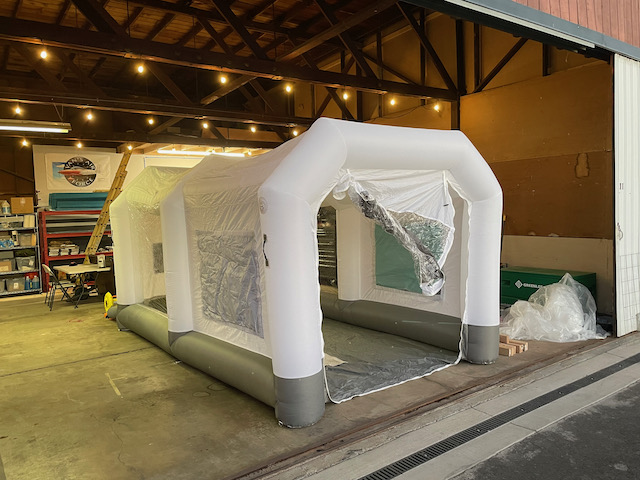
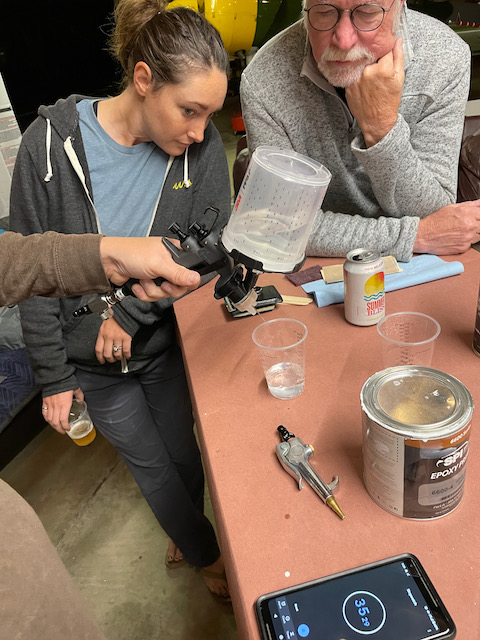
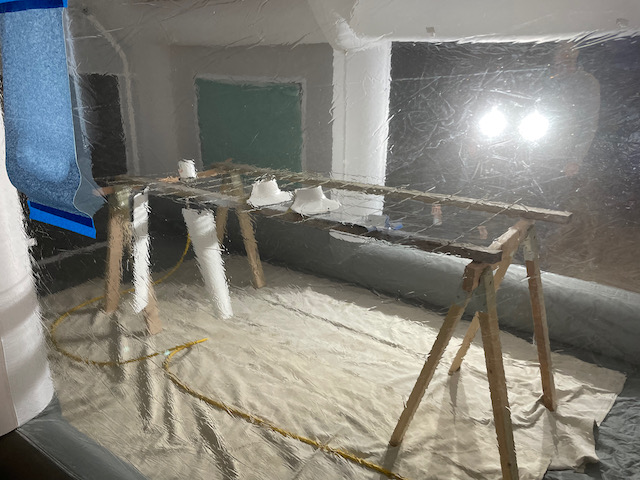
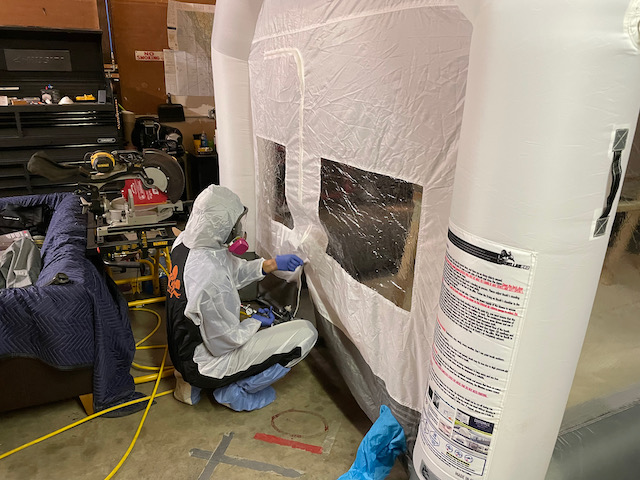
We started with setting up the booth and paint gun for Paul’s wheel fairings.
Paul then proceeded to show me how it was done, painting the wheel fairings. He brought a bunch of items I didn’t know we needed such as drop clothes, saw horses, grates to rest pieces, etc. We also tested the pressure of the gun, and it looks like my 30 gal husky should work for what we need to do. It was able to maintain the required pressure for over 20 seconds before the compressor kicked in and then the compressor was able to barely keep up. With normal spraying session lengths, it should be more than adequate.
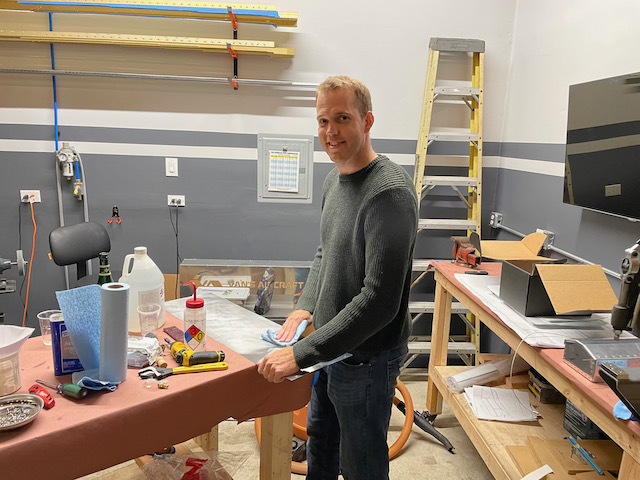
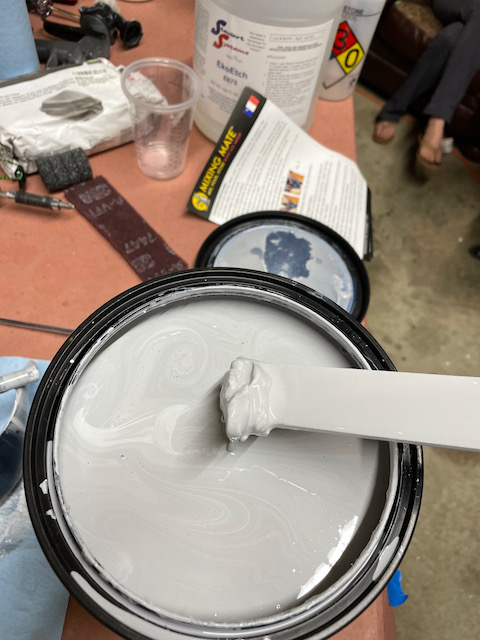
Now that I vaguely knew what I was doing, I pulled out my Stewart Systems EcoPrime to do a practice piece (the back panel of my light box). Finn was scotchbrighting the surface we were going to prime, while I was putting on a auger lid when I noticed I could not put it all the way on. It turns out there was a ton of sludge at the bottom that I needed to mix back in. It was pretty thick, so took a good while to get it all mixed in.
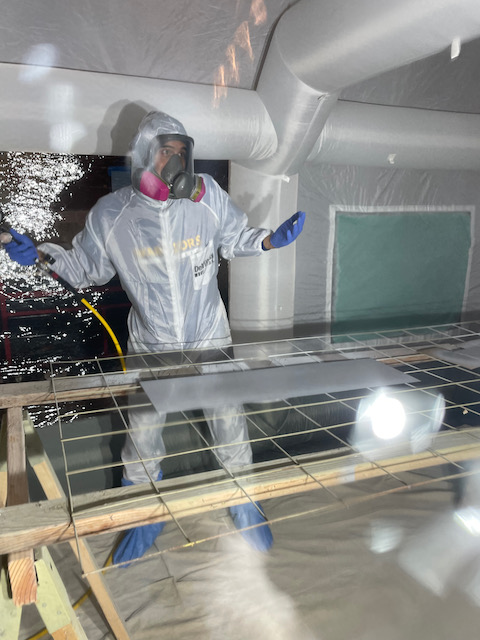
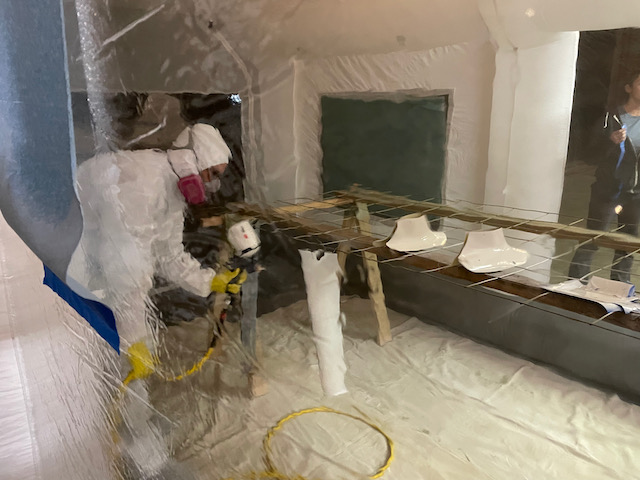
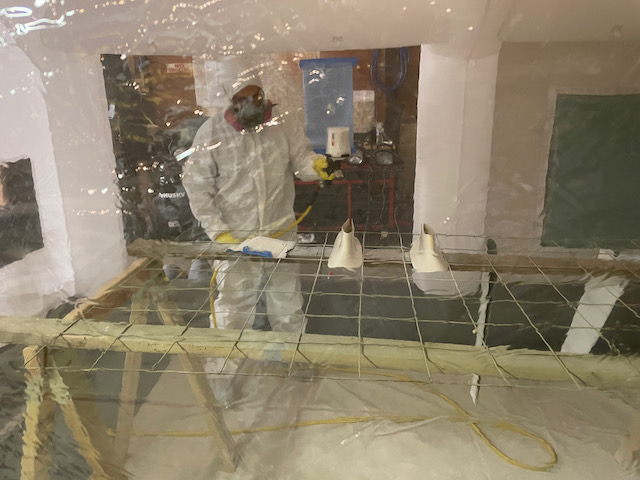
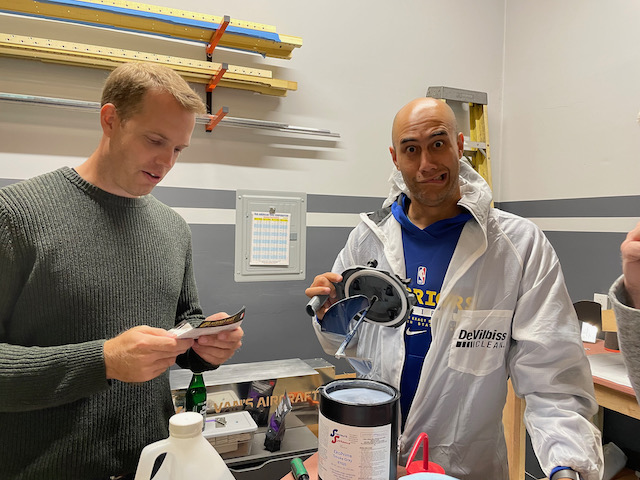
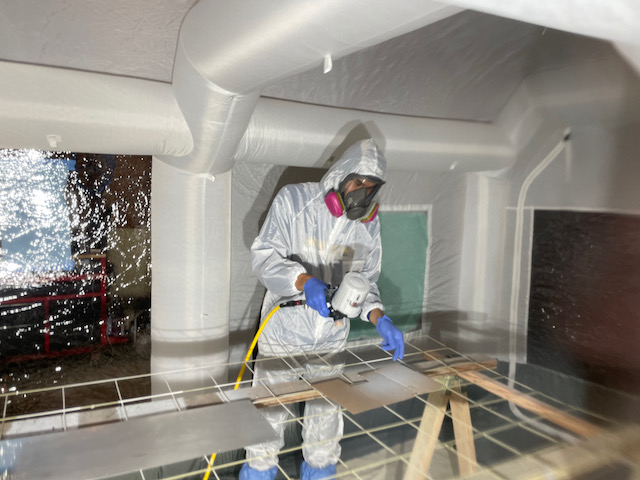
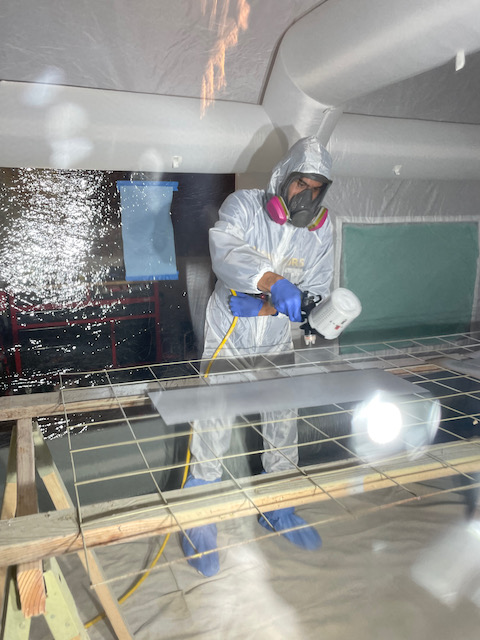
After mixing in all the sludge, I donned my freshly minted bunny suit, and respirator and jumped in the booth for a painting session. After practicing on a piece of cardboard, I went at it with the back plate. I was having a hard time seeing if paint was getting applied (the priming color is similar to the aluminum).
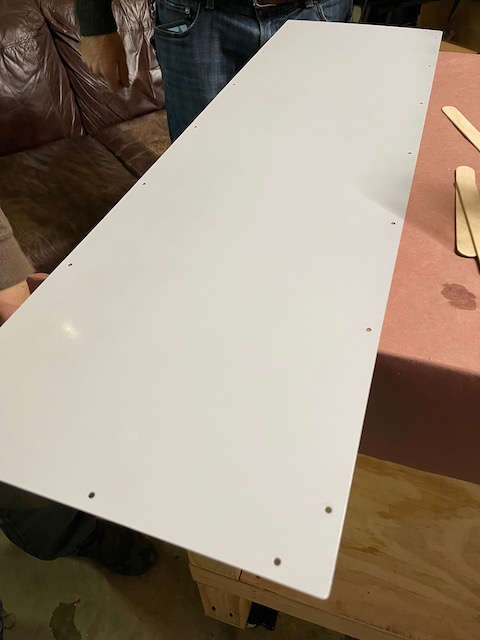
The piece turned out pretty well, and when installed, it gave the lightbox a much softer shine through. I was hoping to get to the real priming job next, but after reading the etching directions, I needed the ability to rinse of the pieces after etching. I didn’t have all the right tools, so I decided to call it a night. With lots of learning that evening, I was more comfortable that I could run a primimng session on my own. Maybe I’ll go for it this Saturday!

1 comment
Wowww… What a learning experience. Good work