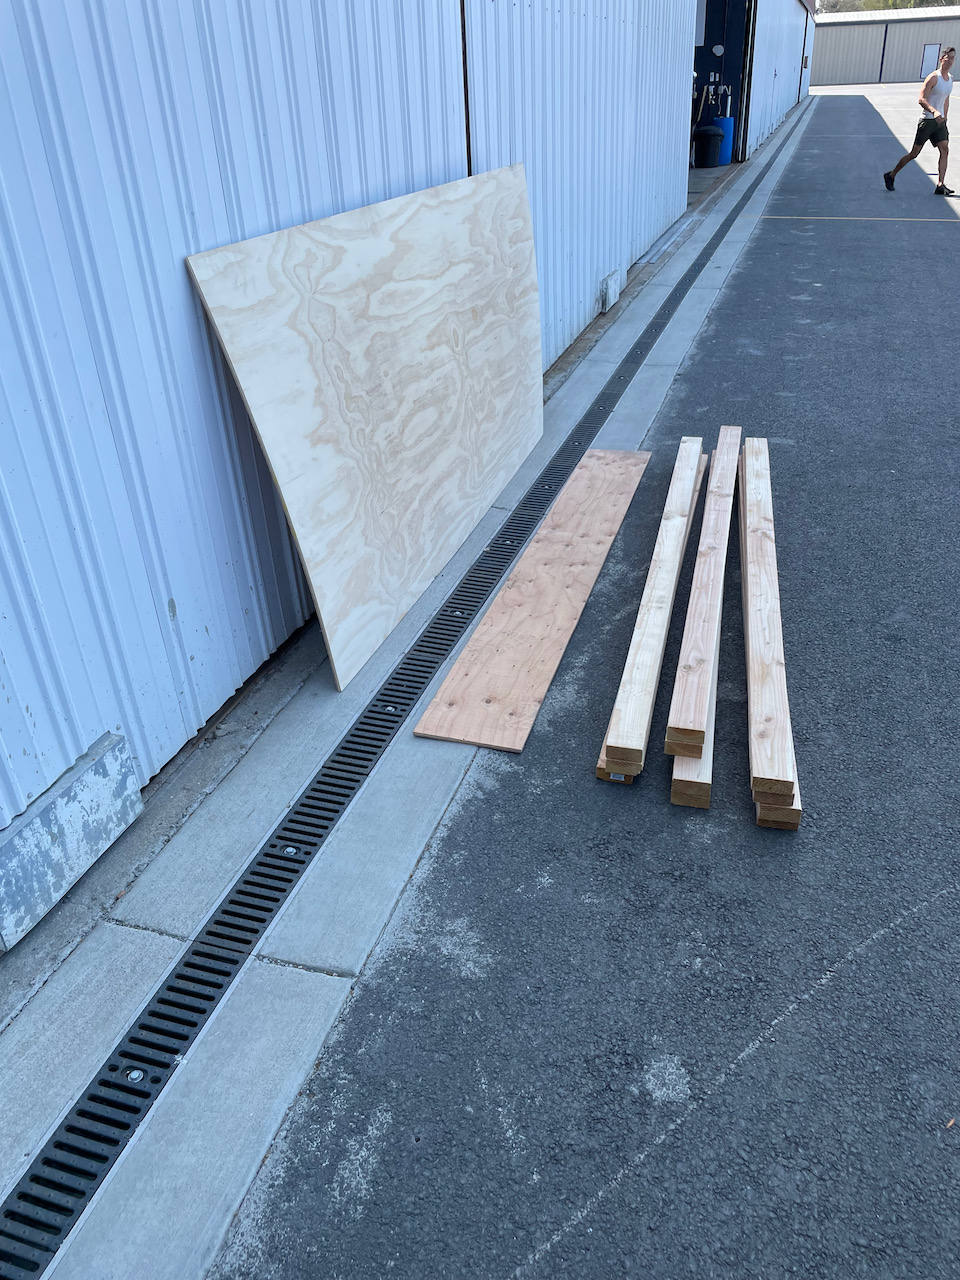
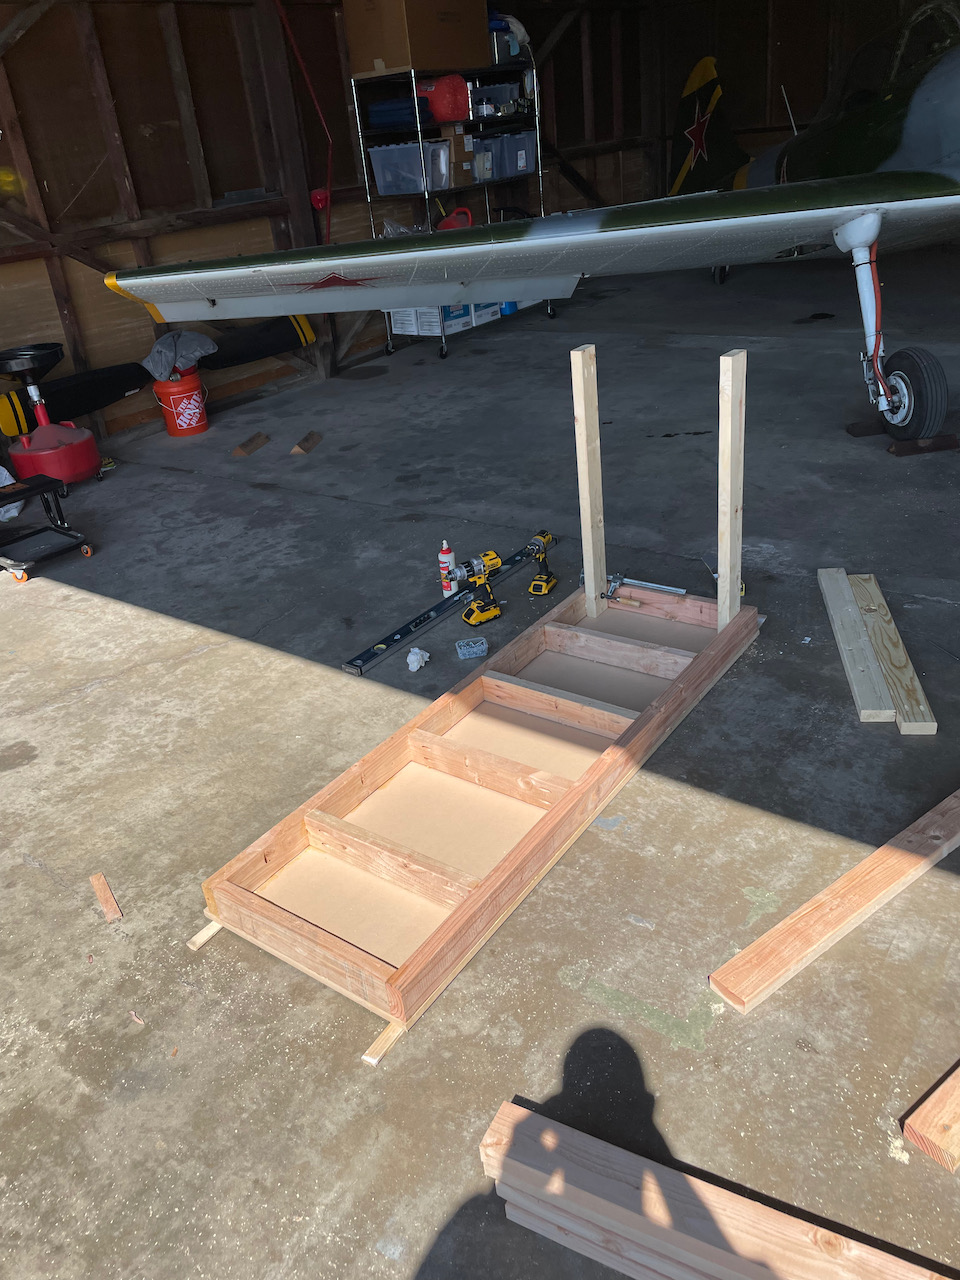
It was a long day..but in the end I finished one official EAA work bench. I started this morning calculating everything needed for the build. I had some left over wood from previous projects so I couldn’t just use the cut sheet on the plans pdf (linked above). I also adjusted the length of my work table to be 6′ instead of 5′, and was planning on increasing the height of the table to ~40″ (including casters. After a bit of inventory calculations, I ran down to Home depot to get all the material. 3/4″ MDF is quite heavy!
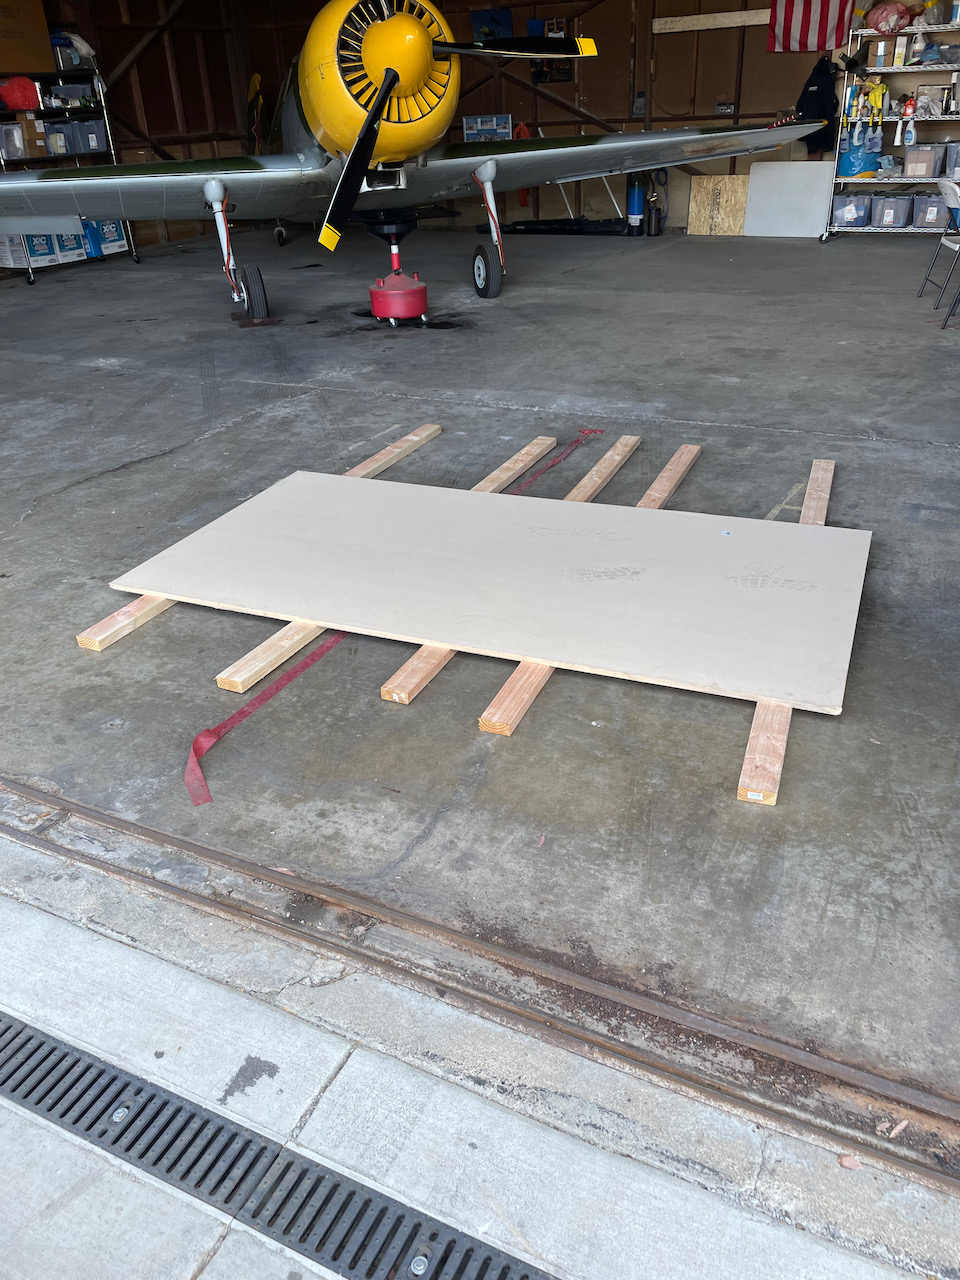
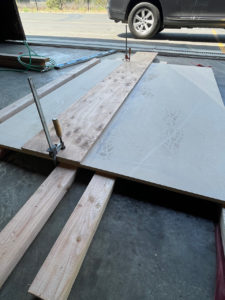
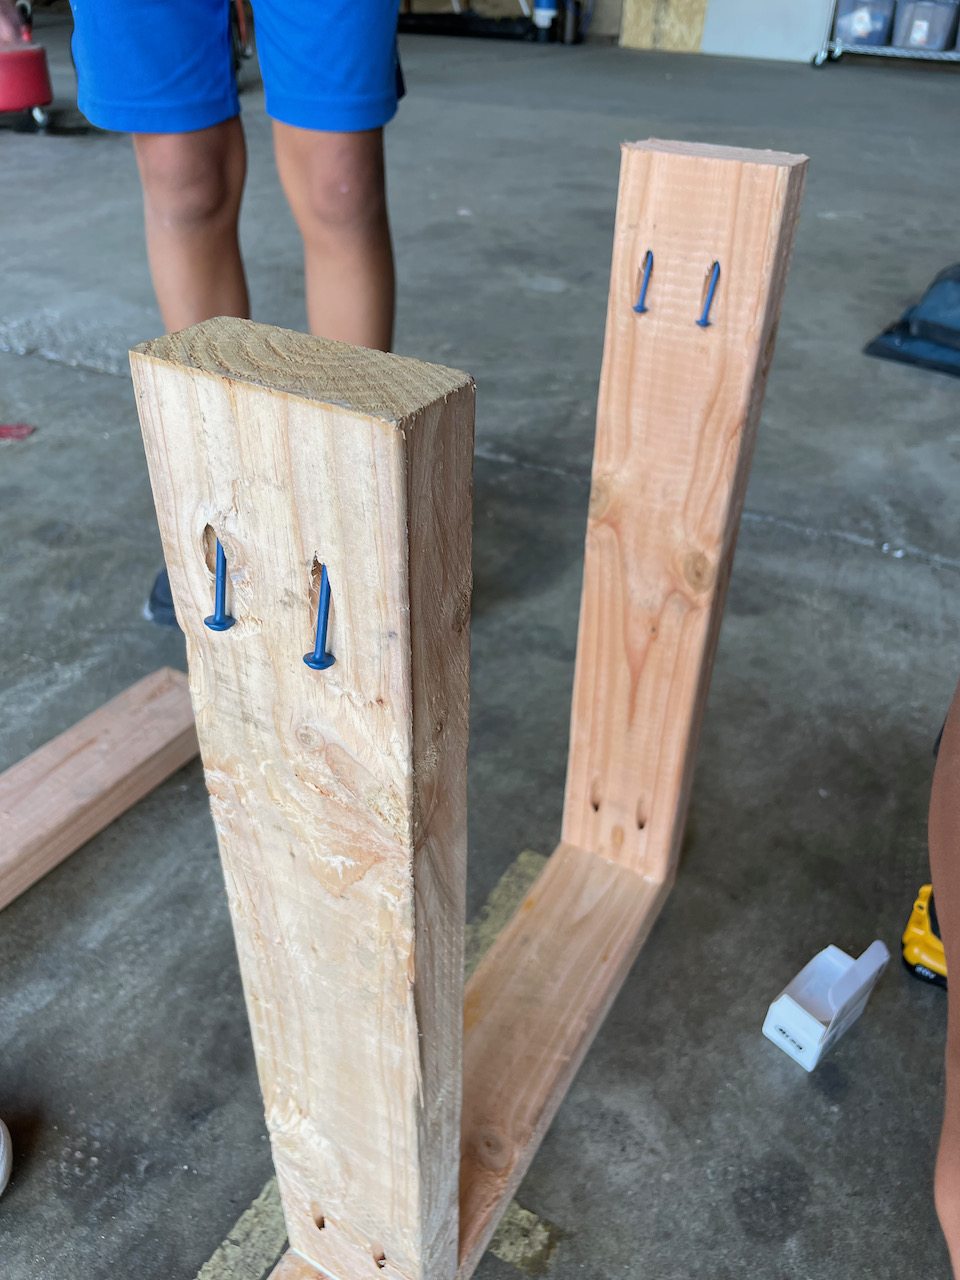
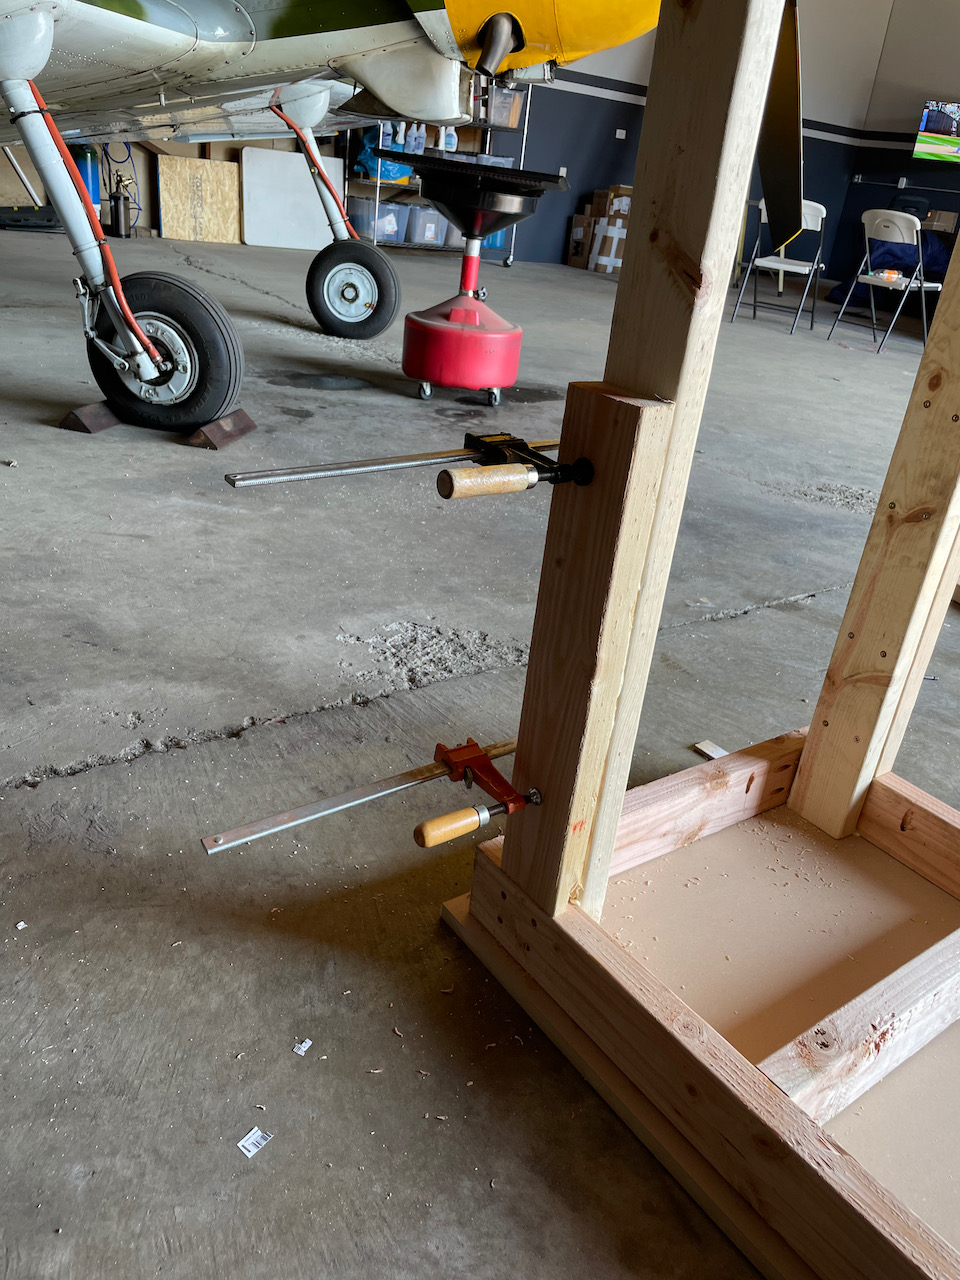
I knew that I was going to have some helpers coming in the early afternoon, so I wanted to get some of the big cuts done before they arrived. I used a combination of a 4′ level, factory edge of a 1/2″ 4×8 plywood strip, and some wood clamps to create saw guides for the cuts. Note that I have the saw guide 1.5″ off of the desired cut to account for the skill saw plate width.
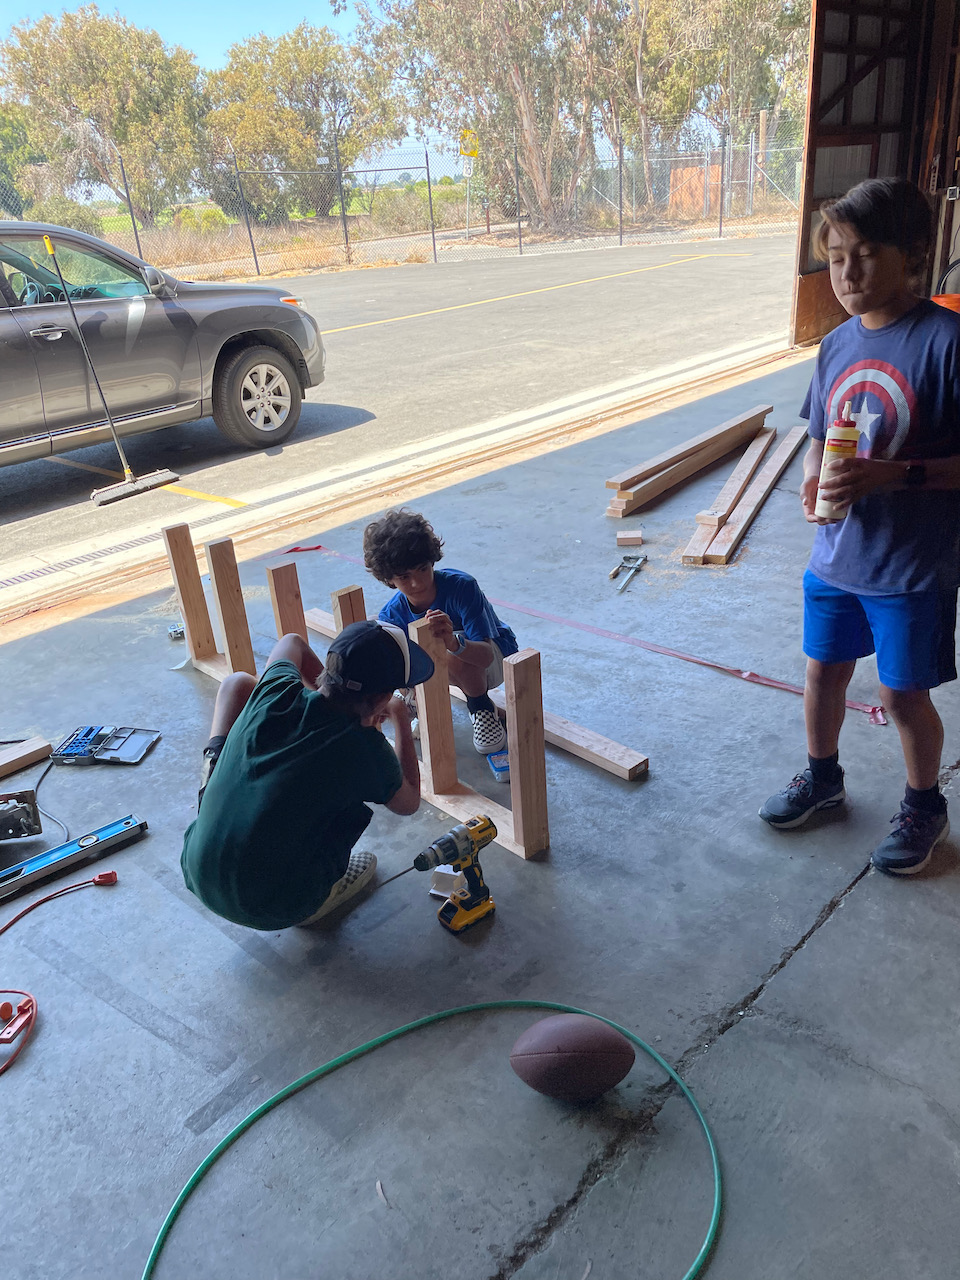
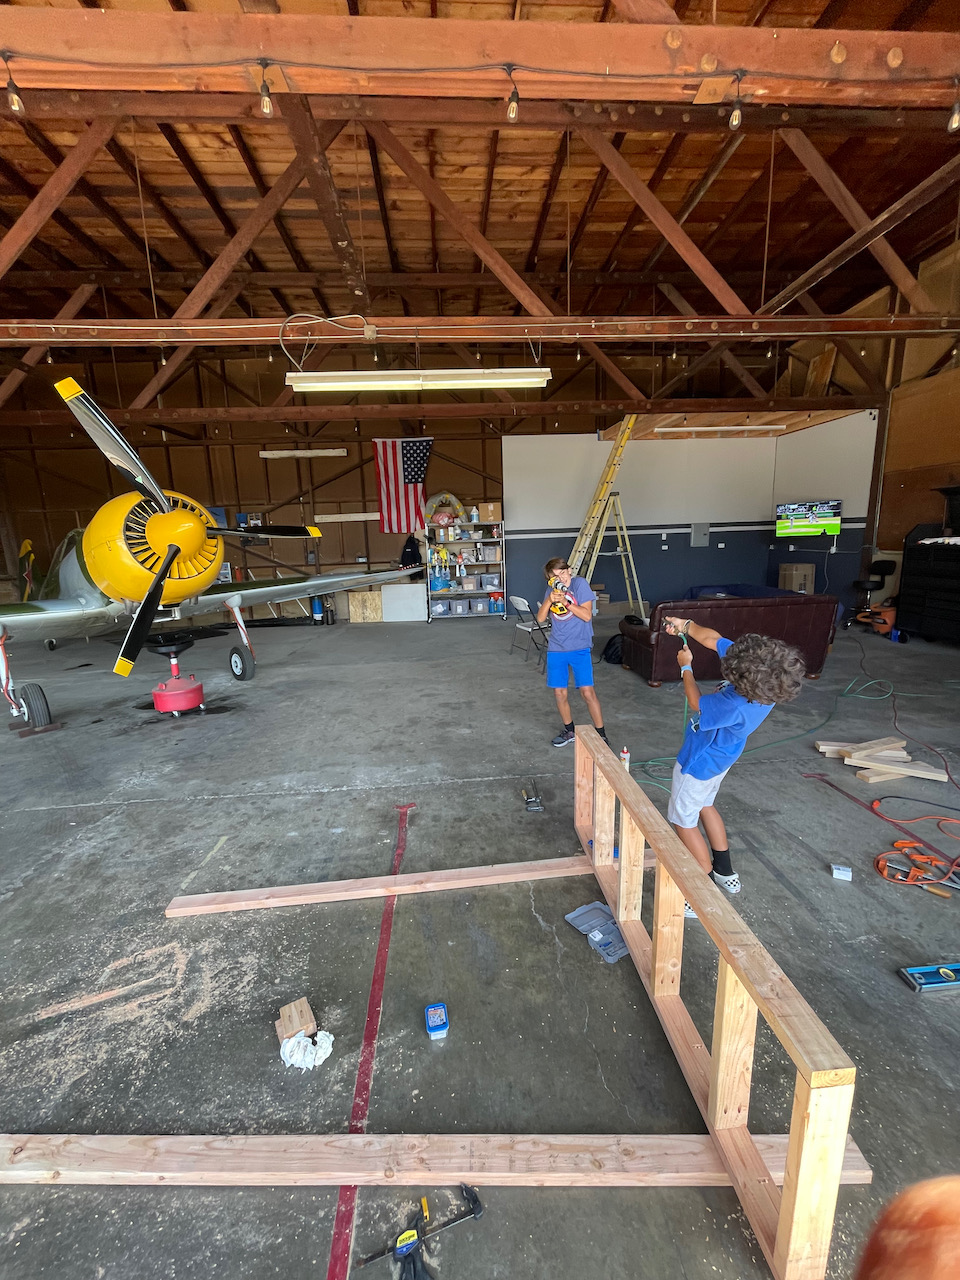
Once the helpers got there (Nico, his friend Phevos, and Jack), I needed to make sure they all stayed busy within the skill sets they have. I had Nico and Phevos work on drilling Kreg jig holes to allow attachment of the under table frame, while I taught Jack how to use a skill saw. Nice work by all to get some focused build time in. Of course, we couldn’t be at the hangar without a little goofing off as well. Phevos and Nico had a Drill v compressed air gun battle to pass some time.
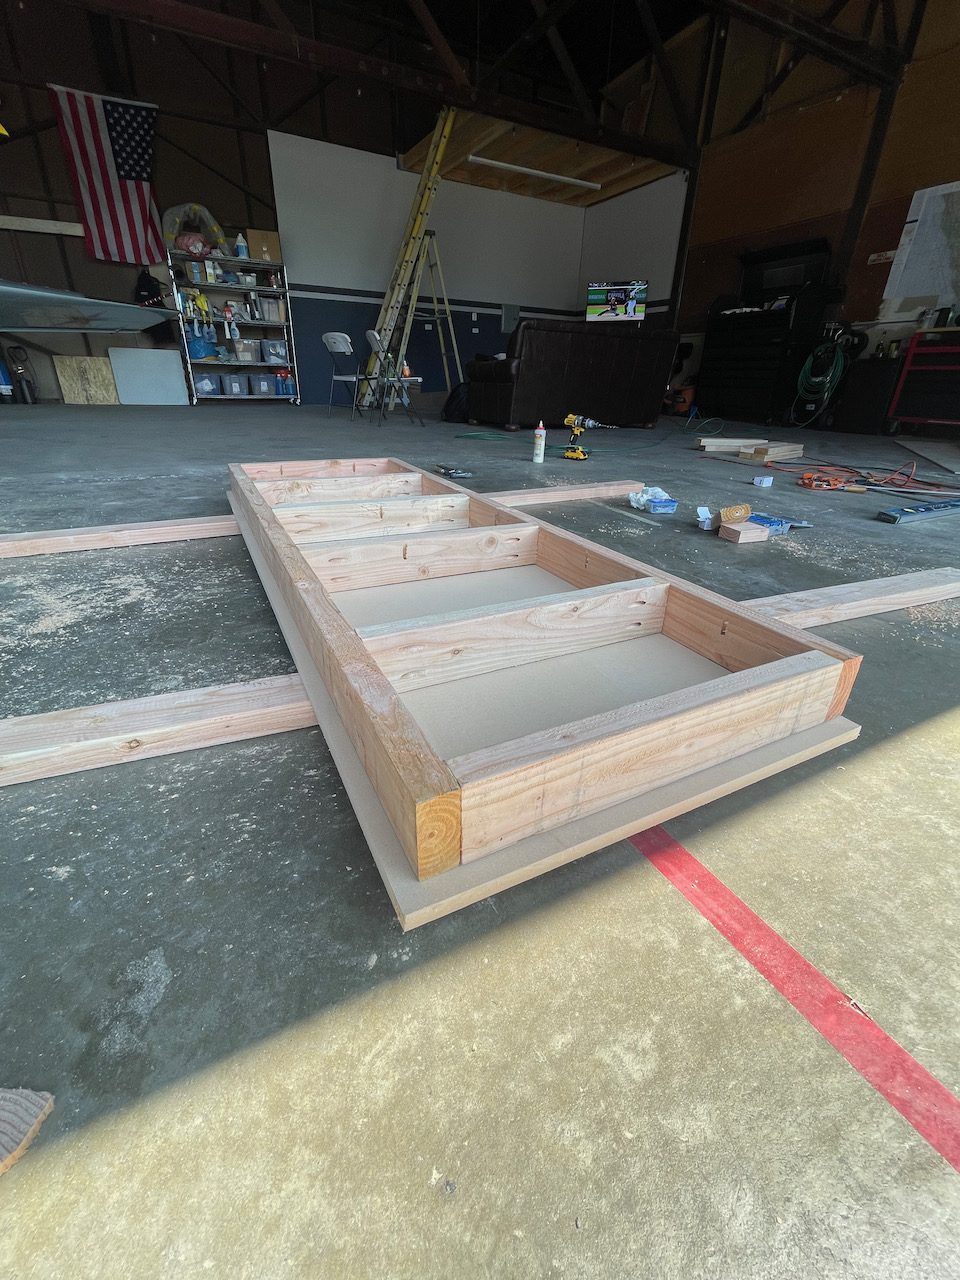
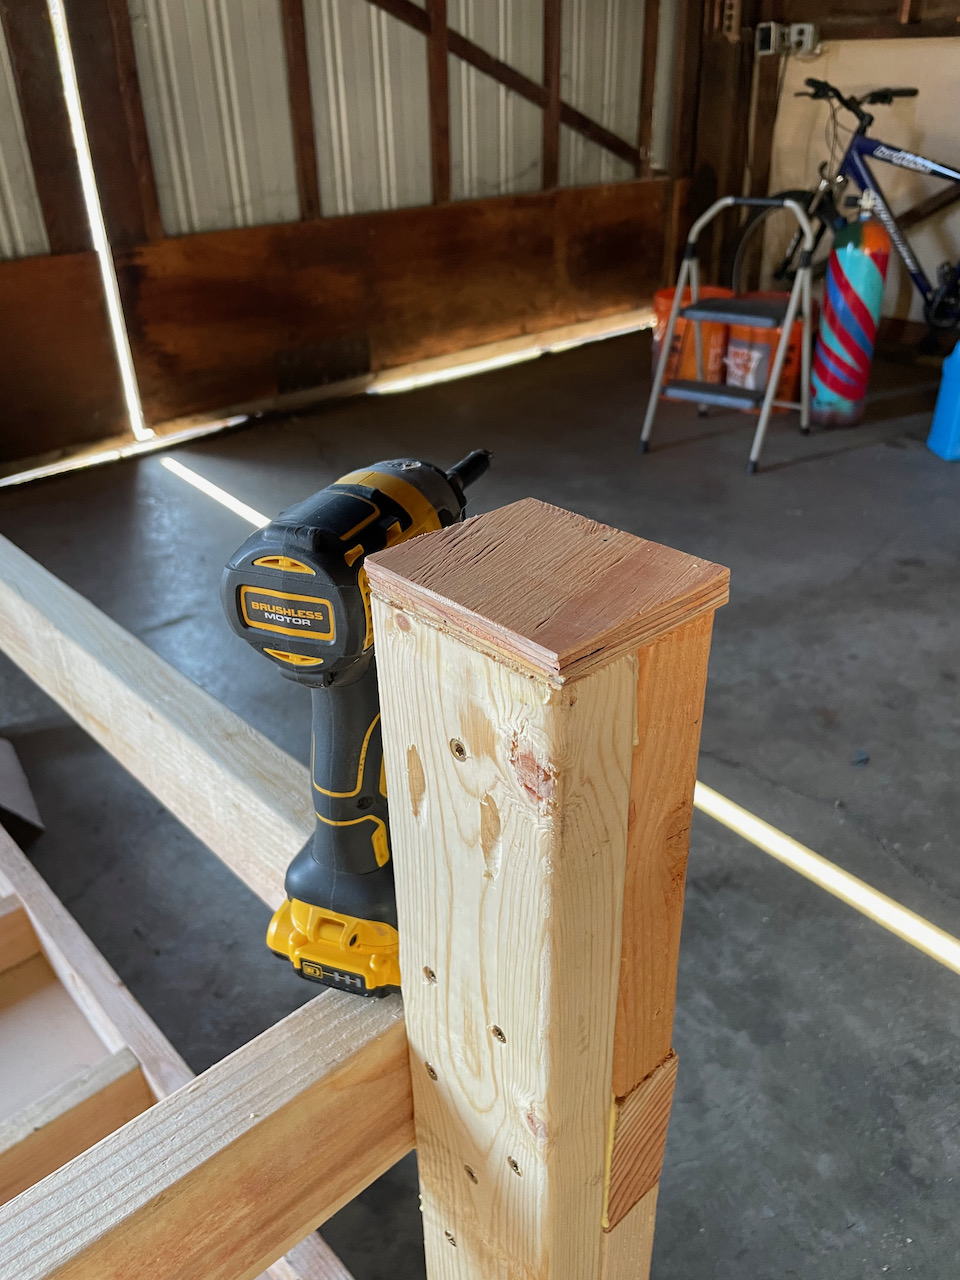
After the frame was built, we test fit the top surface before gluing it on. I decided to add a 1″ lip on two sides of the table. This provides clamping surfaces if I want to, while still leaving two sides to be flush with the frame in case I want to clamp a couple of these tables together eventually.
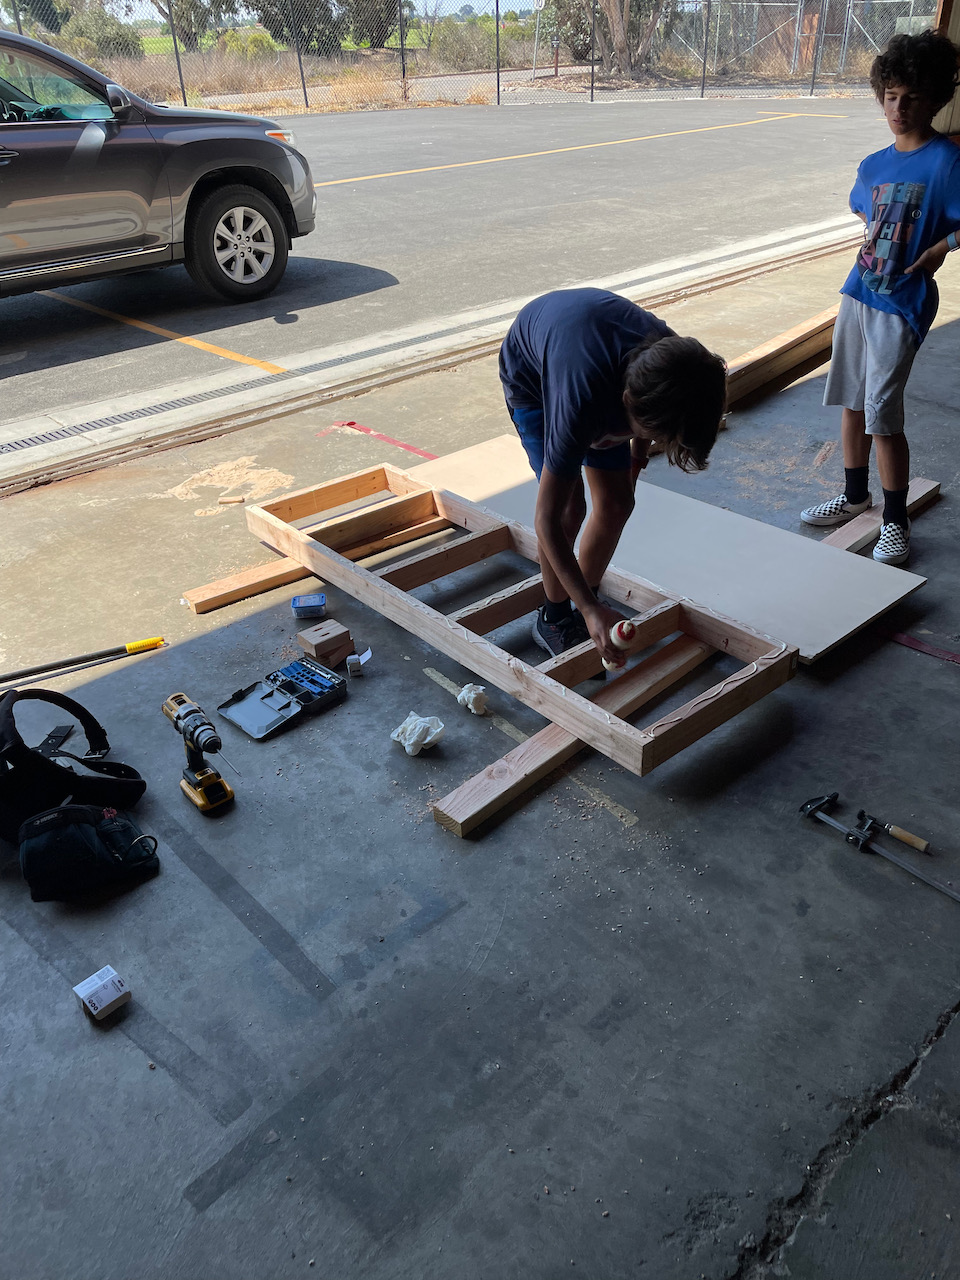
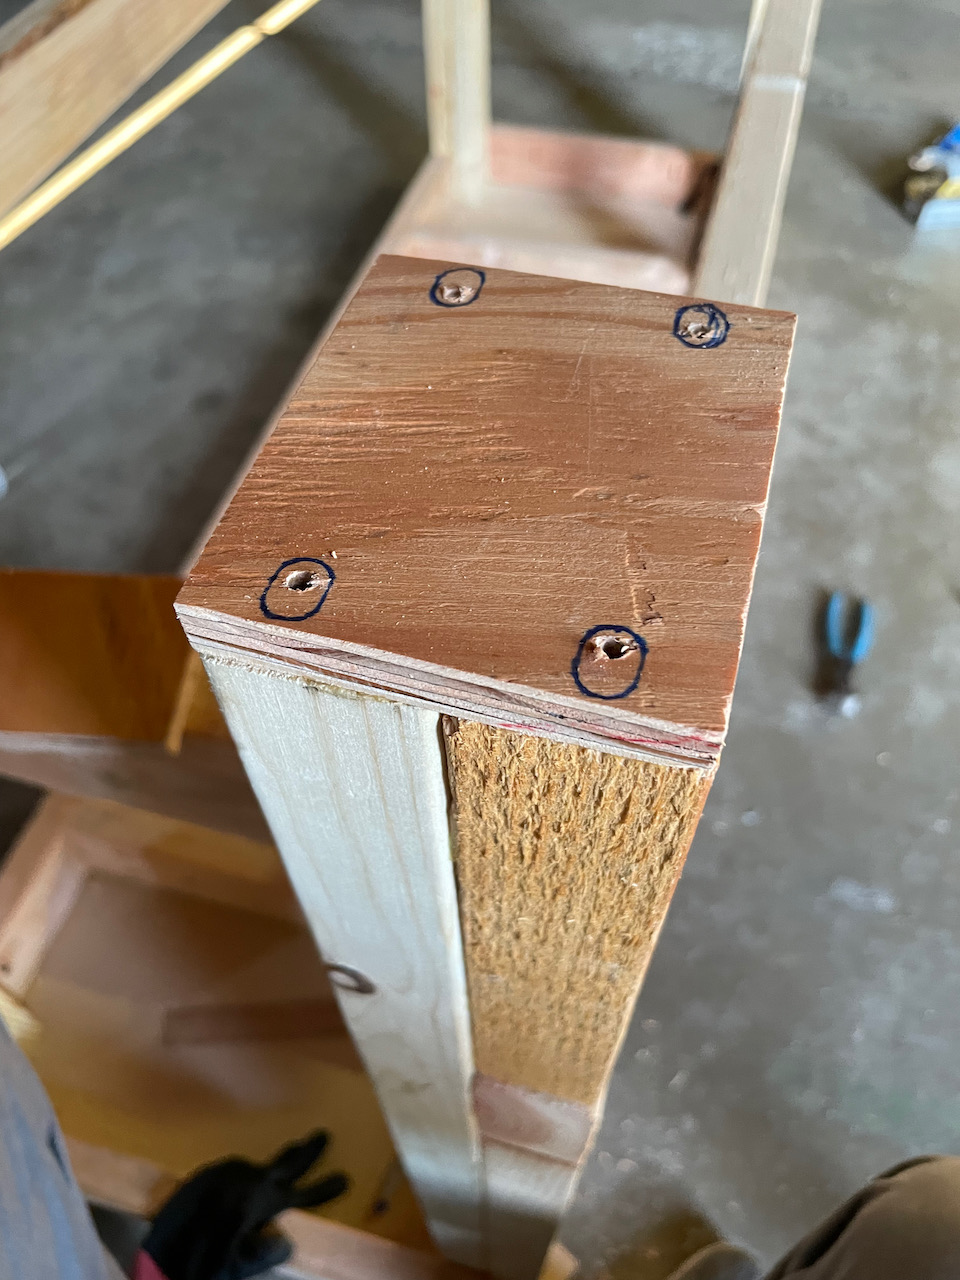
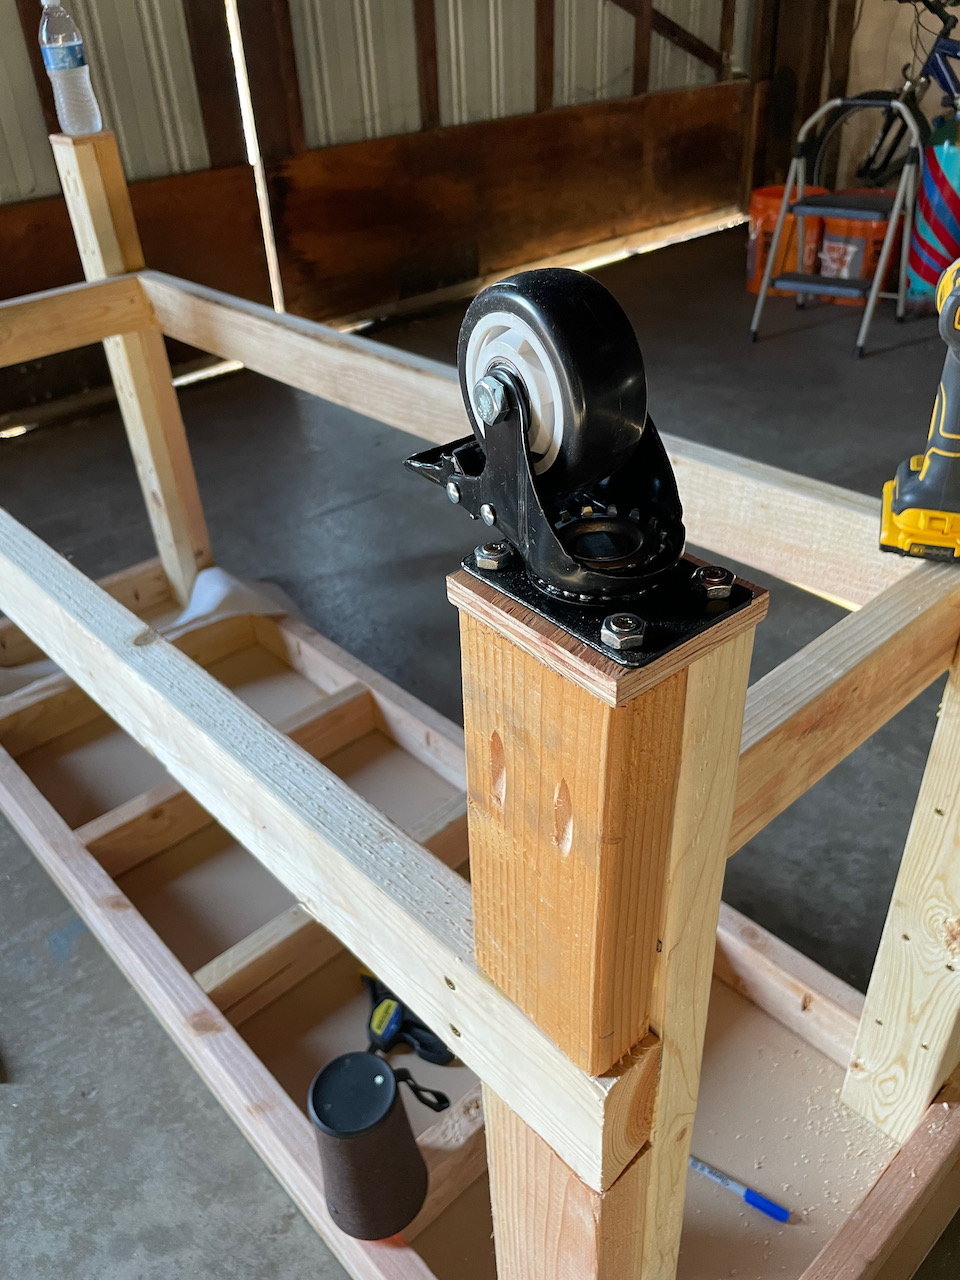
After the kiddos left I was able to get to some real work. I put the legs on along with the cross bracing before attaching the caster wheels. I went with some 3″ caster wheels I purchase from amazon. They look like they’ll do the job. To be safe I glued and screwed a bottom 1/2″ plywood piece to reduce the possible issues of screwing into end grain. We’ll see how it holds up over time.
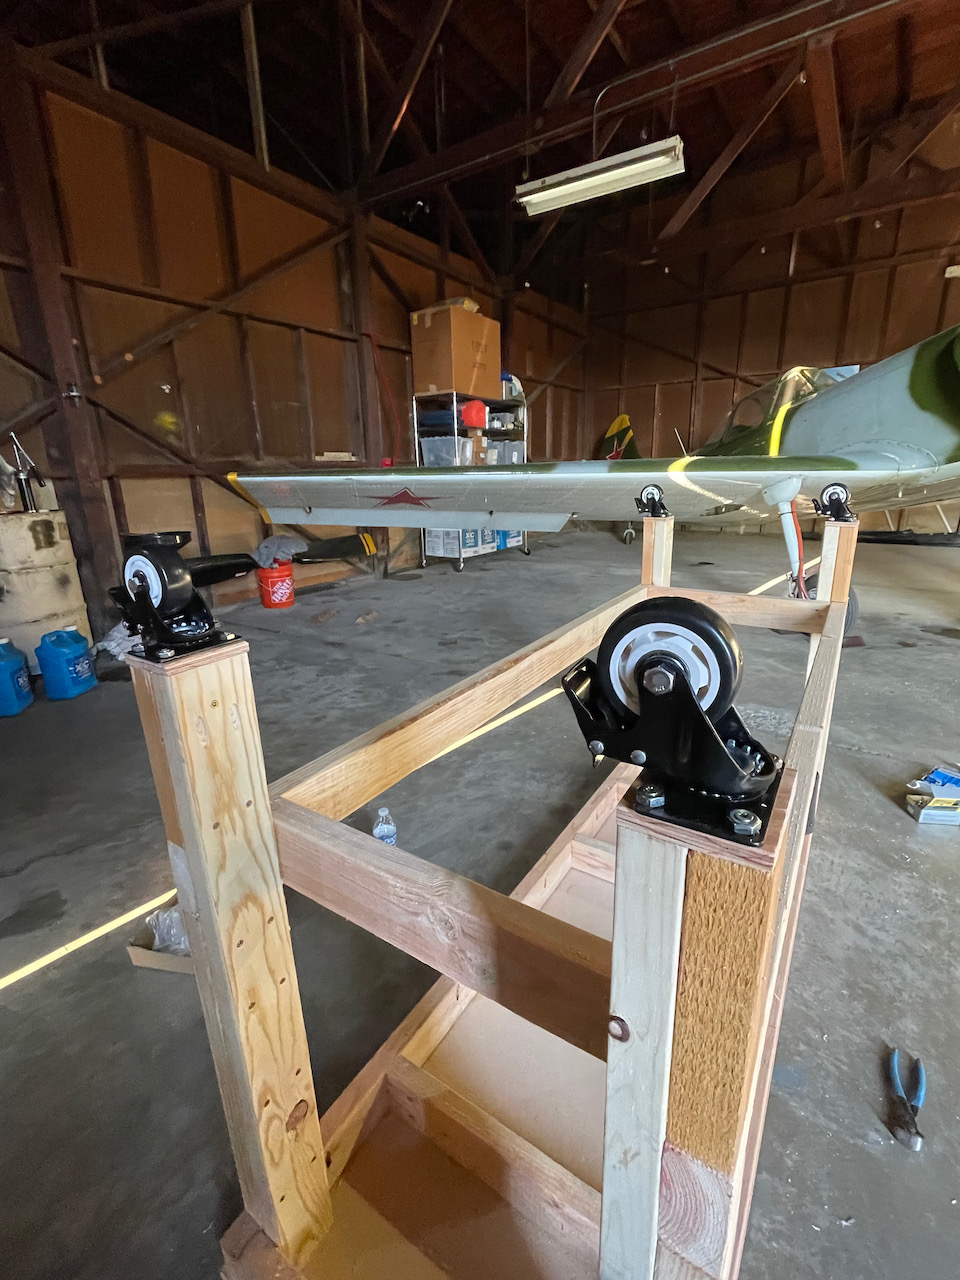
After getting the caster wheels on, I finally flipped the workbench over to add the bottom shelving. I found a couple issues that I resolved once flipped over. The main one was that the Kreg jig screws did not seem to hold down the work surface in areas that were critical. To mitigate I just screwed down from the top (I was hoping I could have a completely screw free surface, but in the end I just want a useable workbench). The end product is great, and should serve it’s purpose for years to come. I still need to build a second copy of that, plus a couple other variations on that bench for my larger power tools (bandsaw, drill press, and bench grinder) and a corner table that will link to the two primary work areas. Long day! Time for some rest to get the work week started right, but below is a look at the final workbench against my awesome painted workshop wall. Cool!
