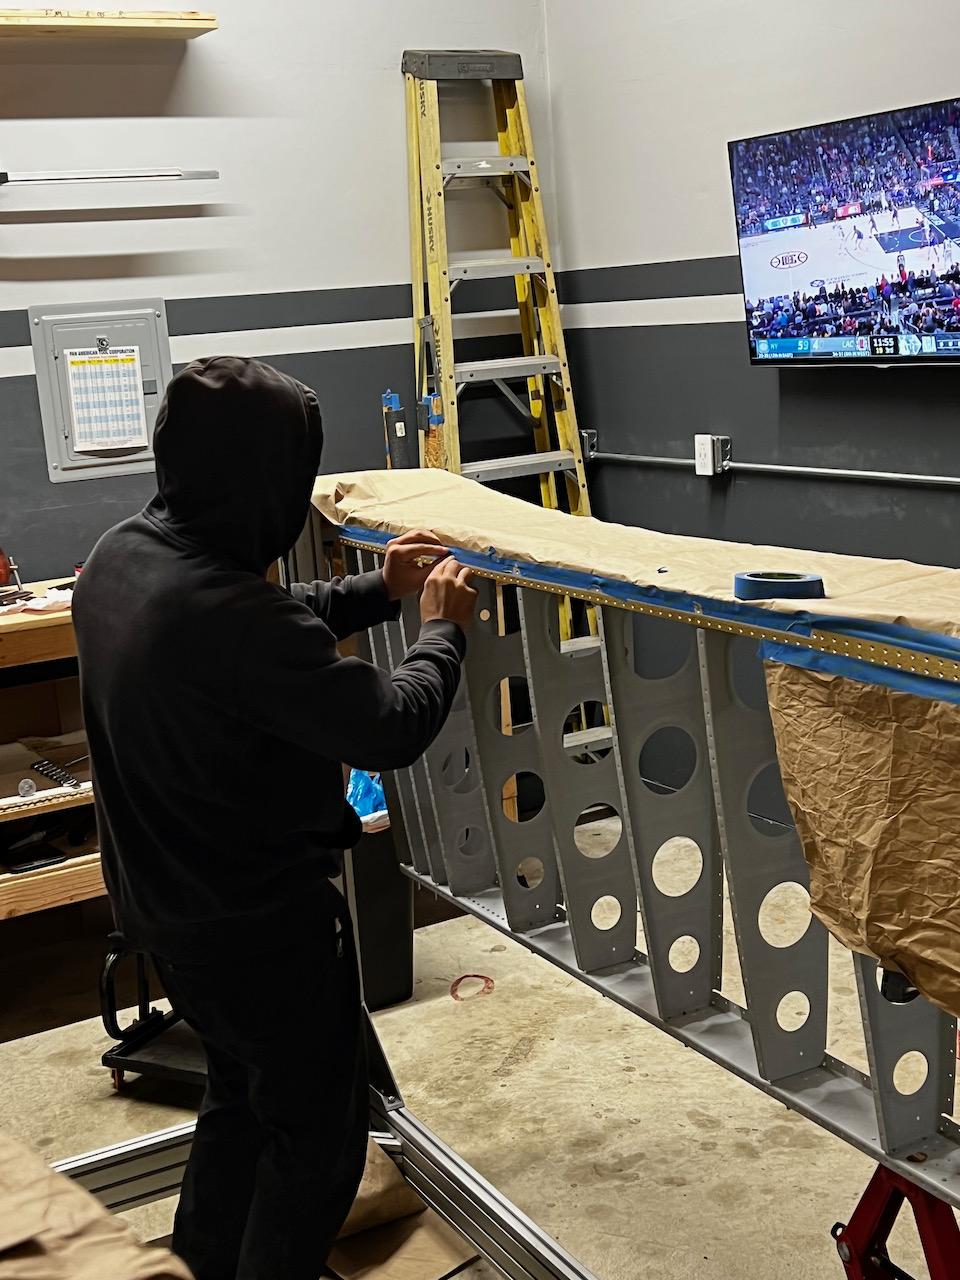
The goal was to be fully done with the priming work by the end of the weekend. Well, the weekend got in the way, and I wasn’t able to get started until Sunday evening at 5pm. It was going to be a long night, but trusty Sam was there to make the goal a possibility. But first, there was a bit of prework that I did on Wednesday night. I removed the remaining vinyl, deburred any holes which required it (including the leading edge holes that were match drilled a few months ago). I also took the opportunity to dimple all of the primed ribs (about half).
vinyl removal...still satisfying!
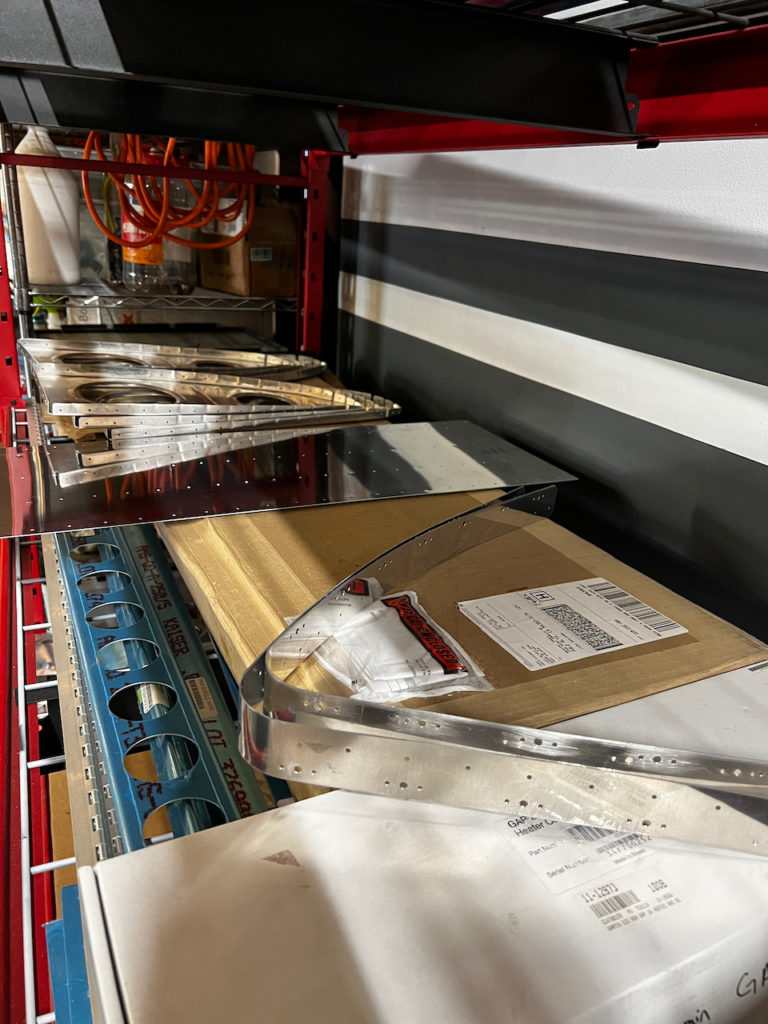
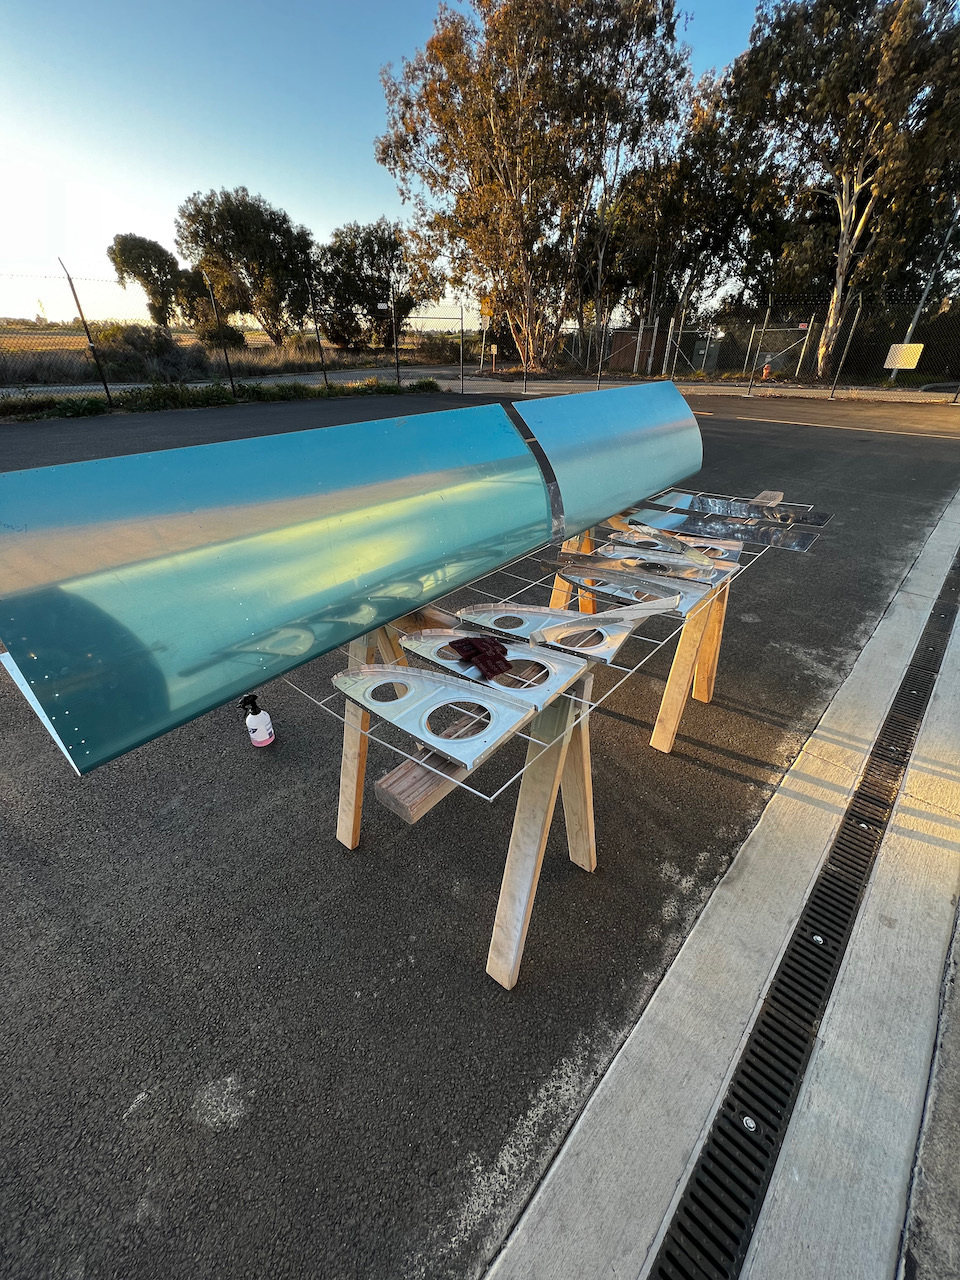
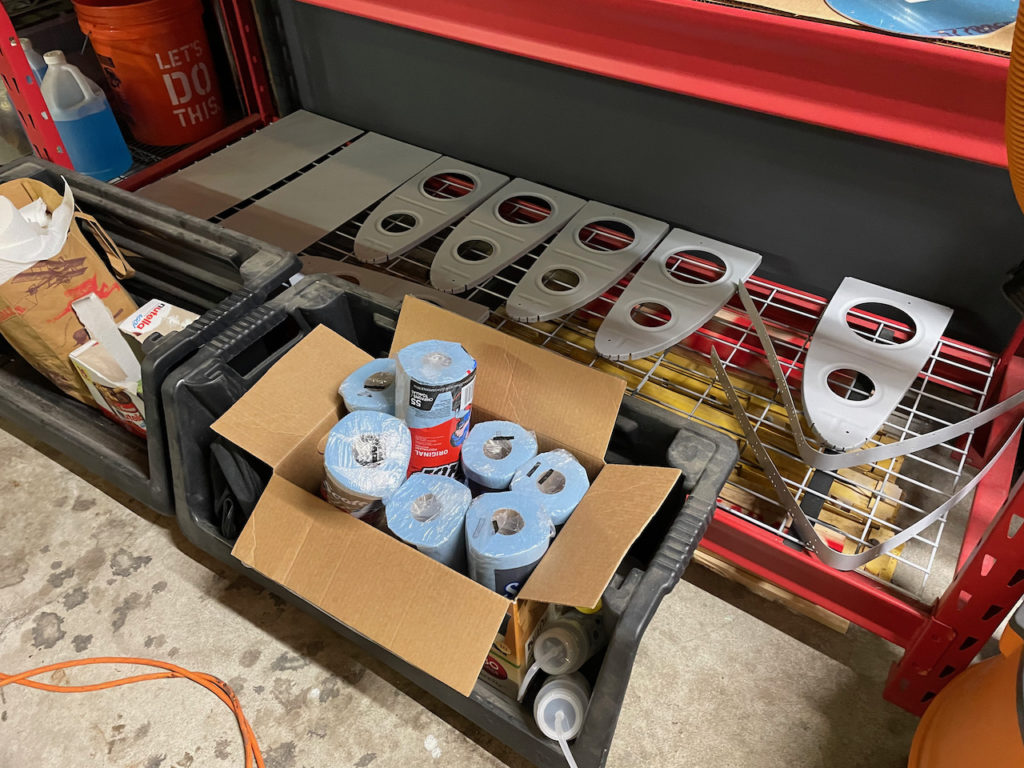
all parts ready for priming
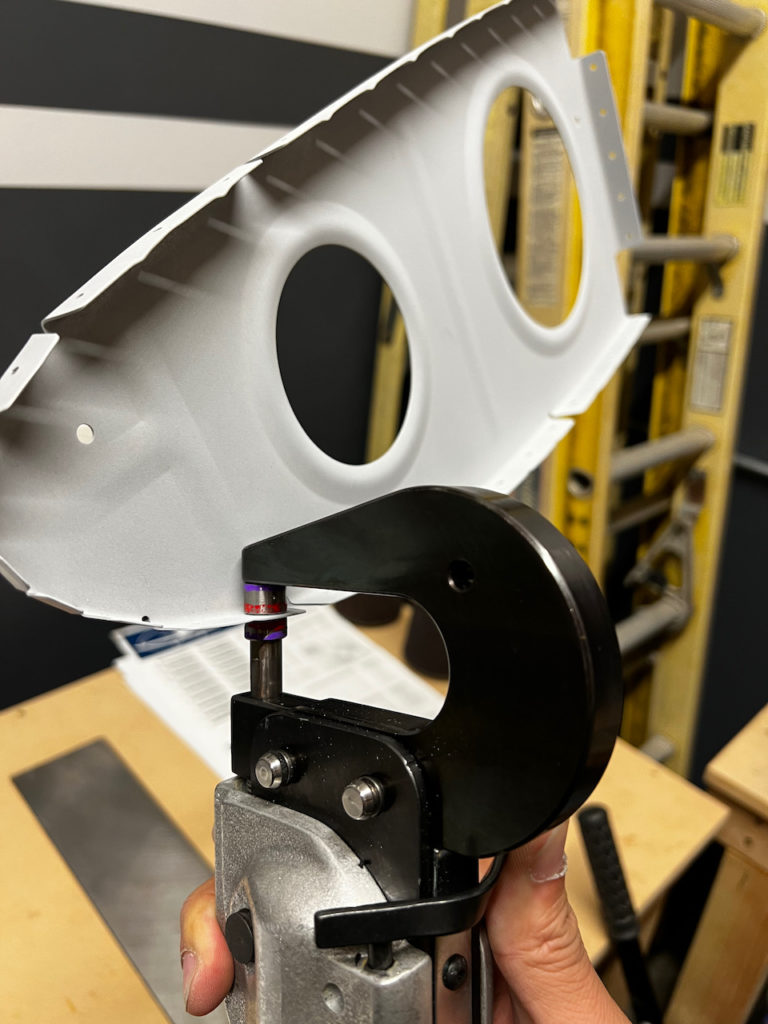
dimpling everything that was already primed
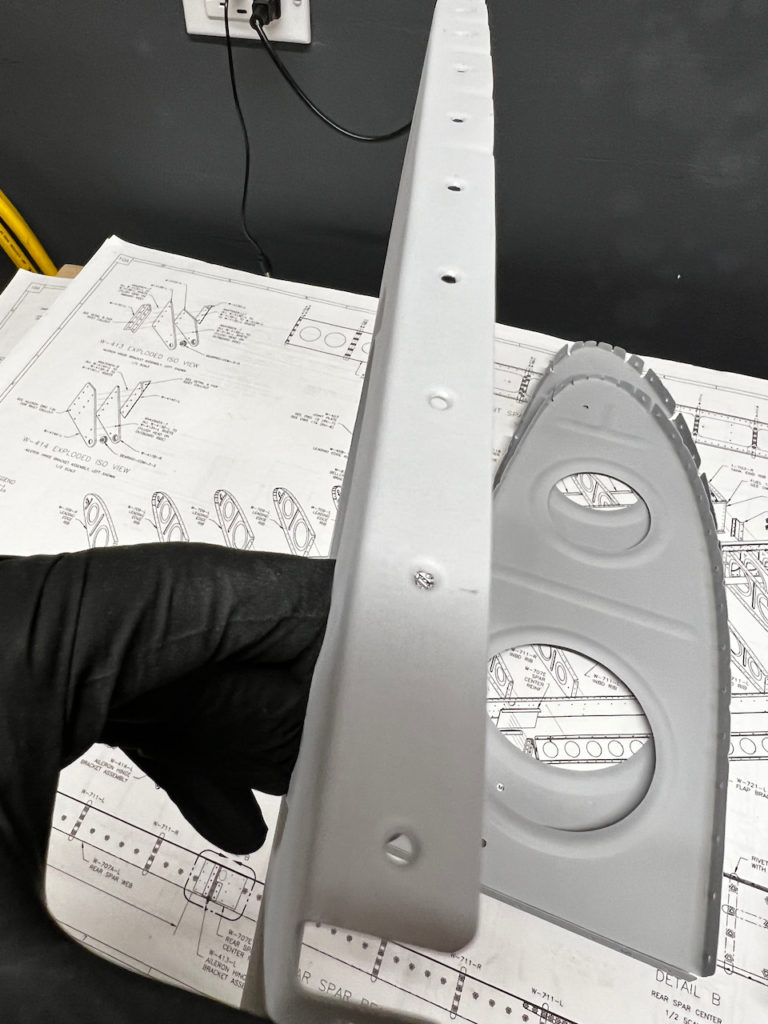
dimpling done!
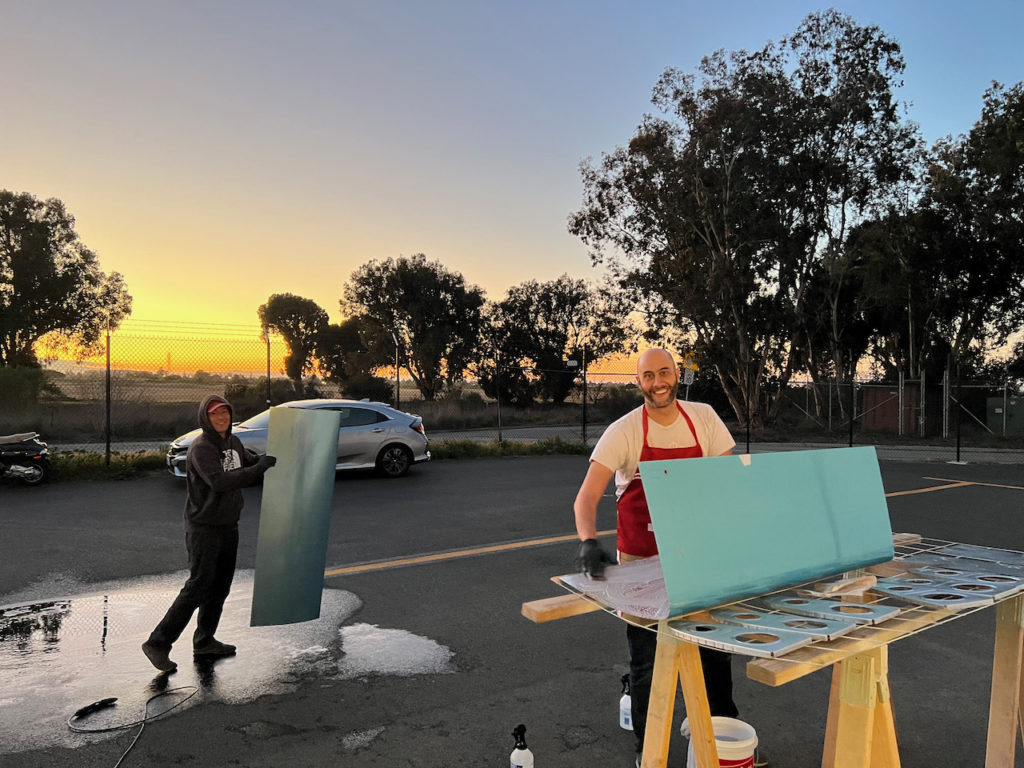
So fast forward back to Sunday evening. Sun was going down and I was just getting started. Sam was arriving in about an hour so I started with prep for the prep. As a reminder, you start with aluminum cleaning (using acetone and EkoClean). Then using EkoEtch, you scuff up the aluminum with scotch brite and pressure wash the part before the Etch dries too much. Once Sam was there, things moved a lot quicker.
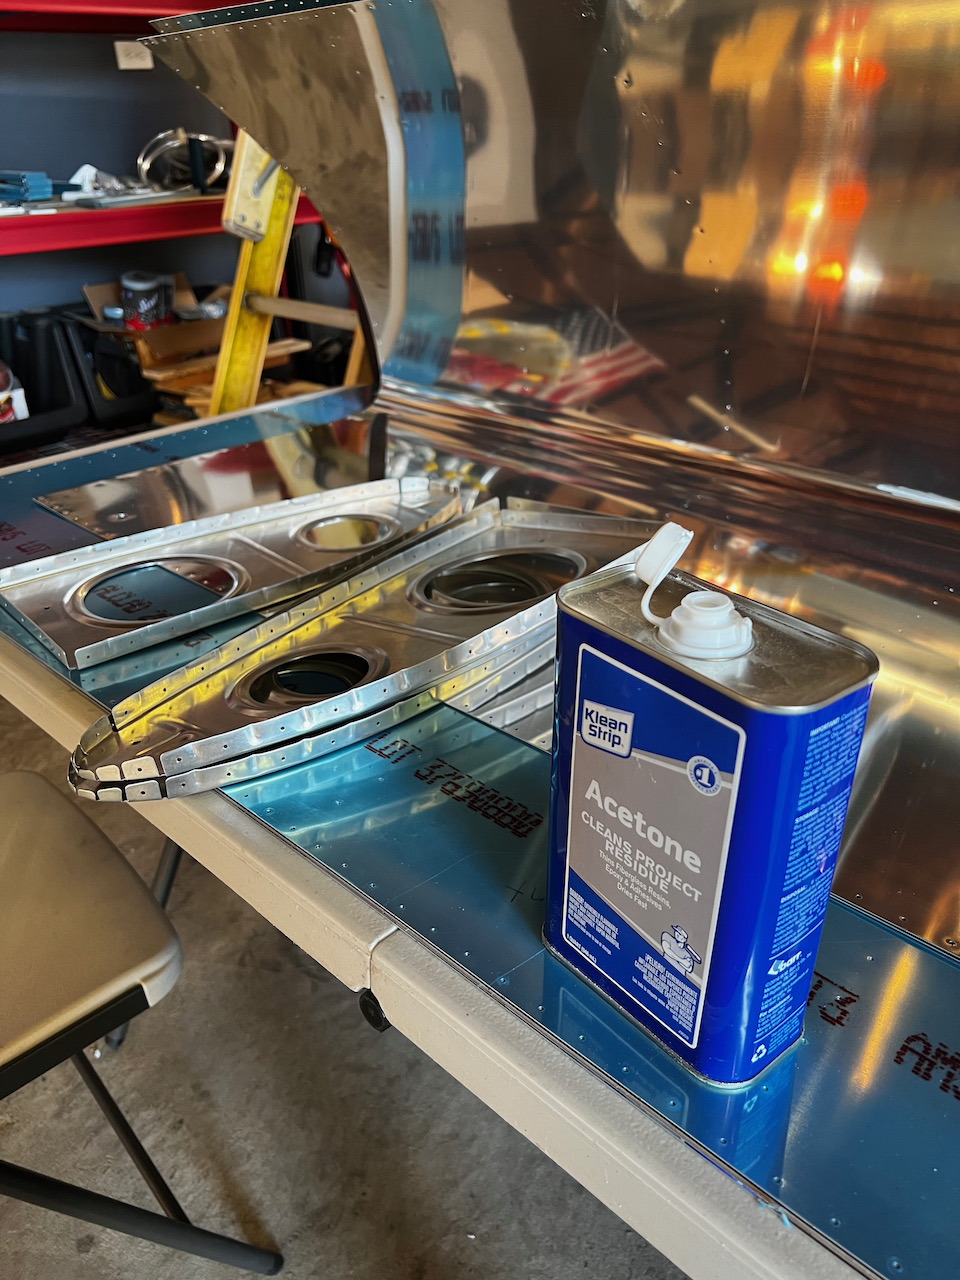
Acetone to start
then prepped for cleaning
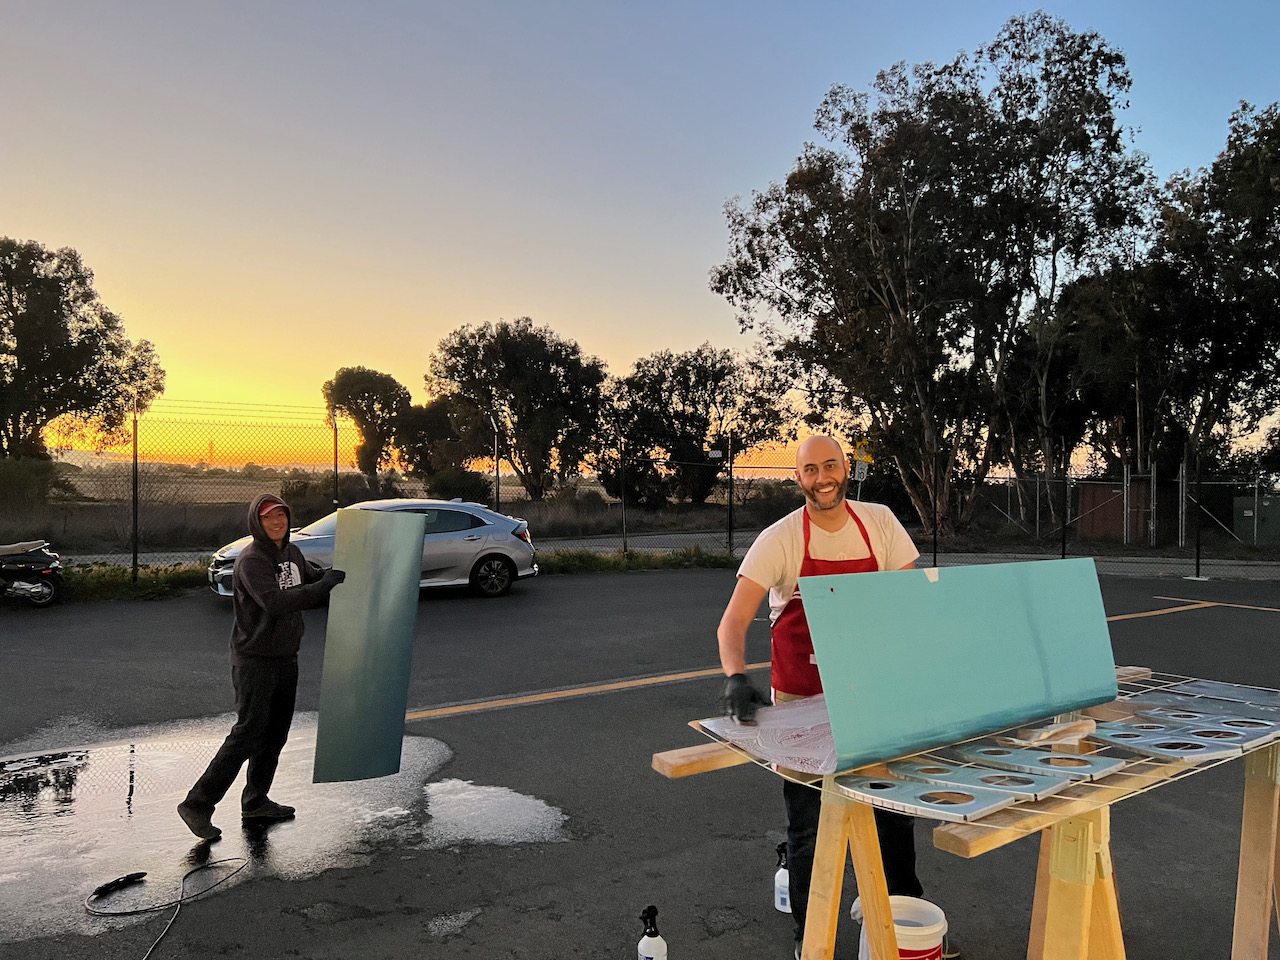
Sam on the pressure washer while I apply the EkoEtch
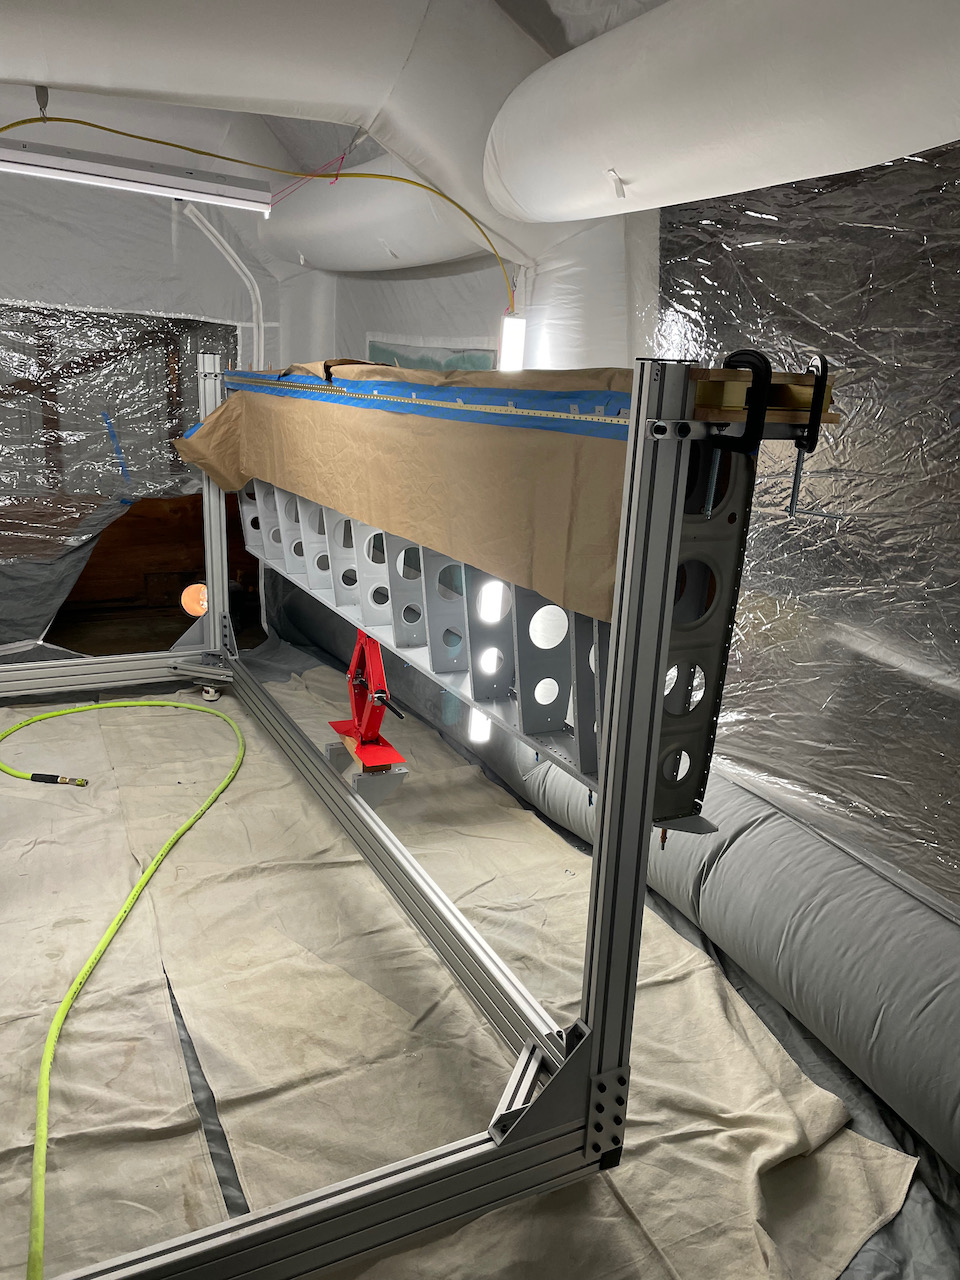
Next up, Sam masked off the wing skeleton for priming the countersink holes while I prepped the paint booth. Since I had already primed the fuel tank nut plate countersink holes, we needed to cover those to ensure overspray didn’t get on the nutplate threads.
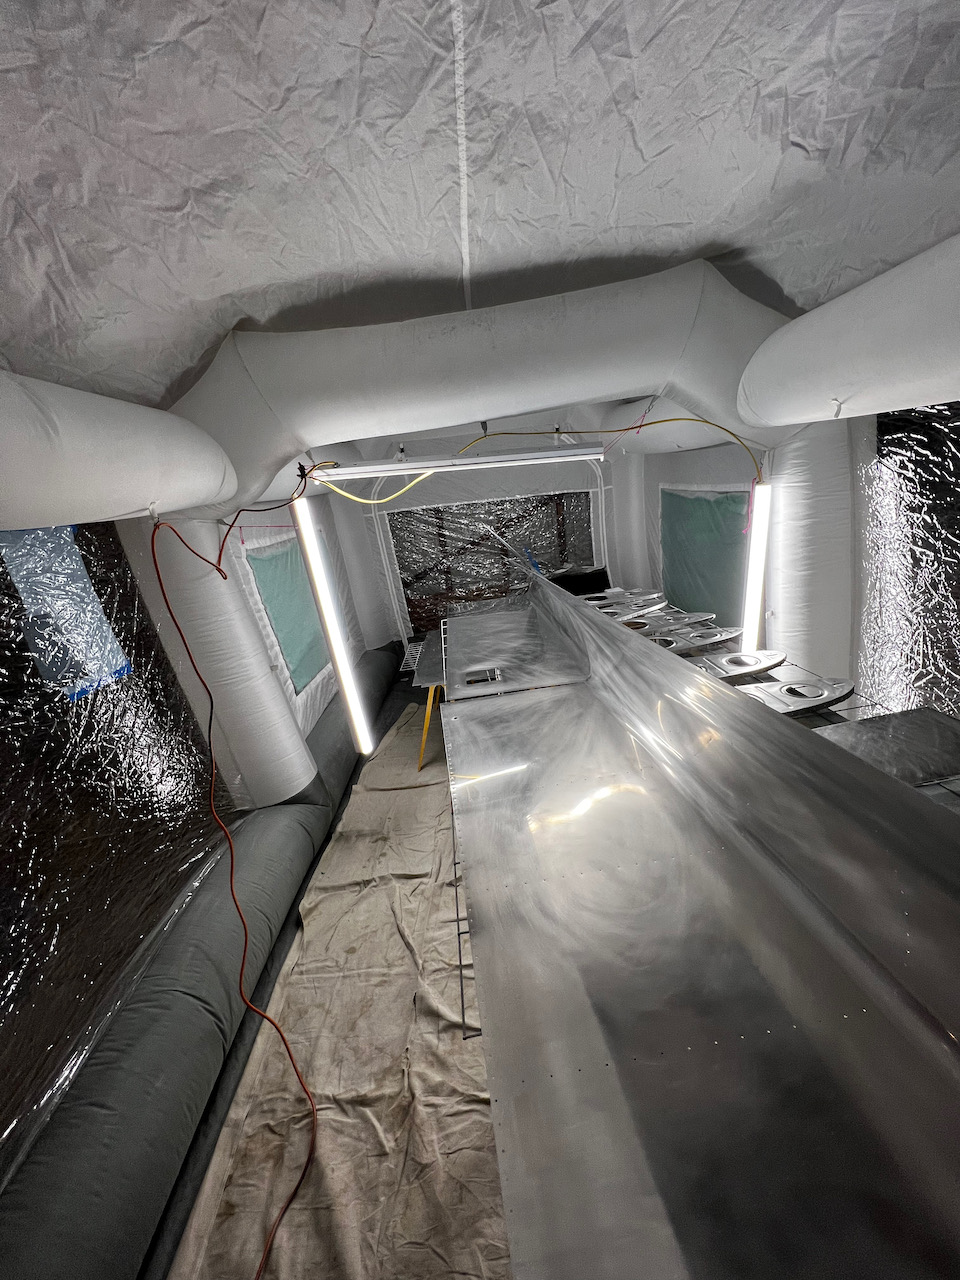
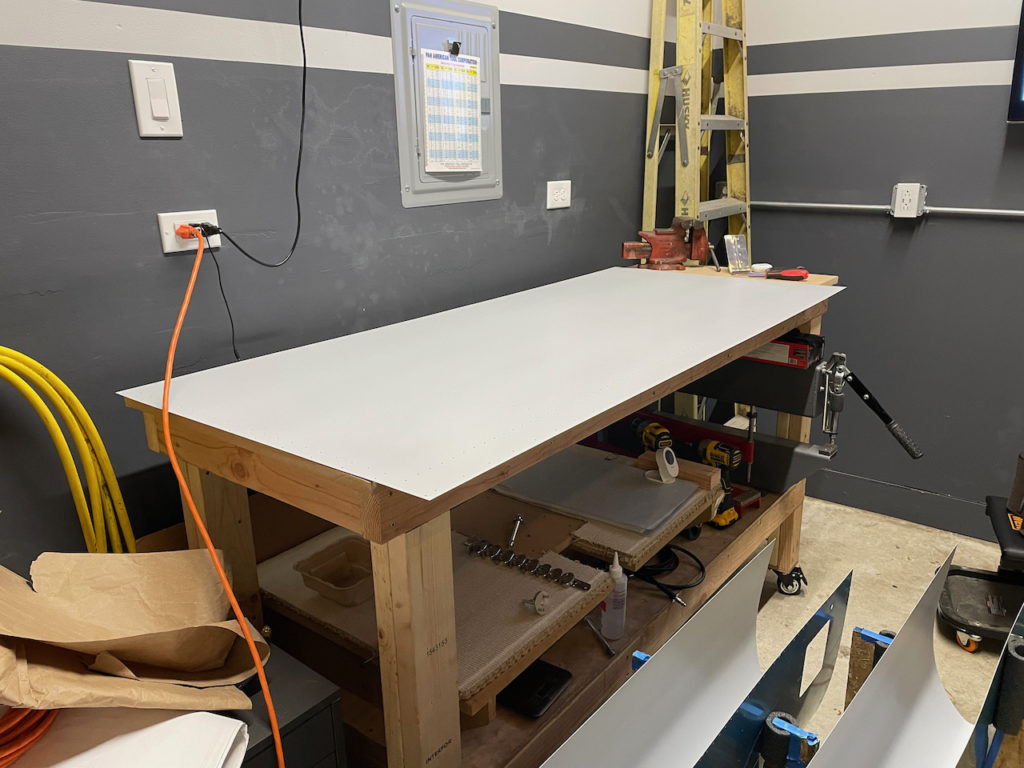
I set up the booth…
…while Sam masked off the wing skeleton
Priming here we go!
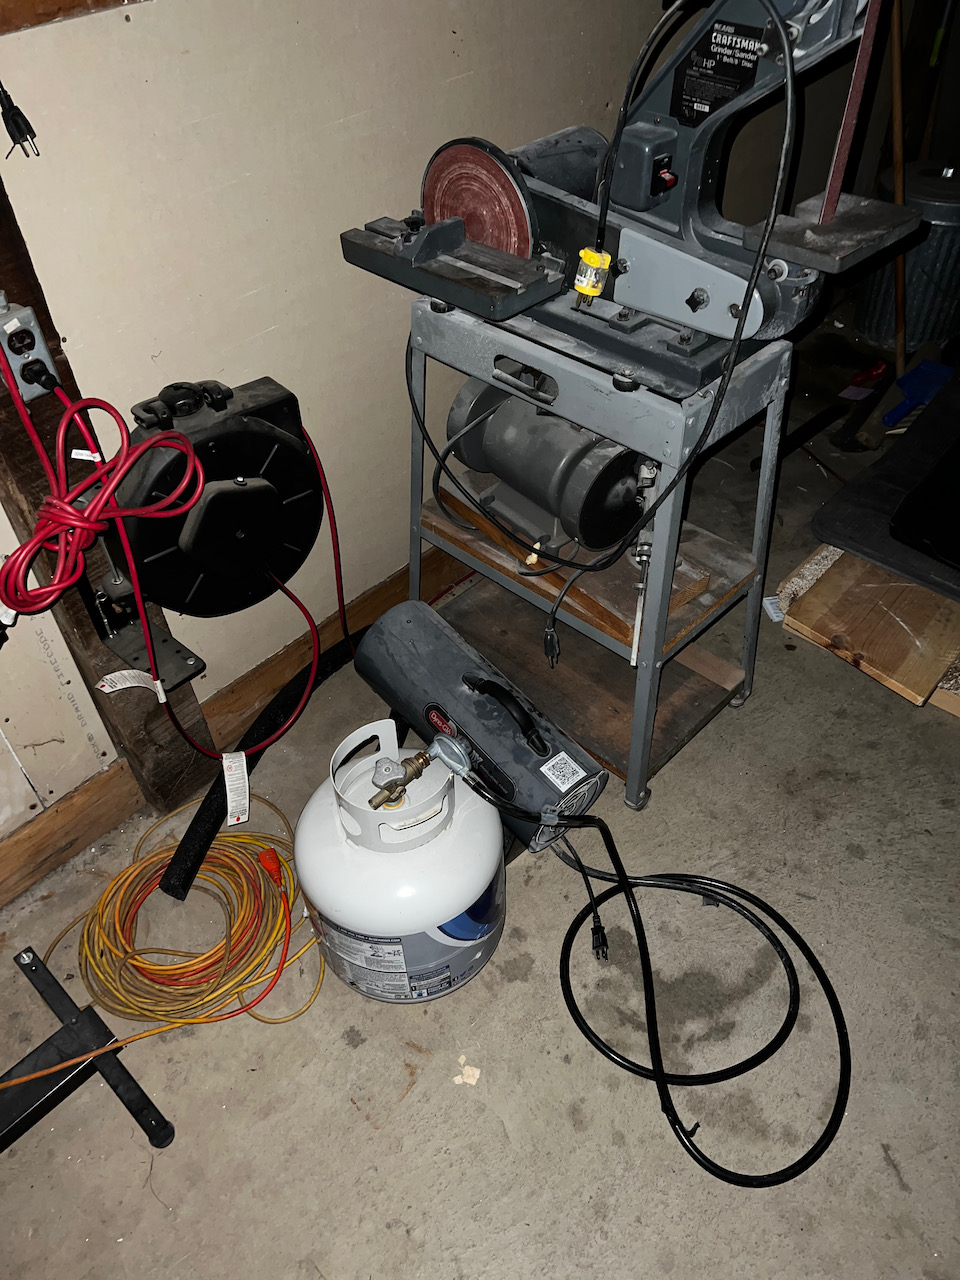
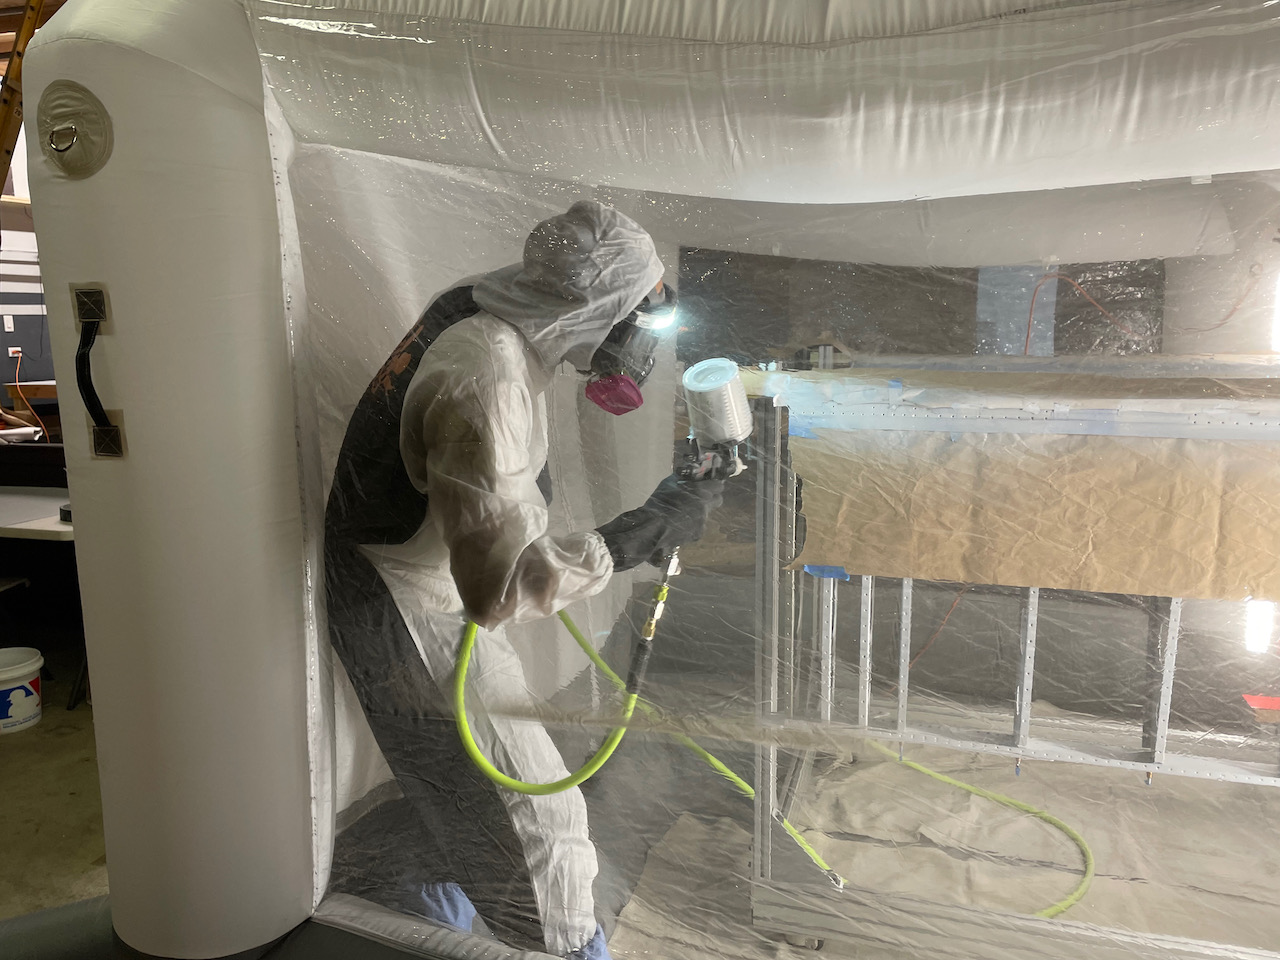
Priming went smooth. I got a little lazy with the prep. I should have air blown off the pieces before final prime, as well as use the tack cloth to pick up any last particles. Because i didn’t there are a few pieces of lint that are caught in the paint. In the end all these primed parts will be inside the wing frame, so won’t be visible, but is a good lesson for next priming sessions. Even still, the finish of the parts are quite nice, and I’m happy with the outcome. Thanks Paul and Kacy for driving a propane torch heater down from Mt View when I realized I had no way to heat the paint booth. Life saver!!
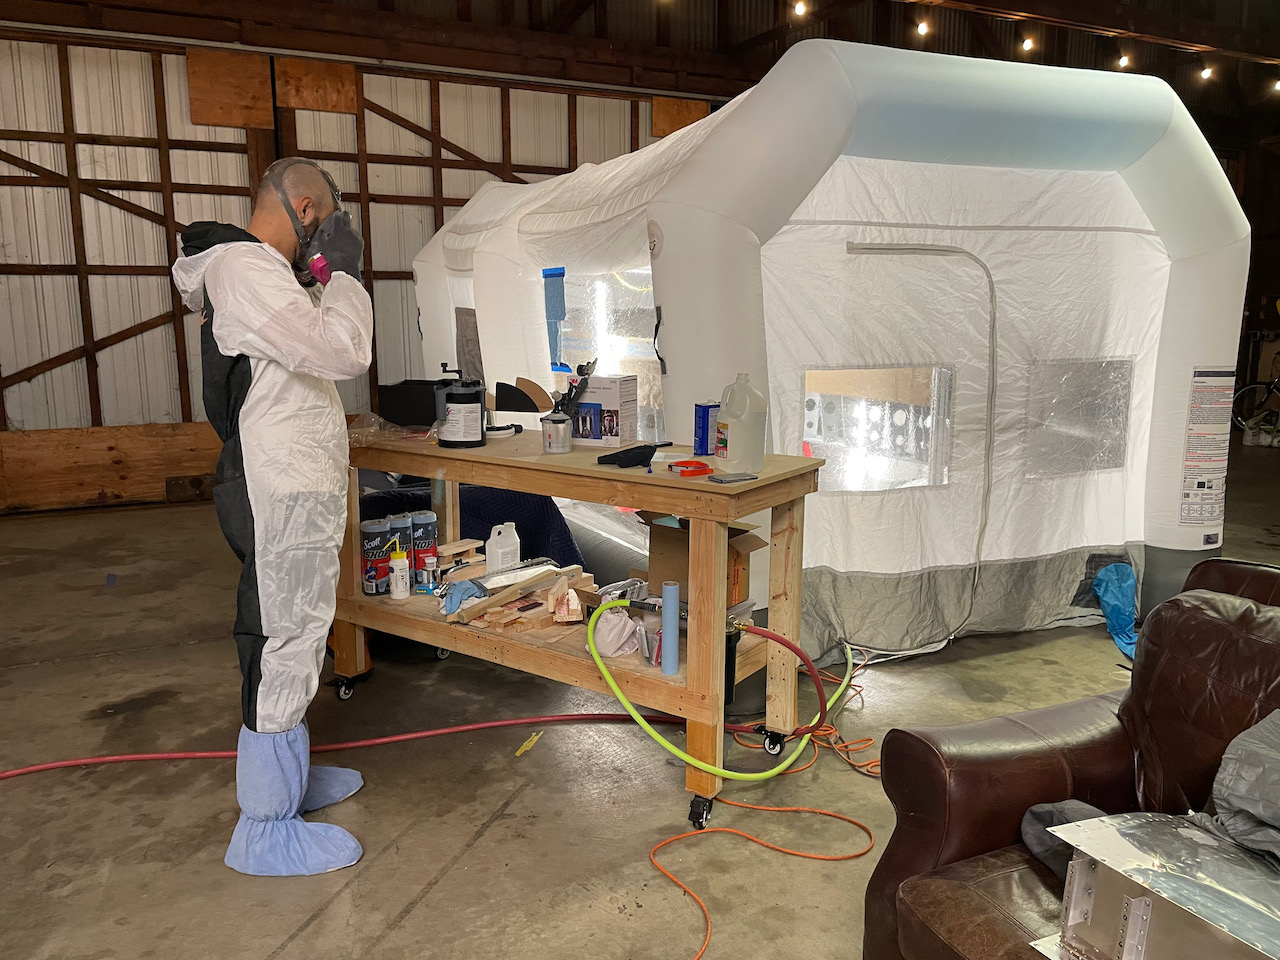
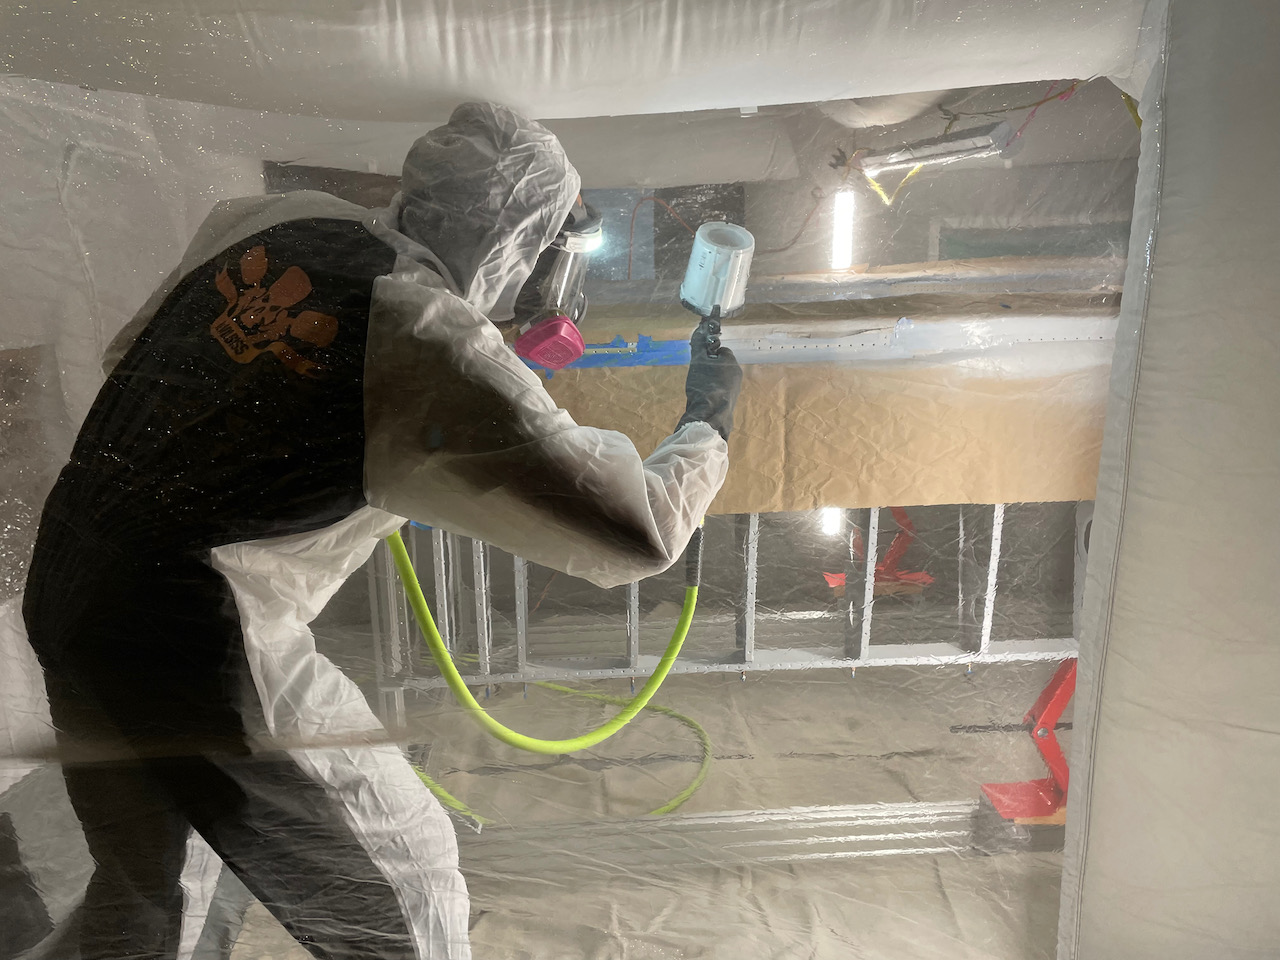
Time to don the bunny suit!
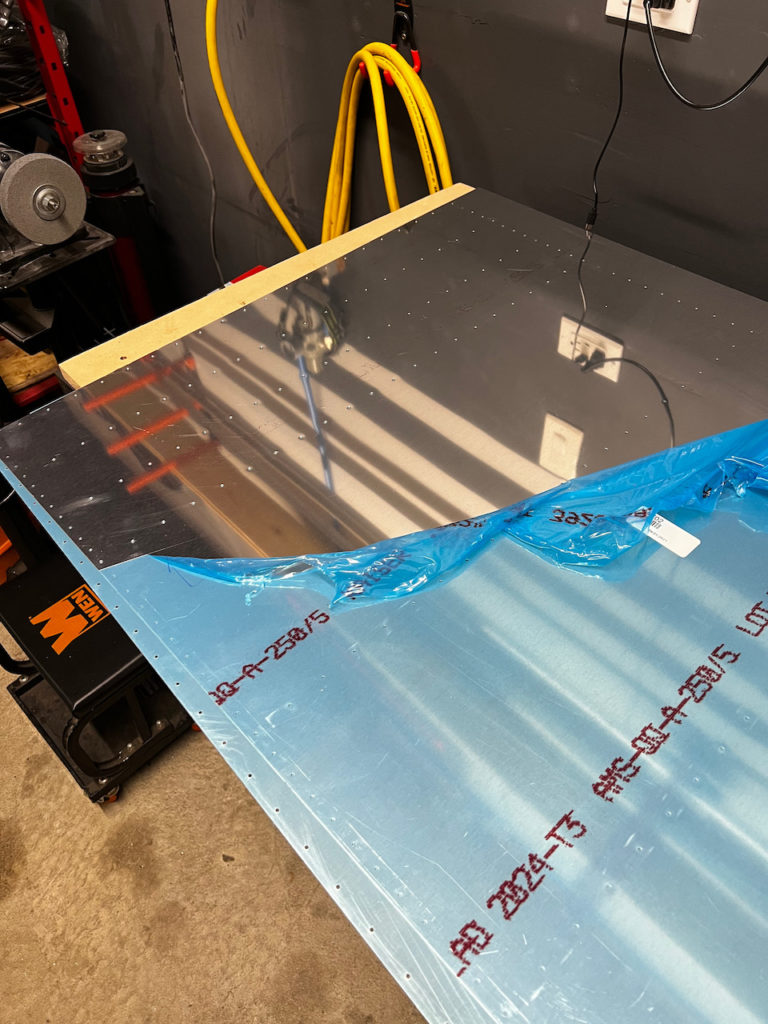
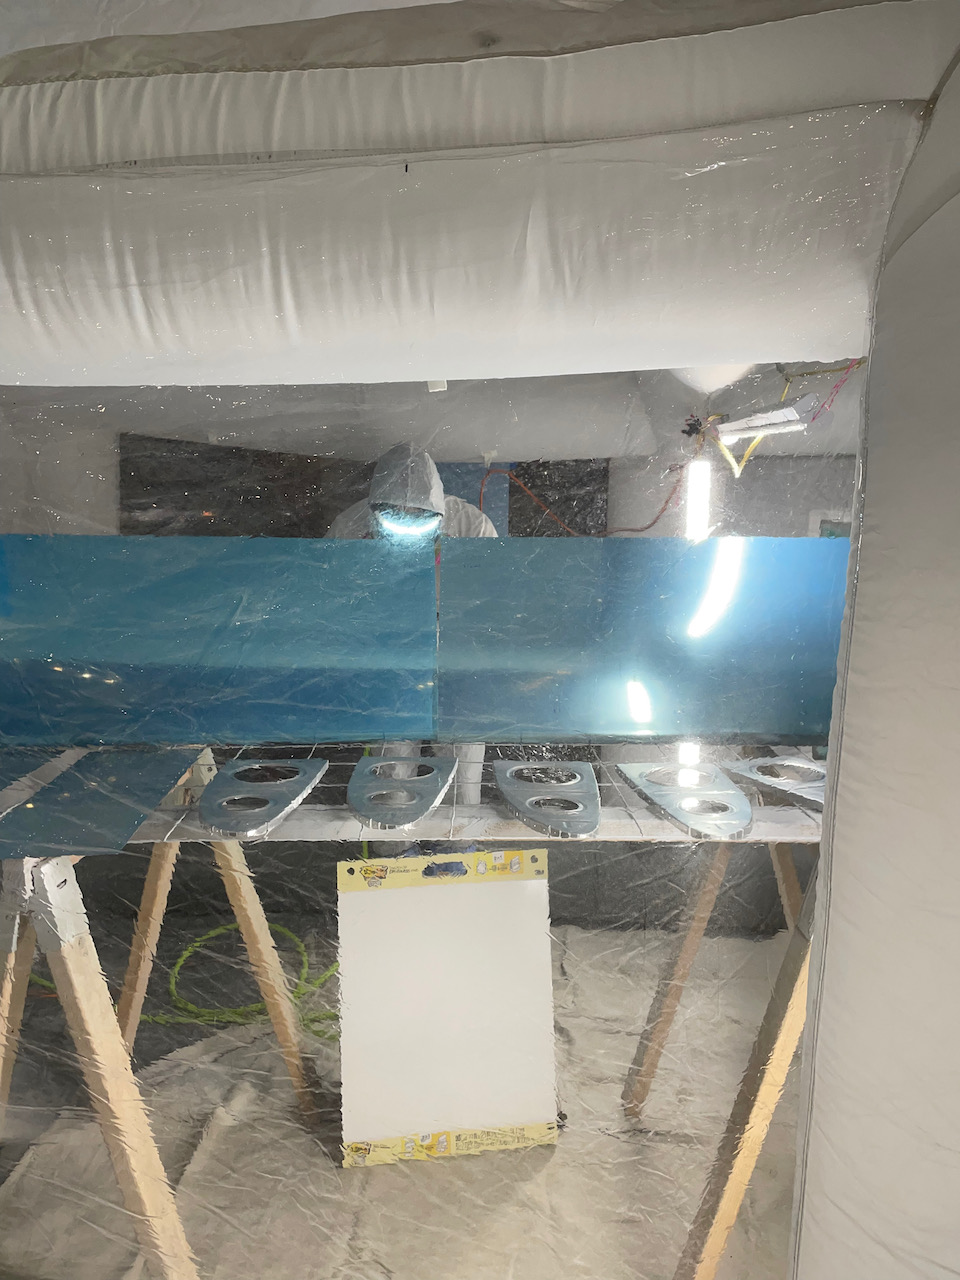
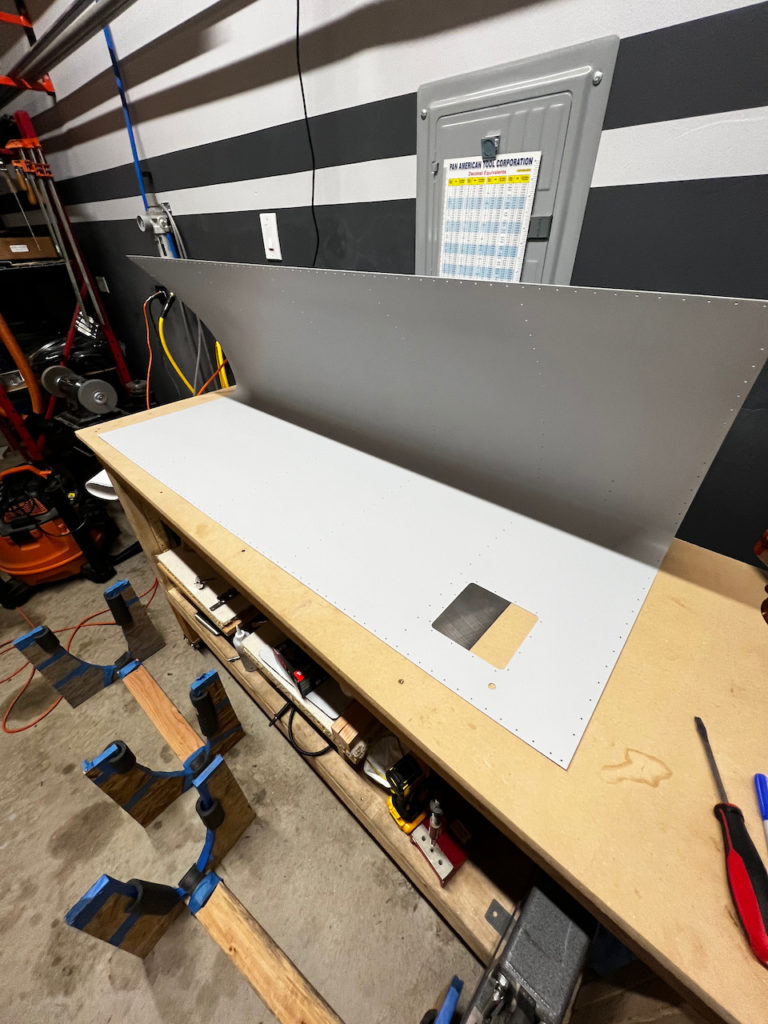
Getting the leading edge skins
as well as the top skins
thanks Paul and Kacy for the life saving torch heater
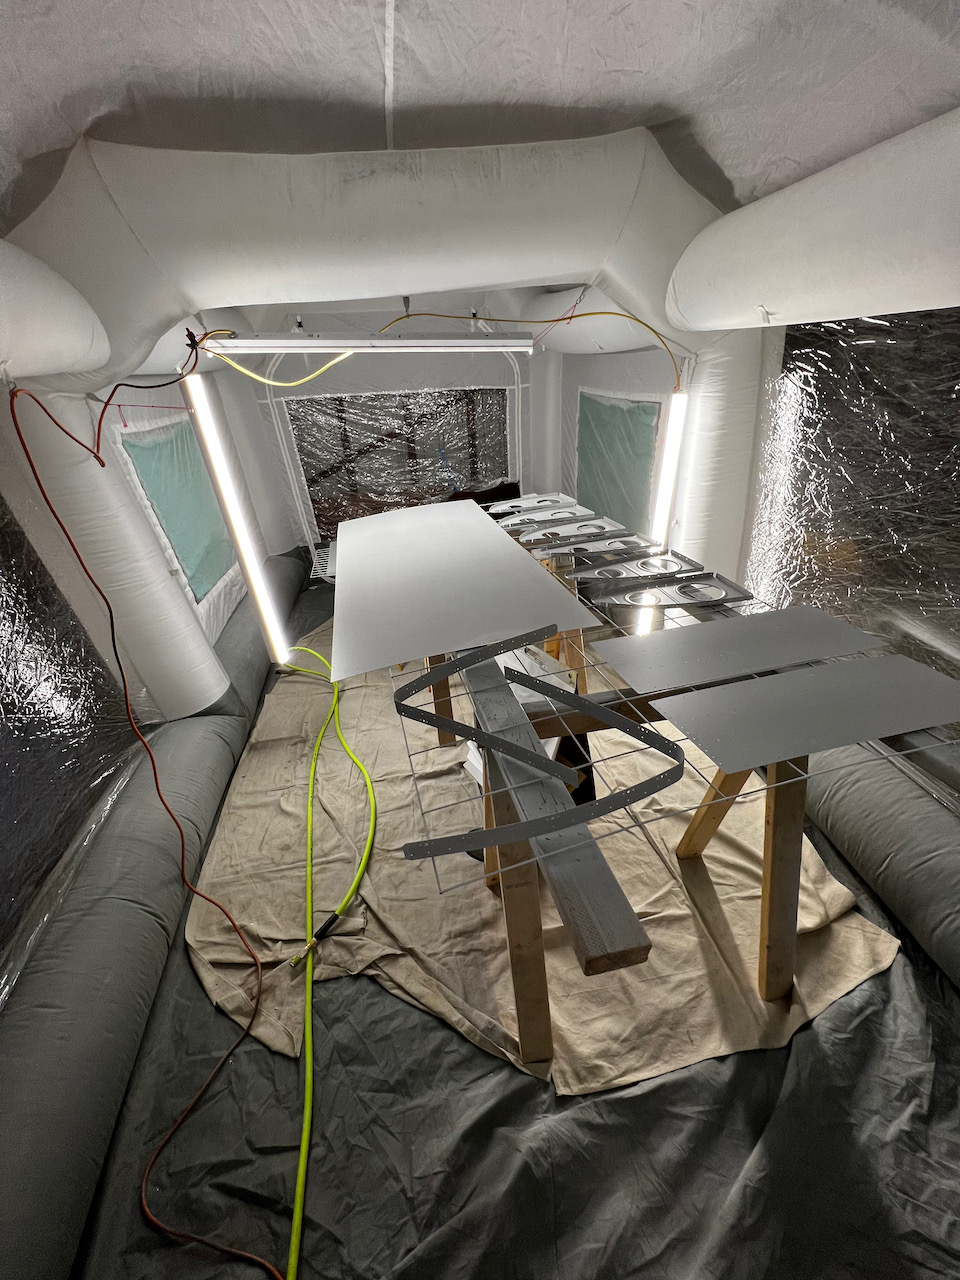
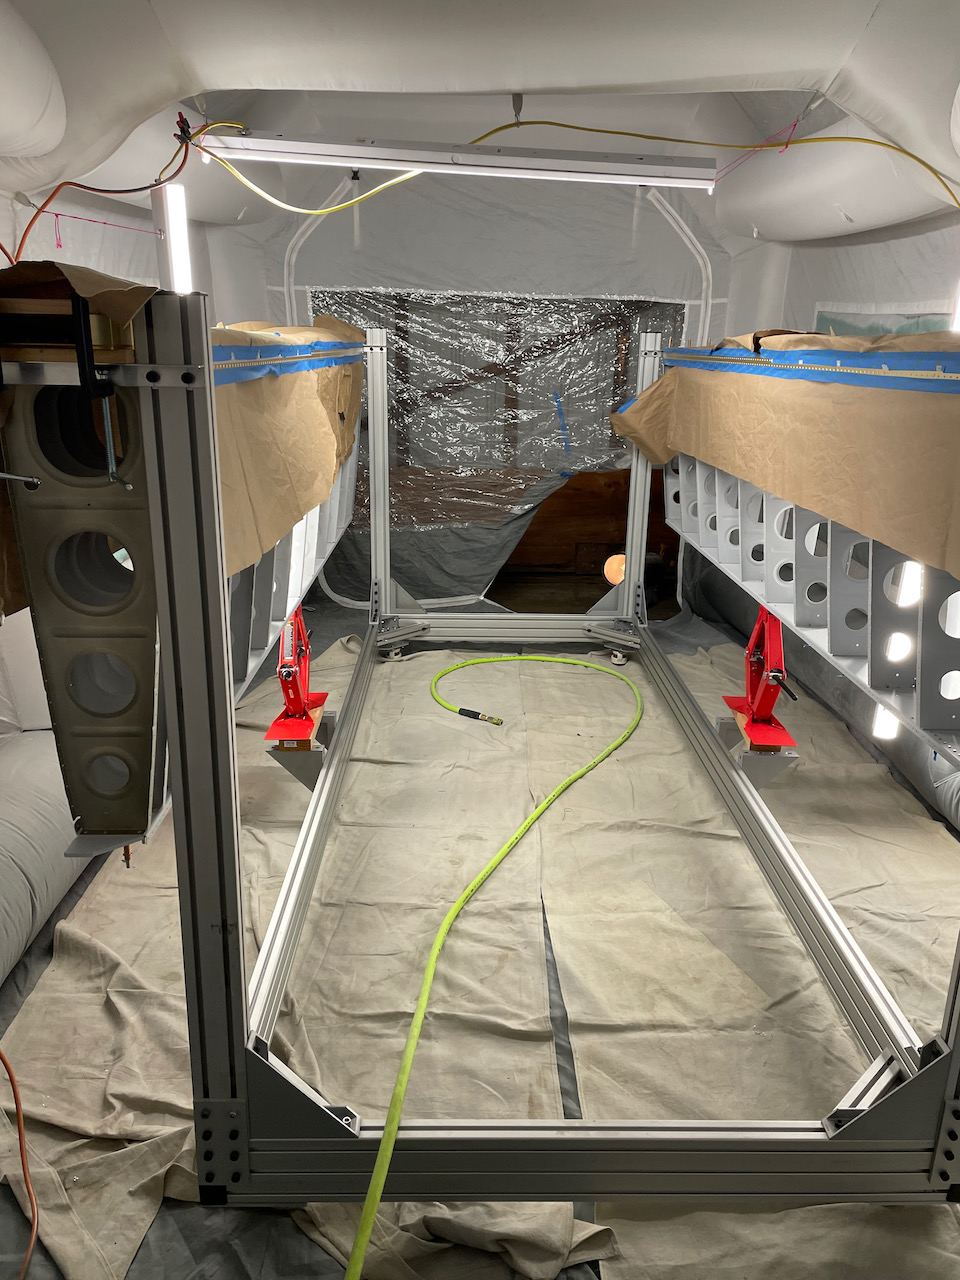
After getting all the main parts, Sam and I wheeled in the skeleton for a spray down of the countersink holes. I have to admit, I was pretty pumped the stand fit in the both, and it turns out it works great for spraying.
it fits!
and ready for priming
Ending close to midnight, I was reminded how much priming is all about the prep work. All in all, the actual act of painting was a total of 20 minutes of the 7+ hour session. Everything else was getting to that point. I now believe I have all the parts primed necessary for leading edge and top skin riveting. Next up I will be dimpling all the ribs, joint plate, and skins…the last step before rivetting begins. Until then, check out the finish product below…and Happy Building!!