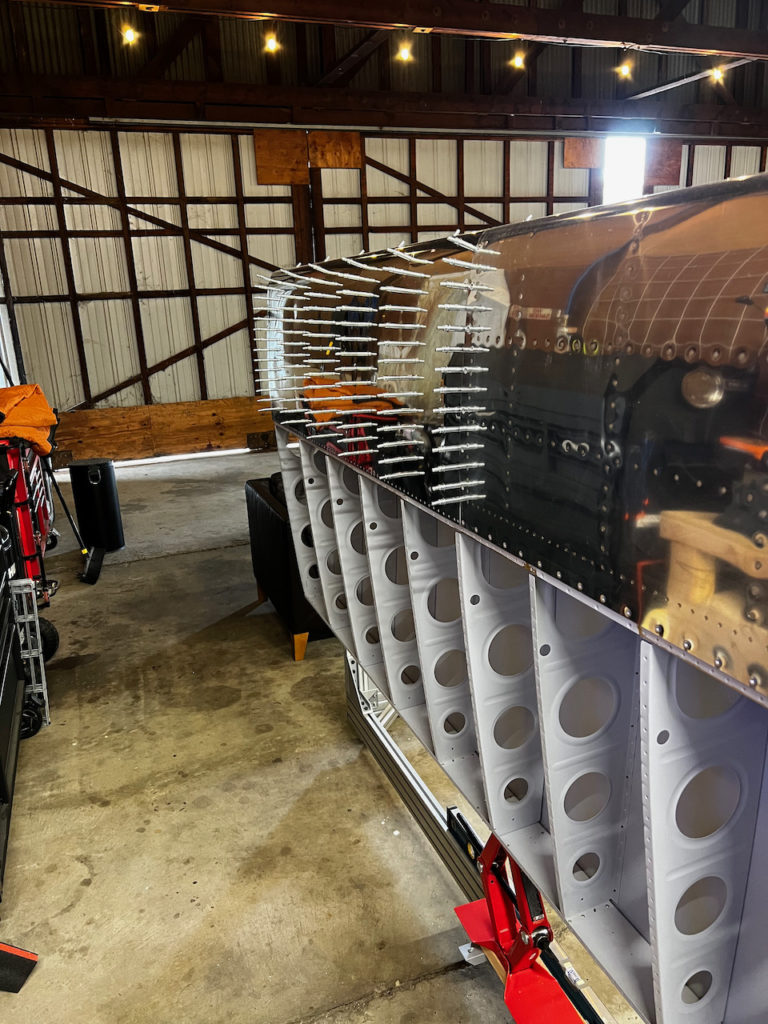
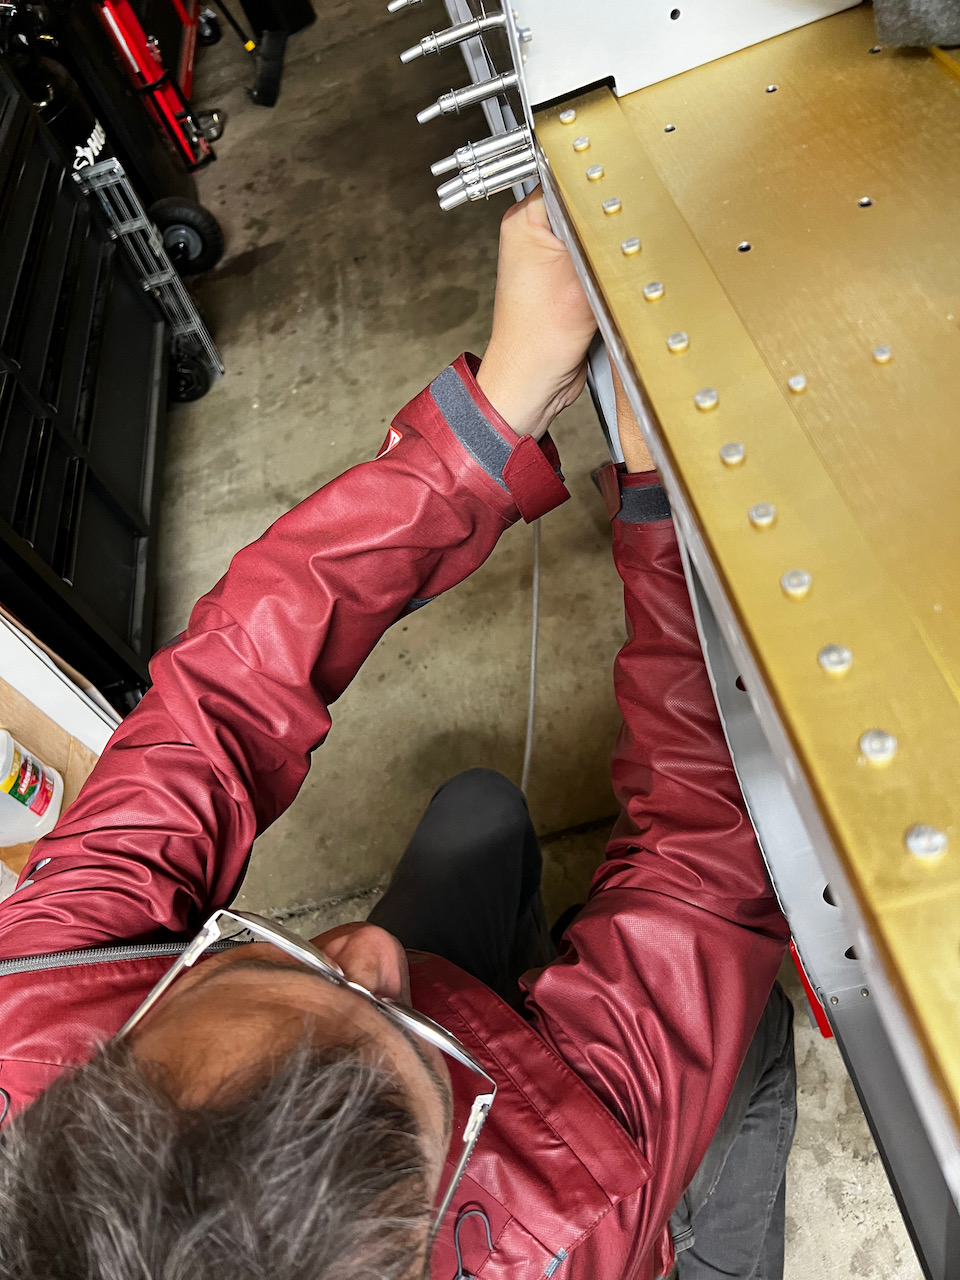
In a tale of two shifts and a marathon day, Sam and Todd helped me push through the right wing leading edge, all the way through rear flange rivetting. From our learnings on the left wing, we made some changes on the spar riveting and everything turned out great! With a 3pm start time I worked to get as much ready to go so when Sam got there. That included removing the leading edge off the right wing, and getting the aft most rivets squeezed on both the top and bottom skins.
last time the leading edge will be off the wing!
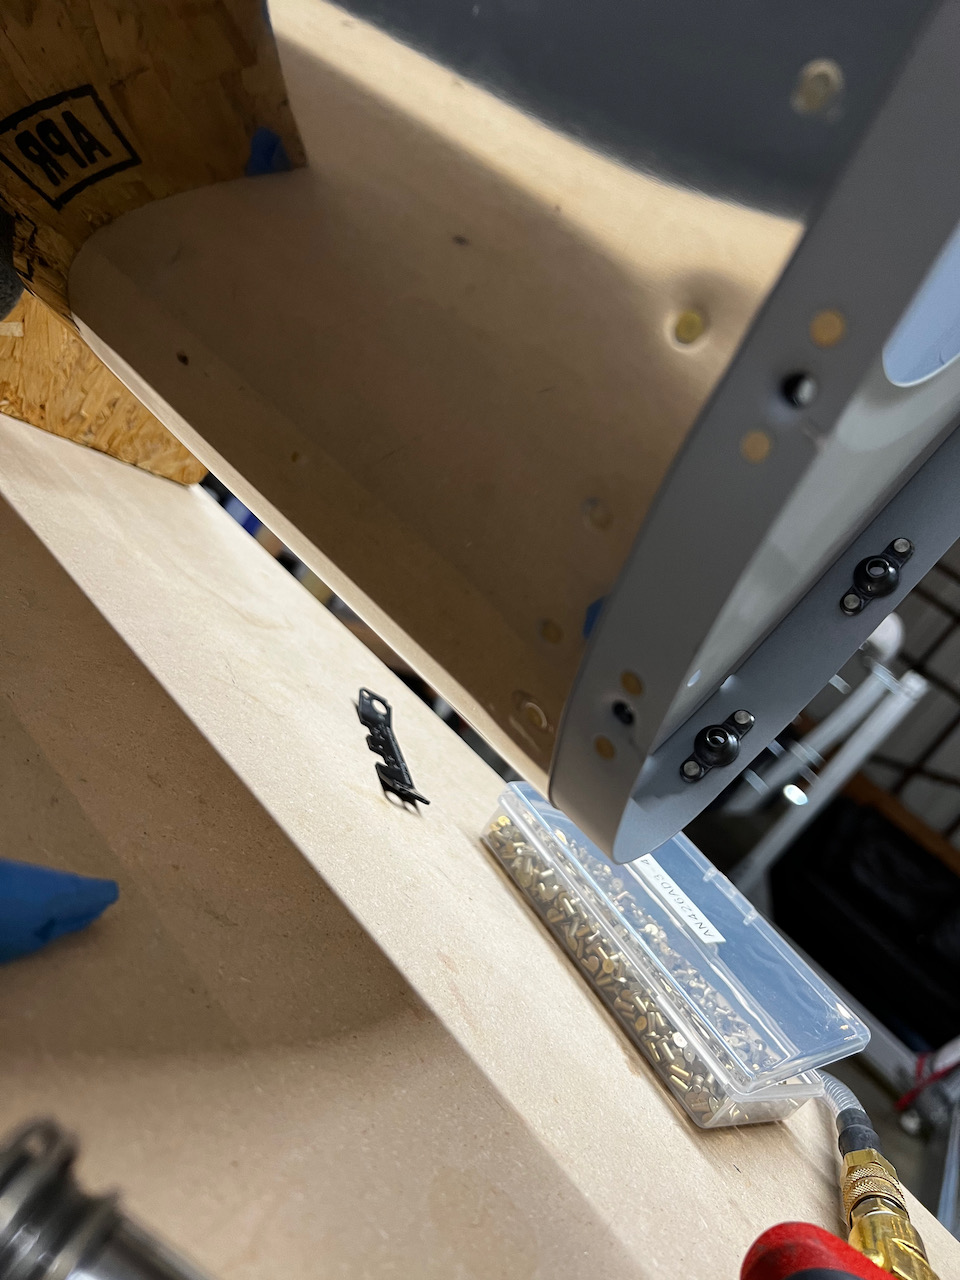
aft holes can be squeezed
Sam arrived shortly after me, and having done the left leading edge we got straight to business. We tightened up our workflow even more, and got through the skin riveting in less than 3 hours. I can’t imagine doing this on my own, and with Sam working the bucking bar, and rivet gauge, our results were extremely clean!
off and running!
half way through the skin riveting
the leading edge rivets are the hardest, but they looked great!
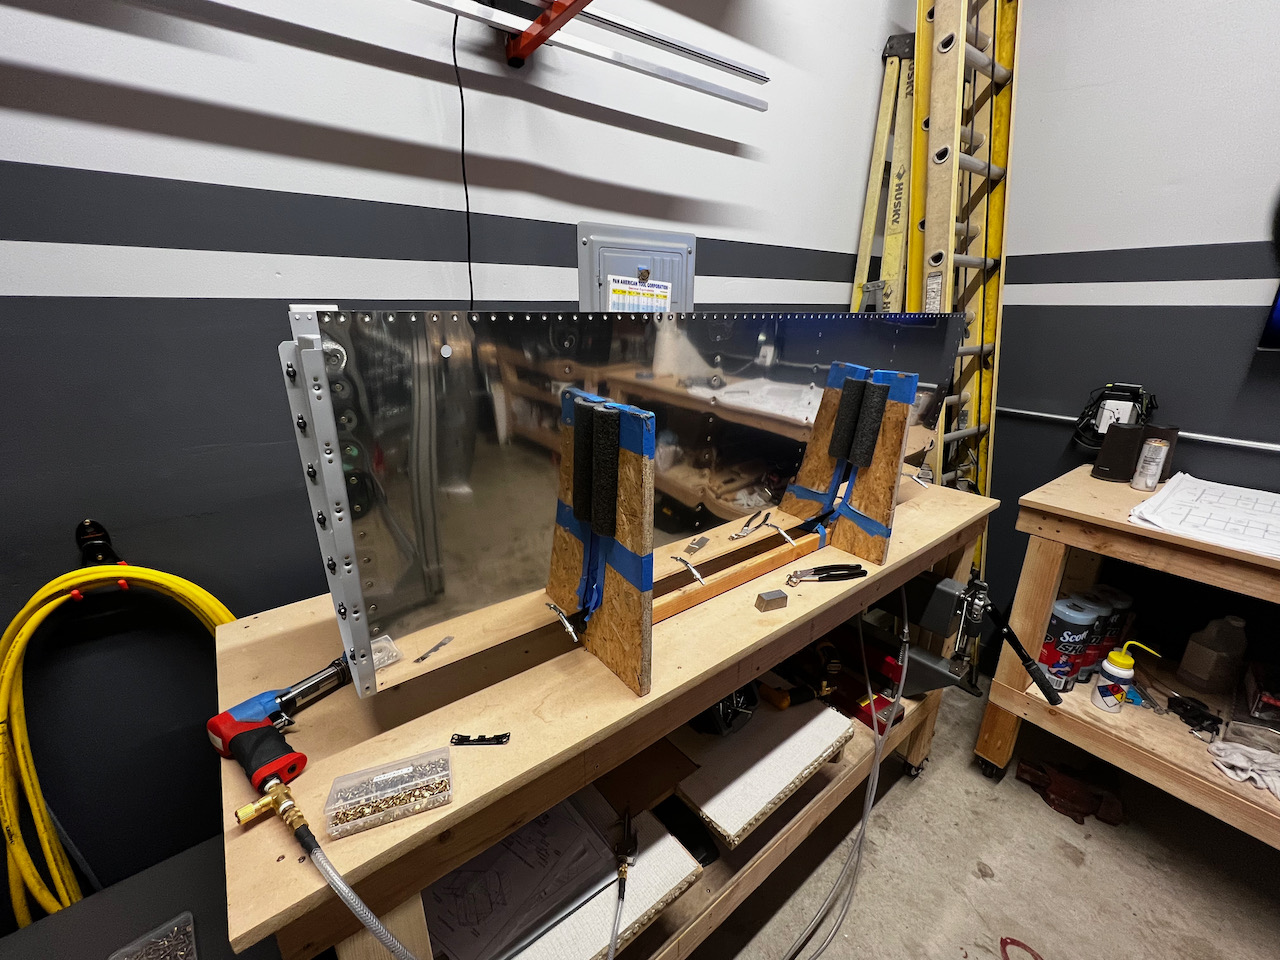
all done! That was fast!!
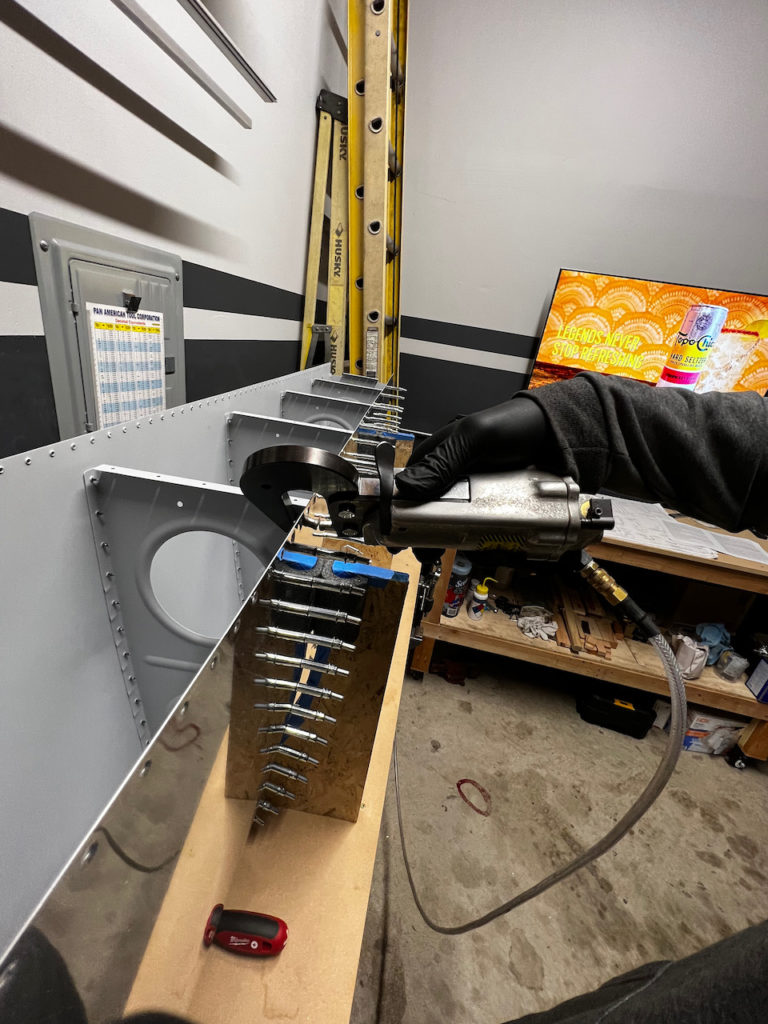
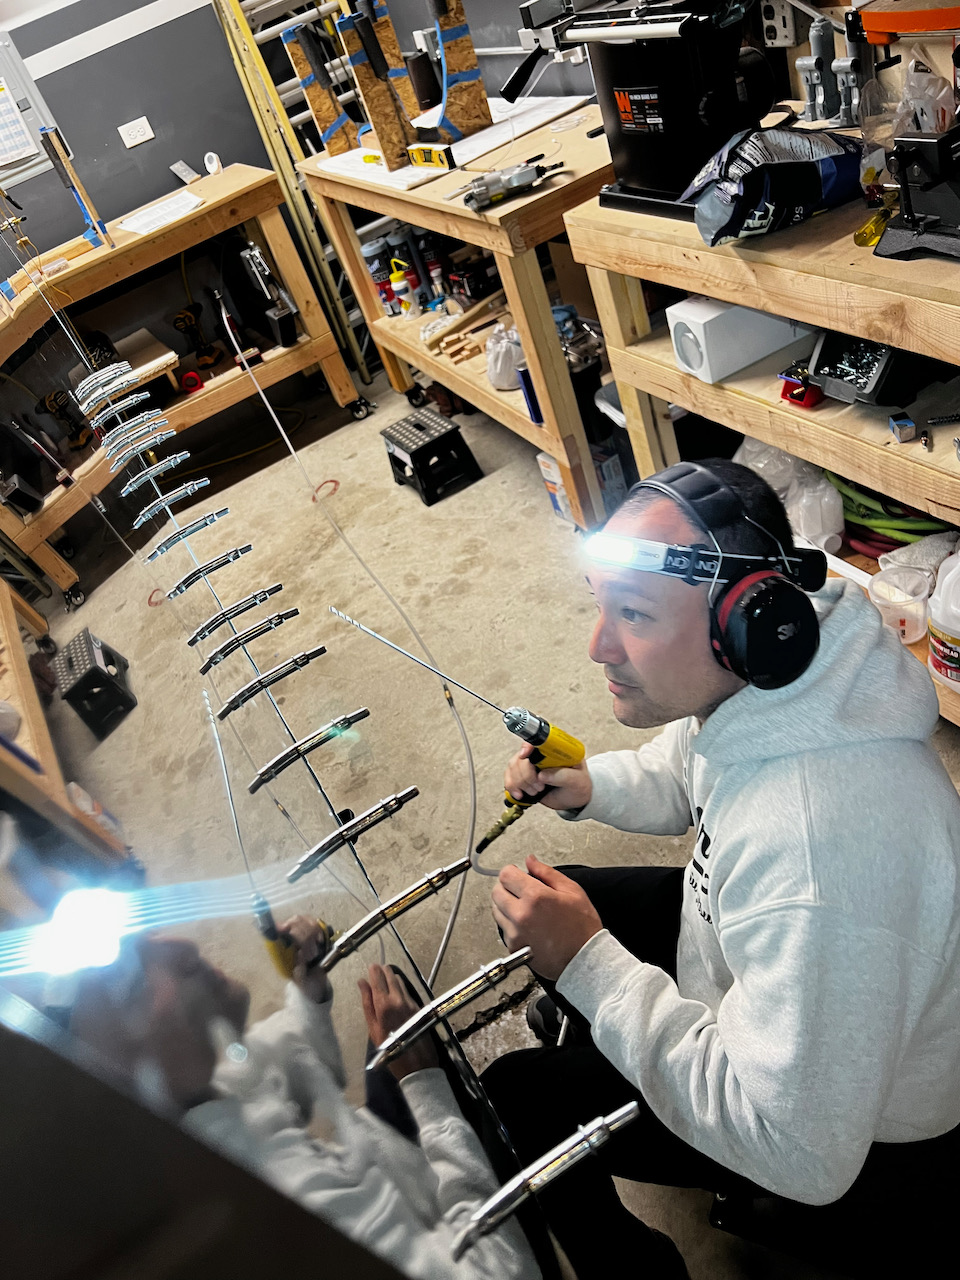
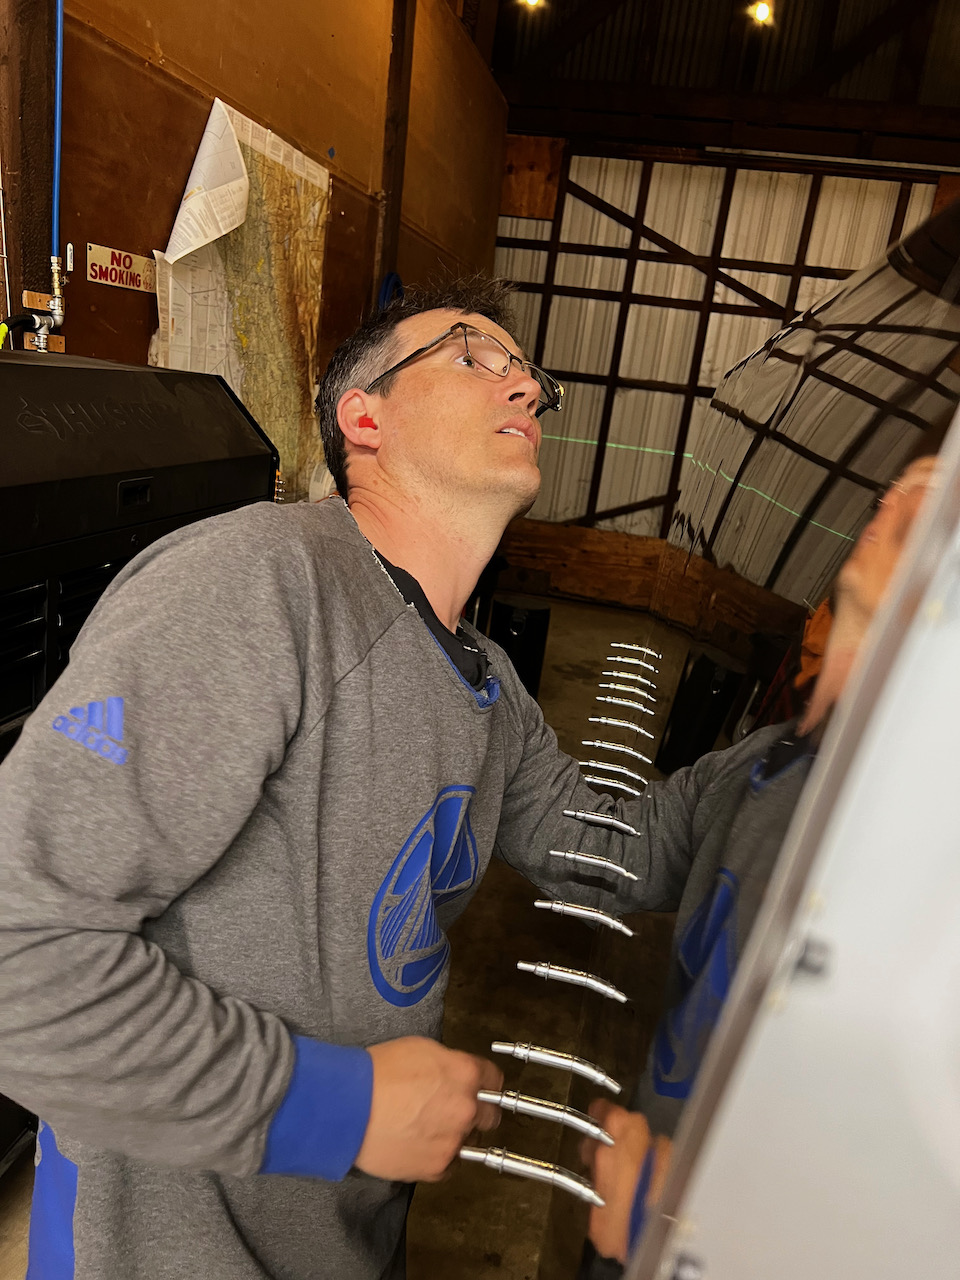
Honestly, I thought that was going to be the evening. If we stopped there, we would have enjoyed a nice meal and then headed home, but good ol’ Sam threw out the challenge of getting a couple of the rib’s rear flanges riveted on the main spar. I don’t think I’ve ever denied a challenge from Sam (since I was 13 years old!), so we decided to do one and see how it goes. After leveling the wing, and taking out as much twist as we could, we used the technique of rivet gun inside the leading edge, rather than trying to rivet from the main spar side. Although it was a little bit more yoga to do a rivet, the results were much cleaner. Half way through the flange riveting, Tod showed up to cheer us on.
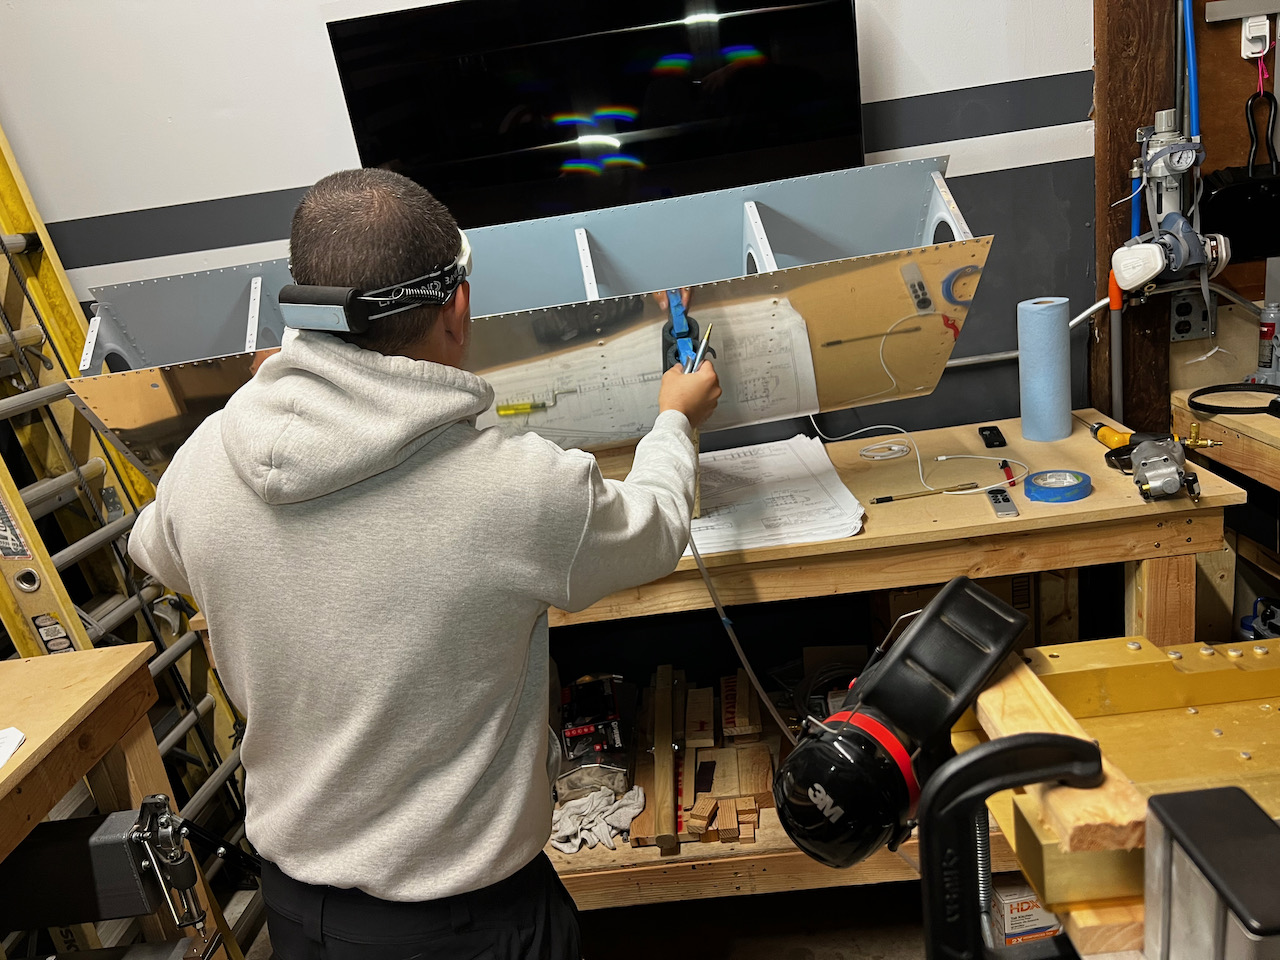
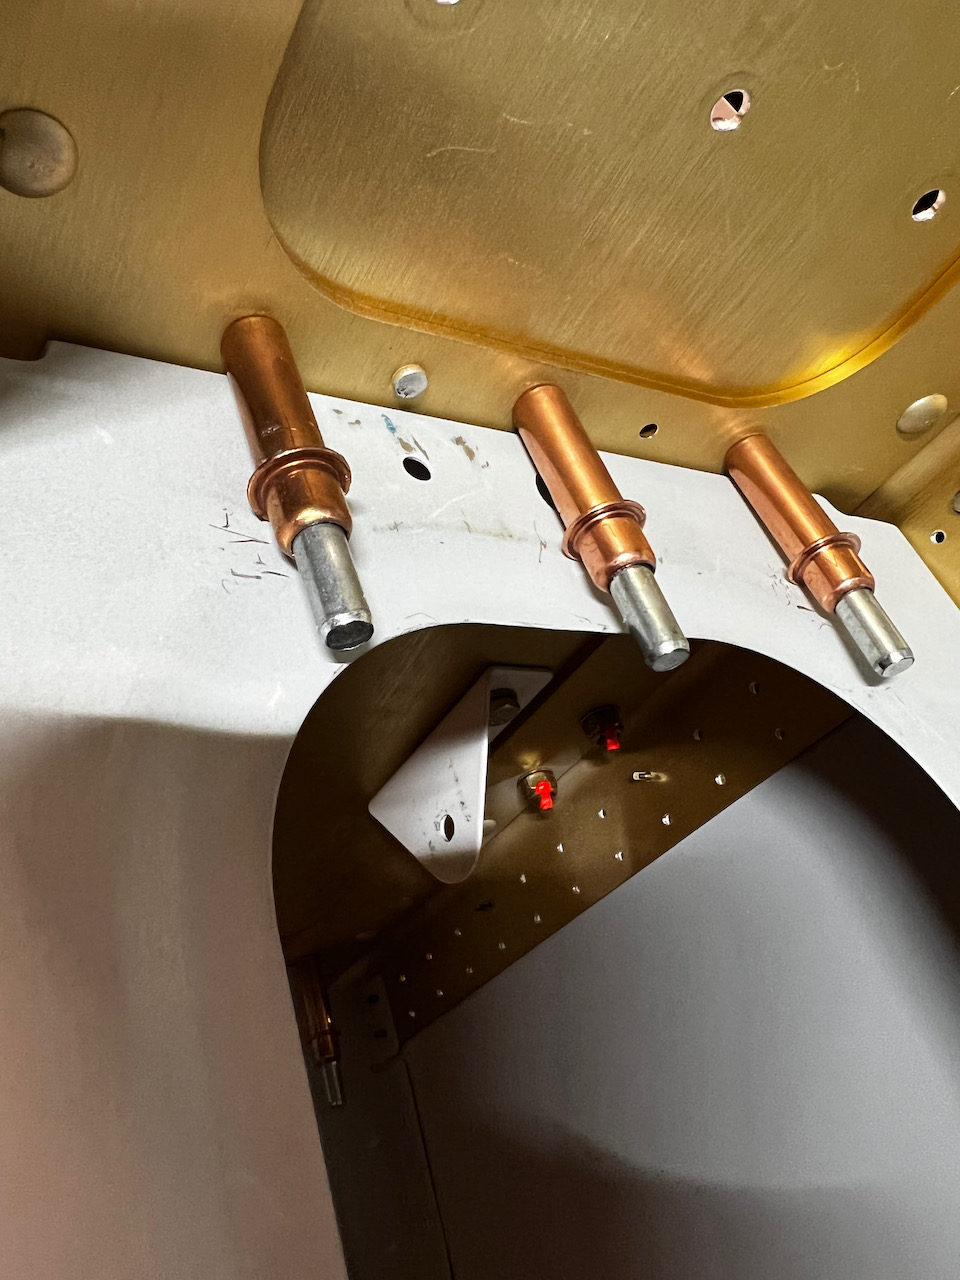
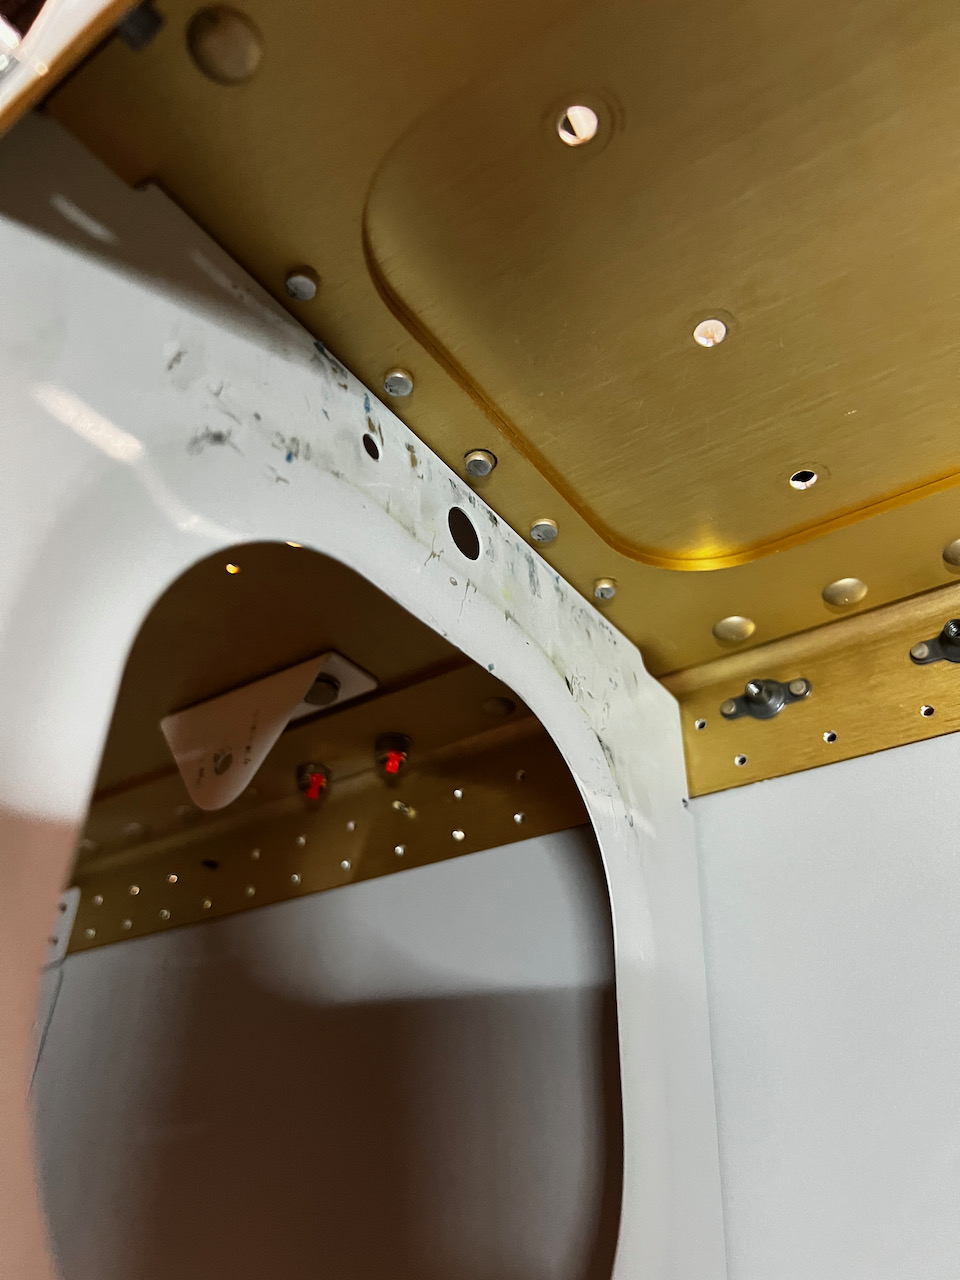
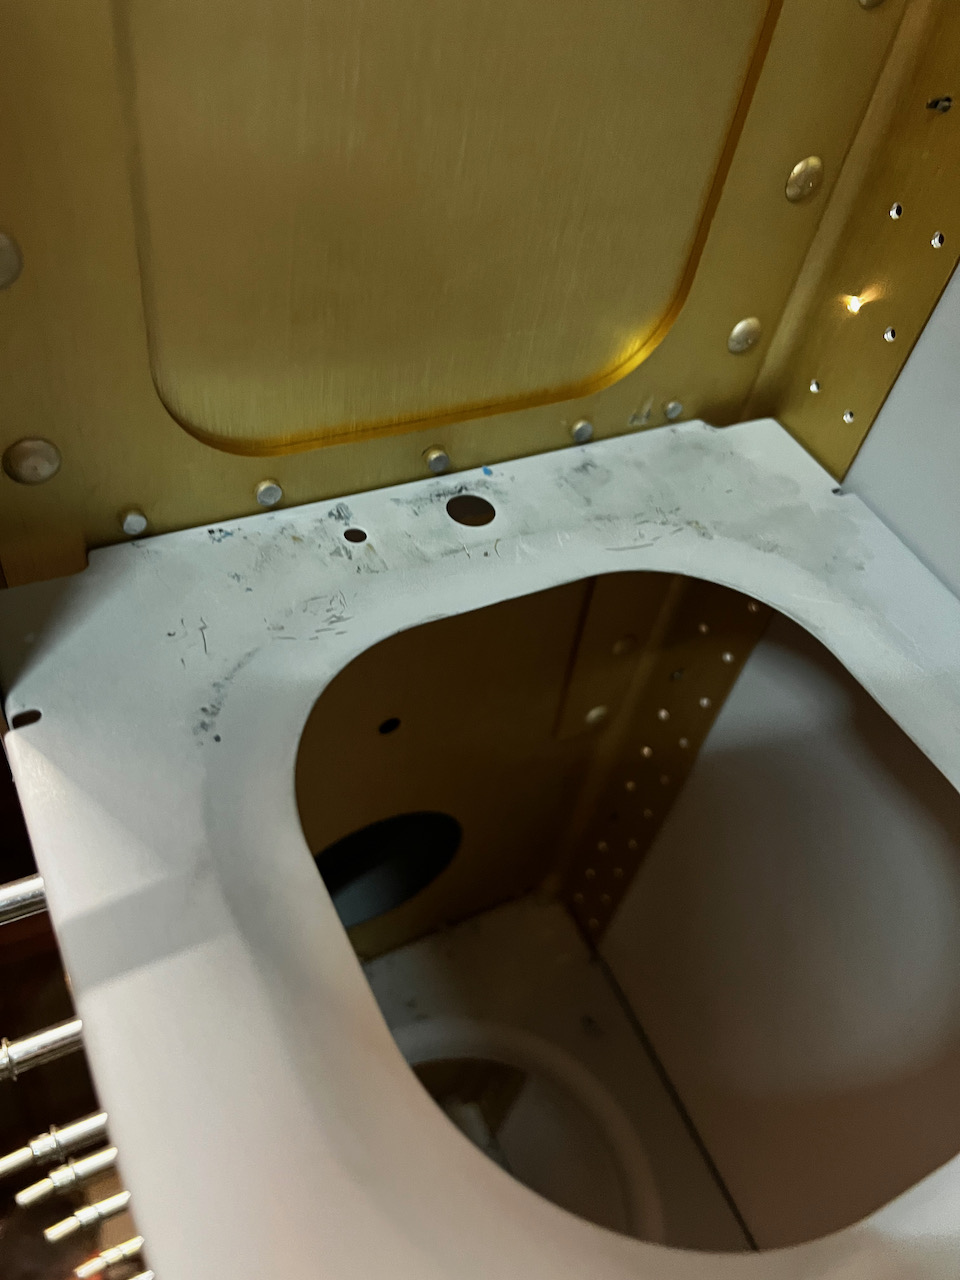
Doing one last match drilling to get holes right sized
12″ bit is the only way to get it done
Sam did some drilling as well.
Sam doing final blow out to clean any shavings after drill and debur
cleacoing on the LE one last time!@
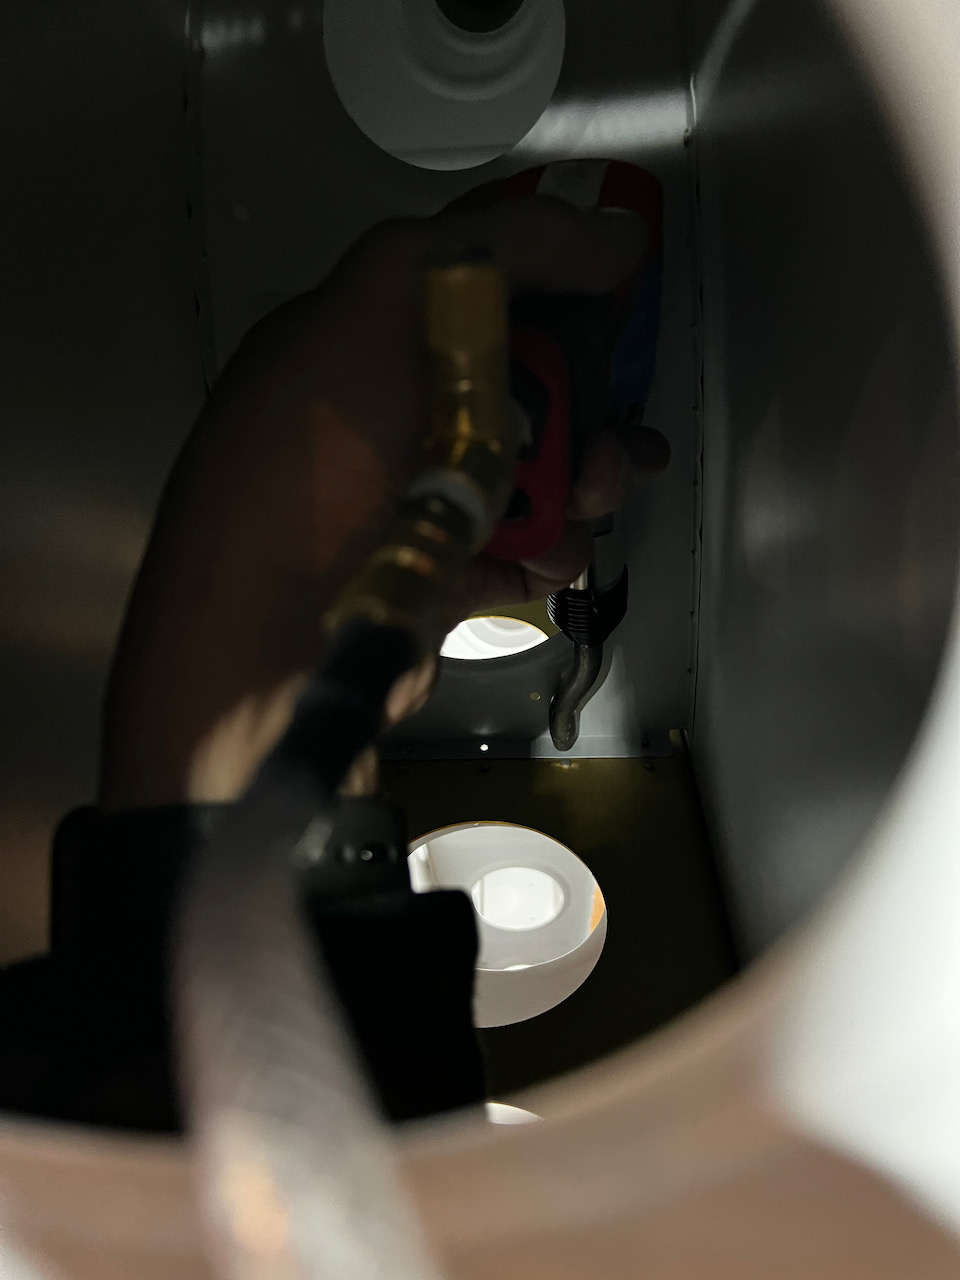
Believe it or not, we got the rivet gun WAY in the leading edge
You can see how hard it is to get the rivet set onto the head
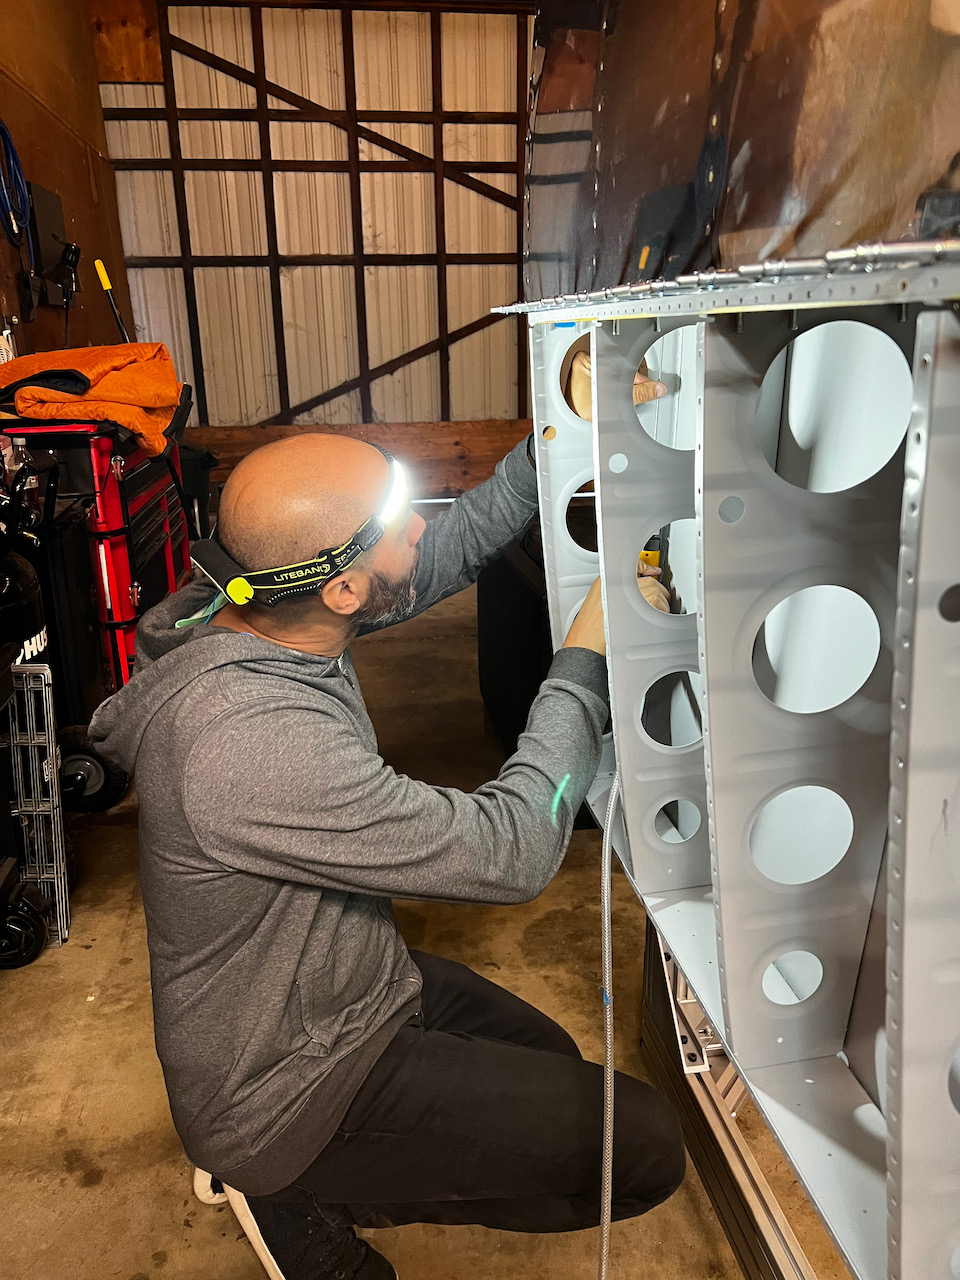
Gun inside leading edge, with Sam bucking the shop head underneath. It definitely takes two.
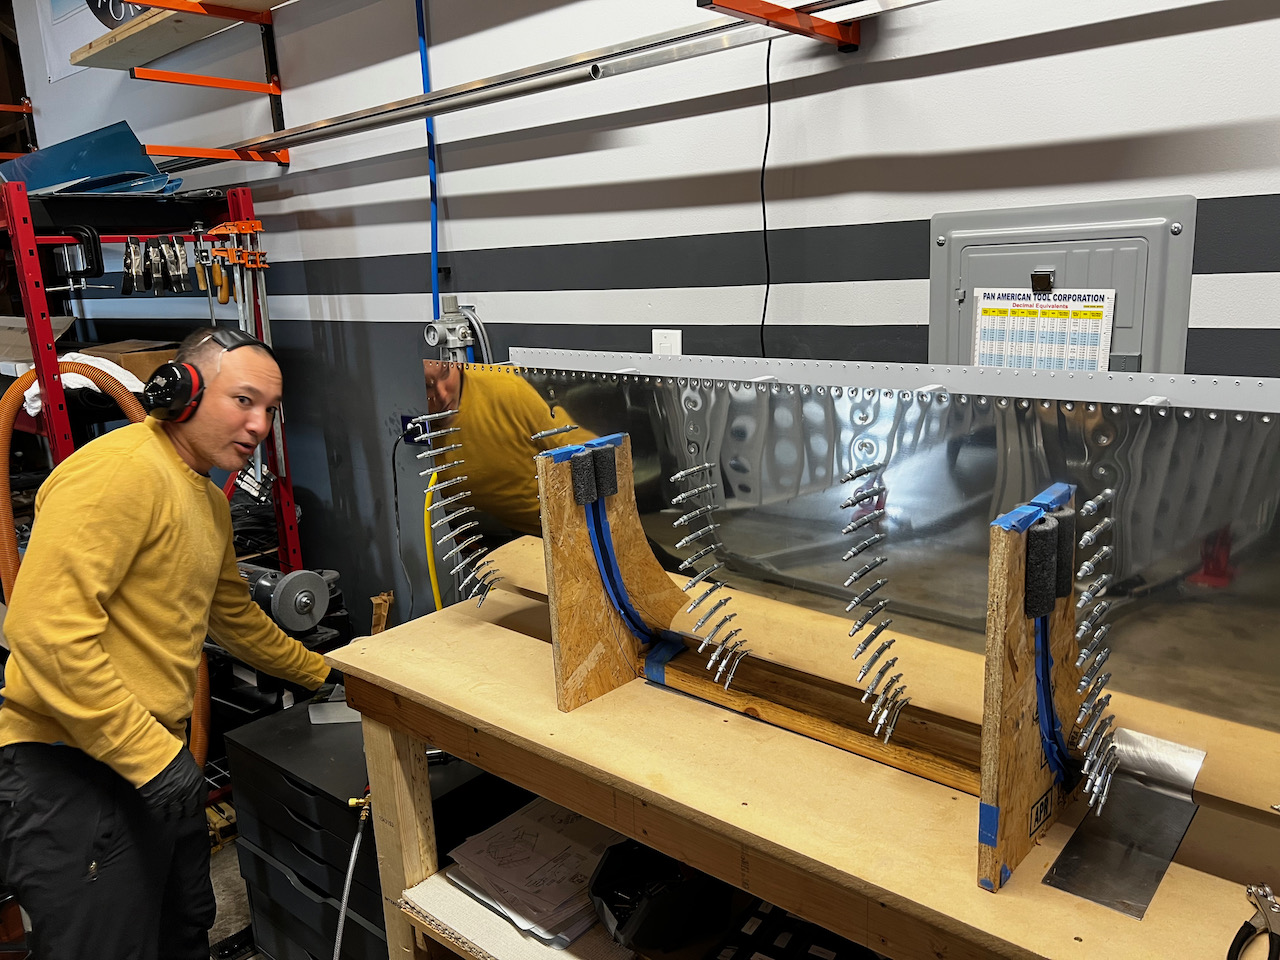
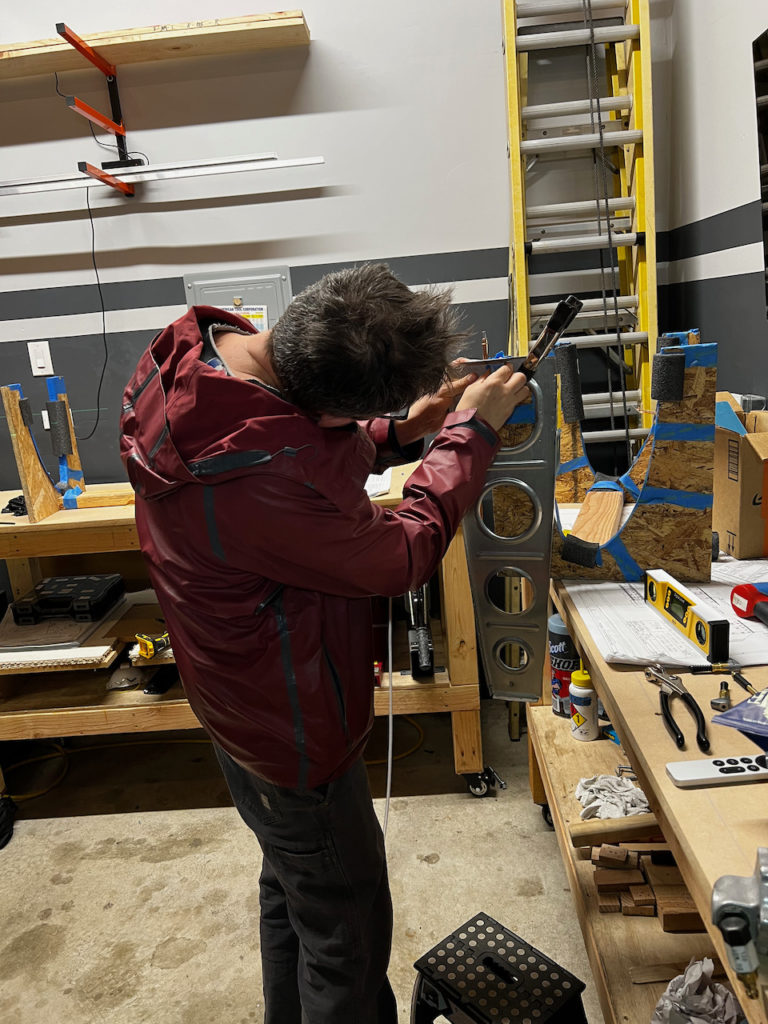
Around 9pm, after 3 out of 6 ribs done, Sam needed to head home so Tod and I decided to give it a go. Tod is a trooper willing to try his first rivets on such an important and undoable step like the spar. Obviously we didn’t want to have his first bucks to be on the actual plane so we set up a simulated rib to flange riveting scenario to give him a couple practice bucks.
getting ready for Tod's first rivets with a practice setup
close up of our practice setup
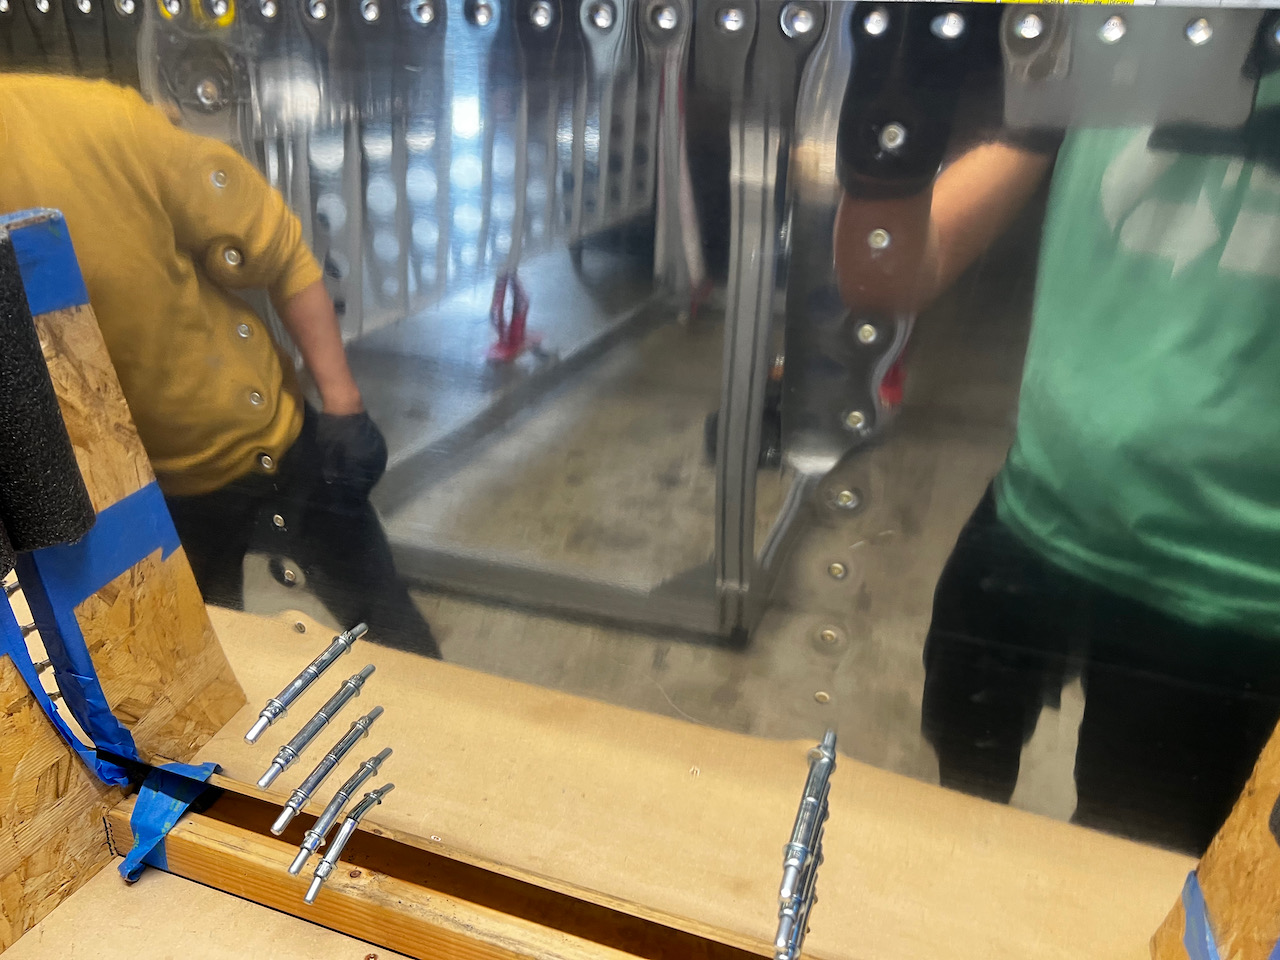
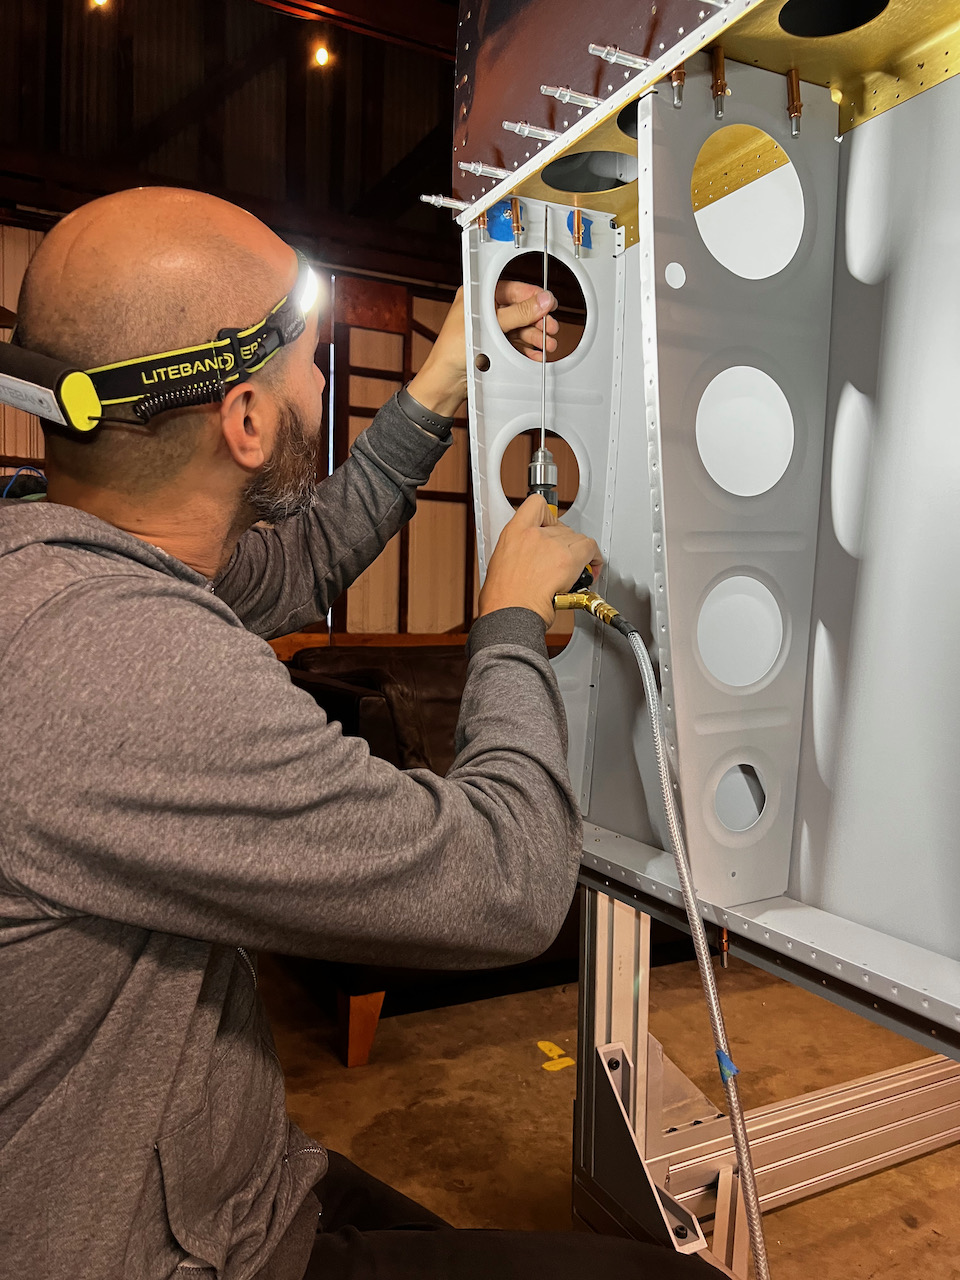
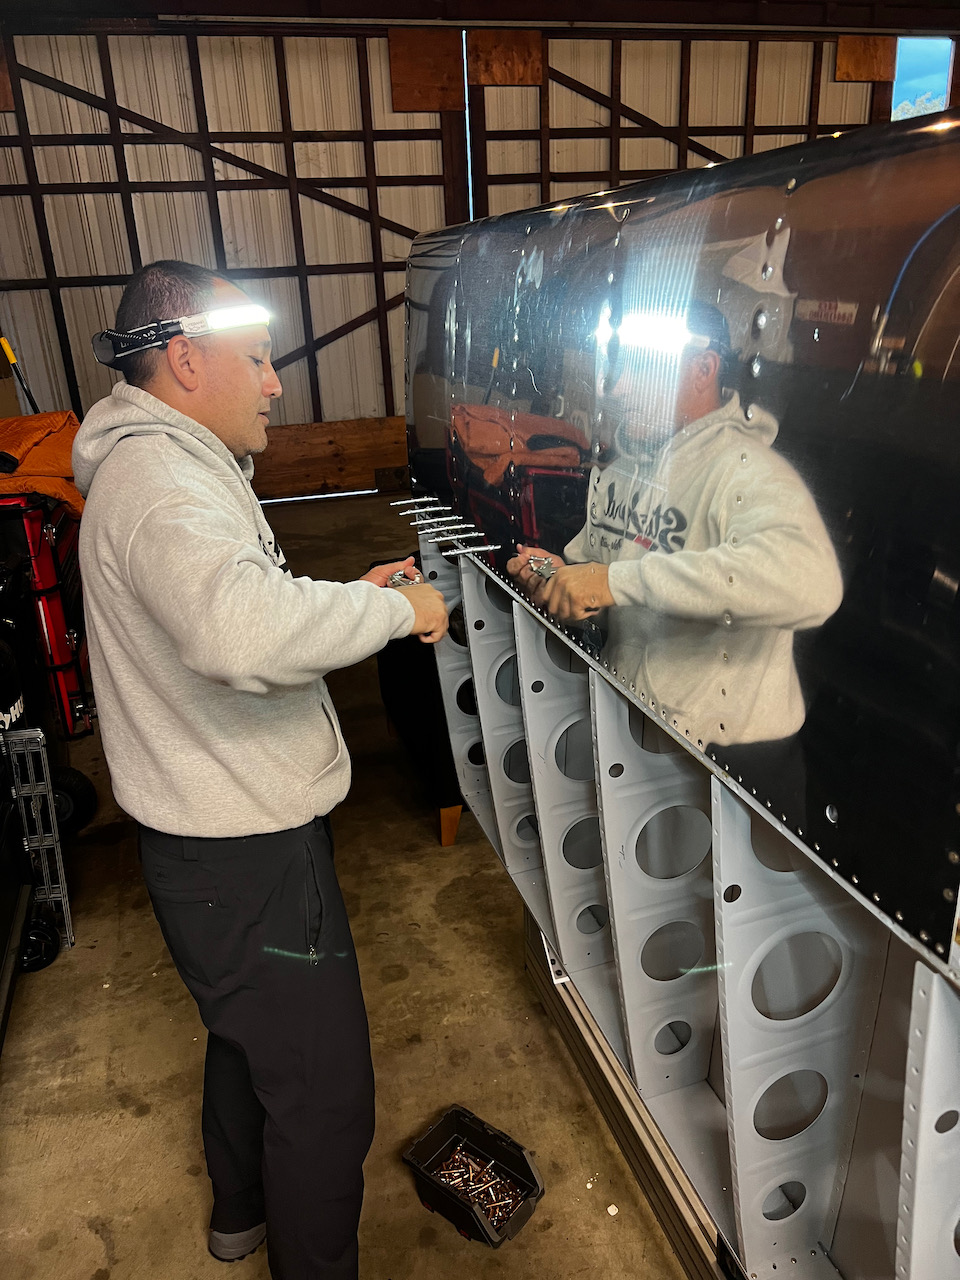
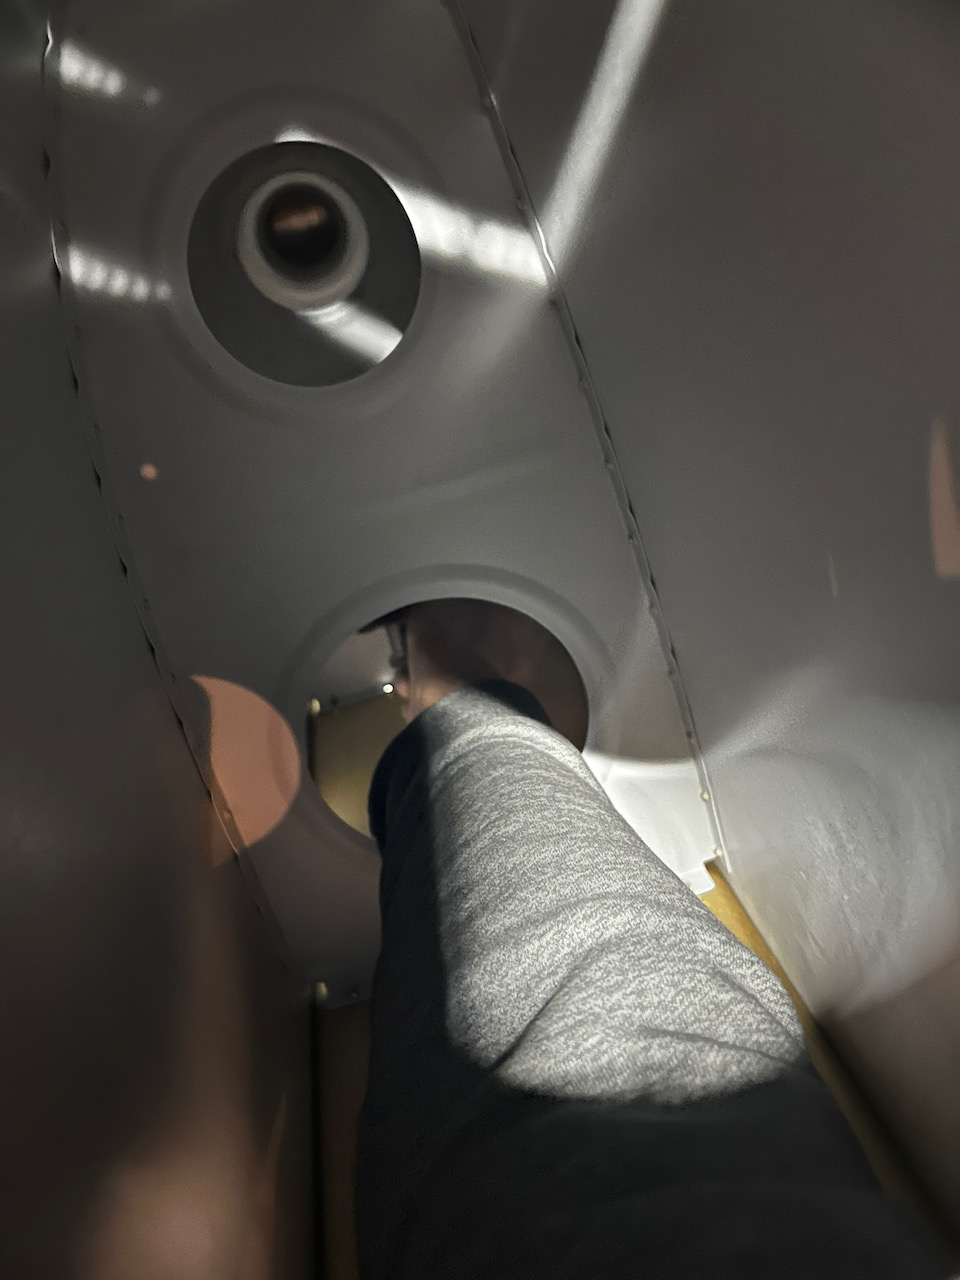
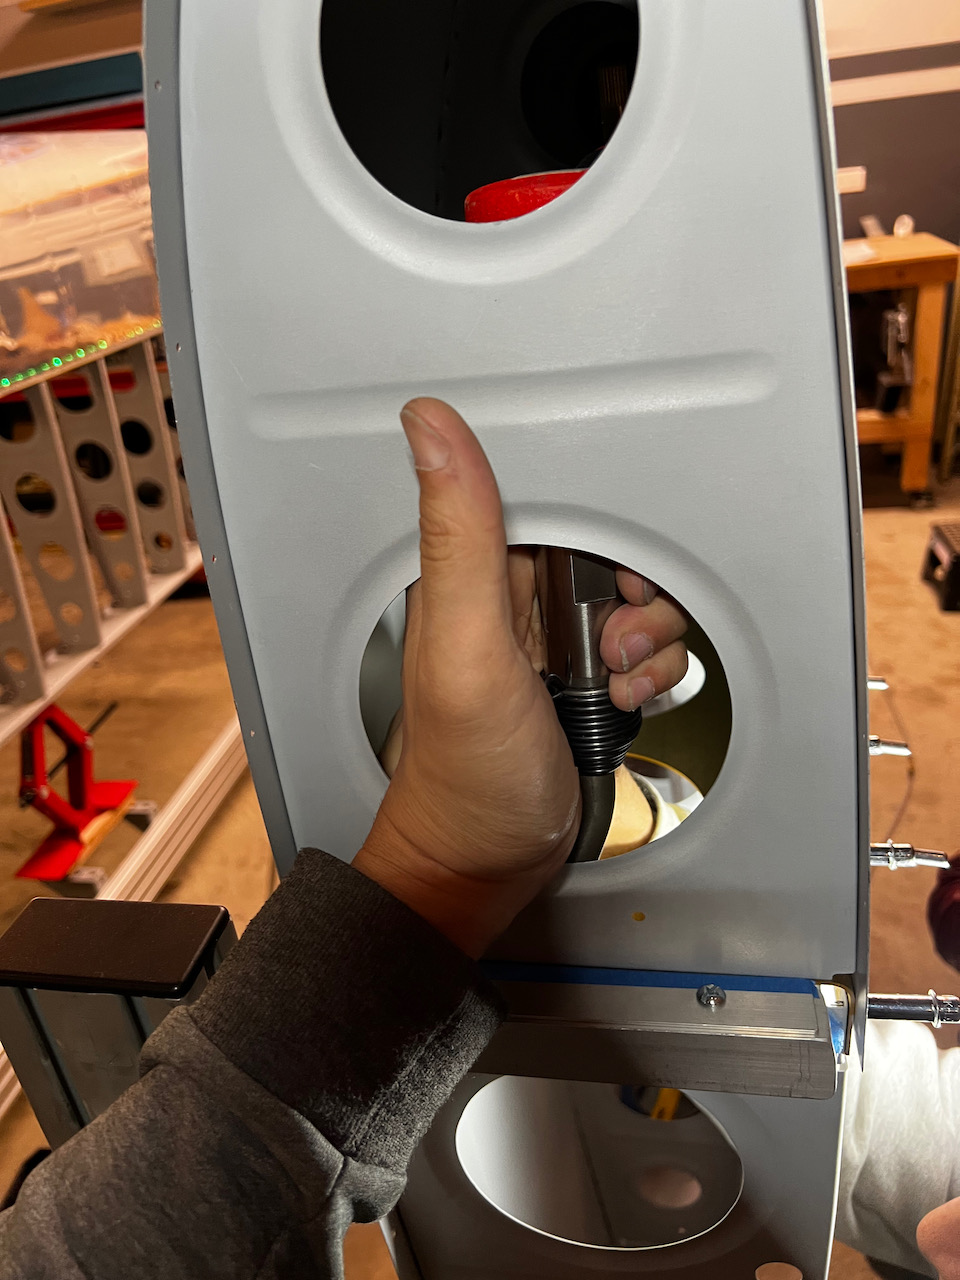
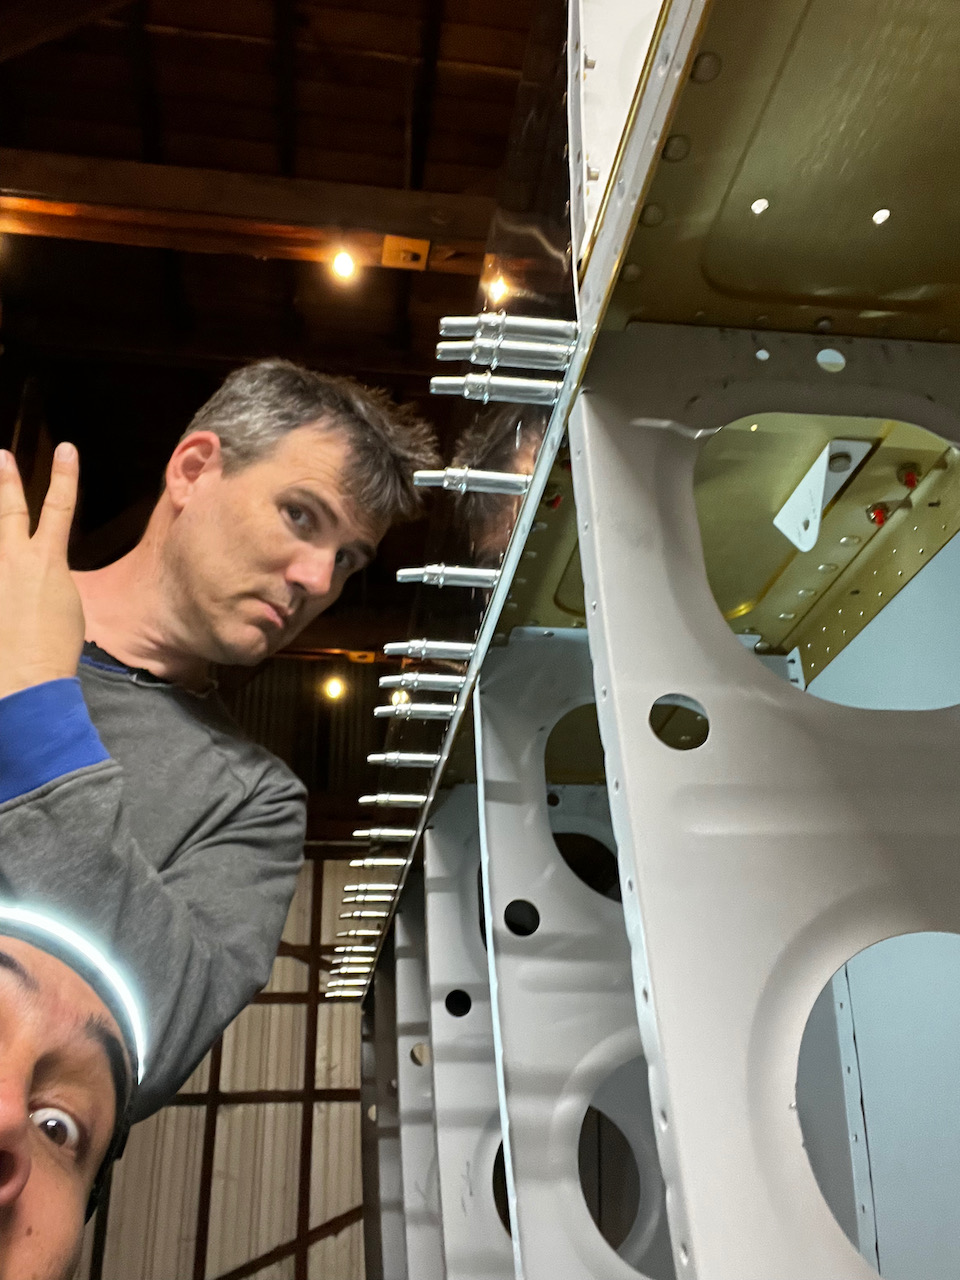
With practice complete, Todd took his job seriously and we proceeded to knock out the remaining three ribs. Net-Net, Tod absolutely rocked the bucking side, and has unfortunately revealed to the world that his is a competent (and even excellent) rivet bucker. Sorry Tod! You’re in for the long haul now! The inner most bay of the leading edge was especially challenging getting the rivet gun positioned properly. Todd and I ended up disassembling the gun inside the bay to orient it properly, and then both reaching in to reassemble it. I’m not sure how folks with shorter arms than me (6’8″ wing span) could actually do all of bays. It was a stretch ( no pun intended) to get it done.
Let’s go Tod!!
FIrst shop head is a beauty! Nice work Tod!!
Tod reaching in to help assemble the gun inside the bay
I literally had to have my arm that deep for the last rib
Shop heads looking great!
late night crew getting it done!
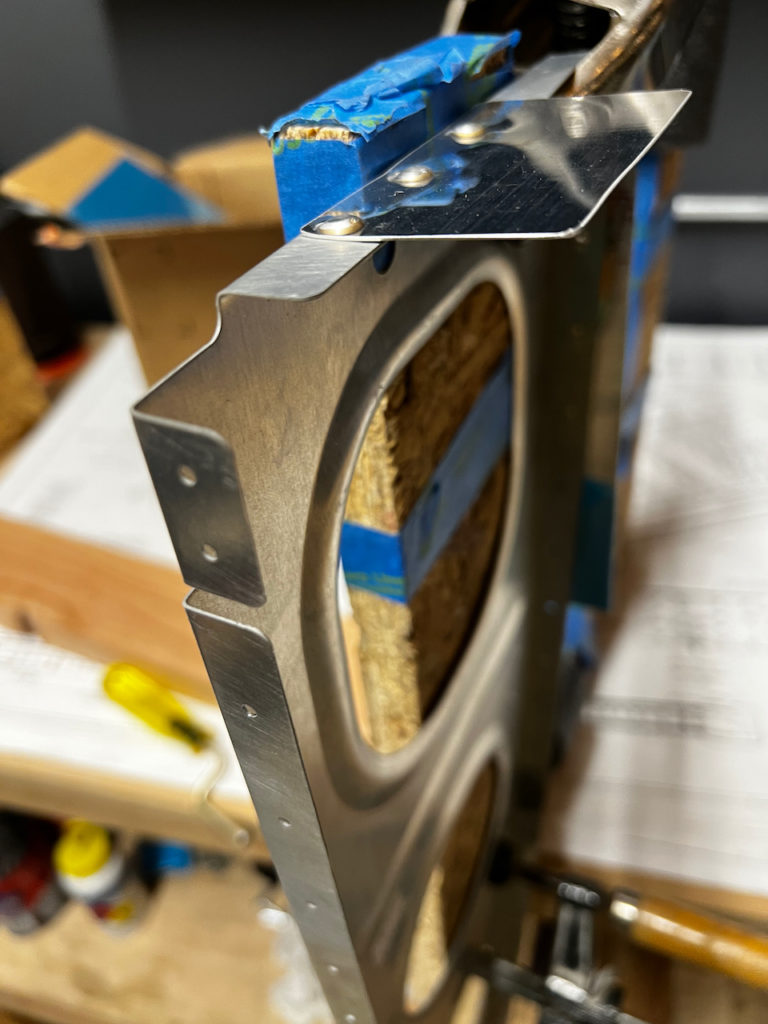
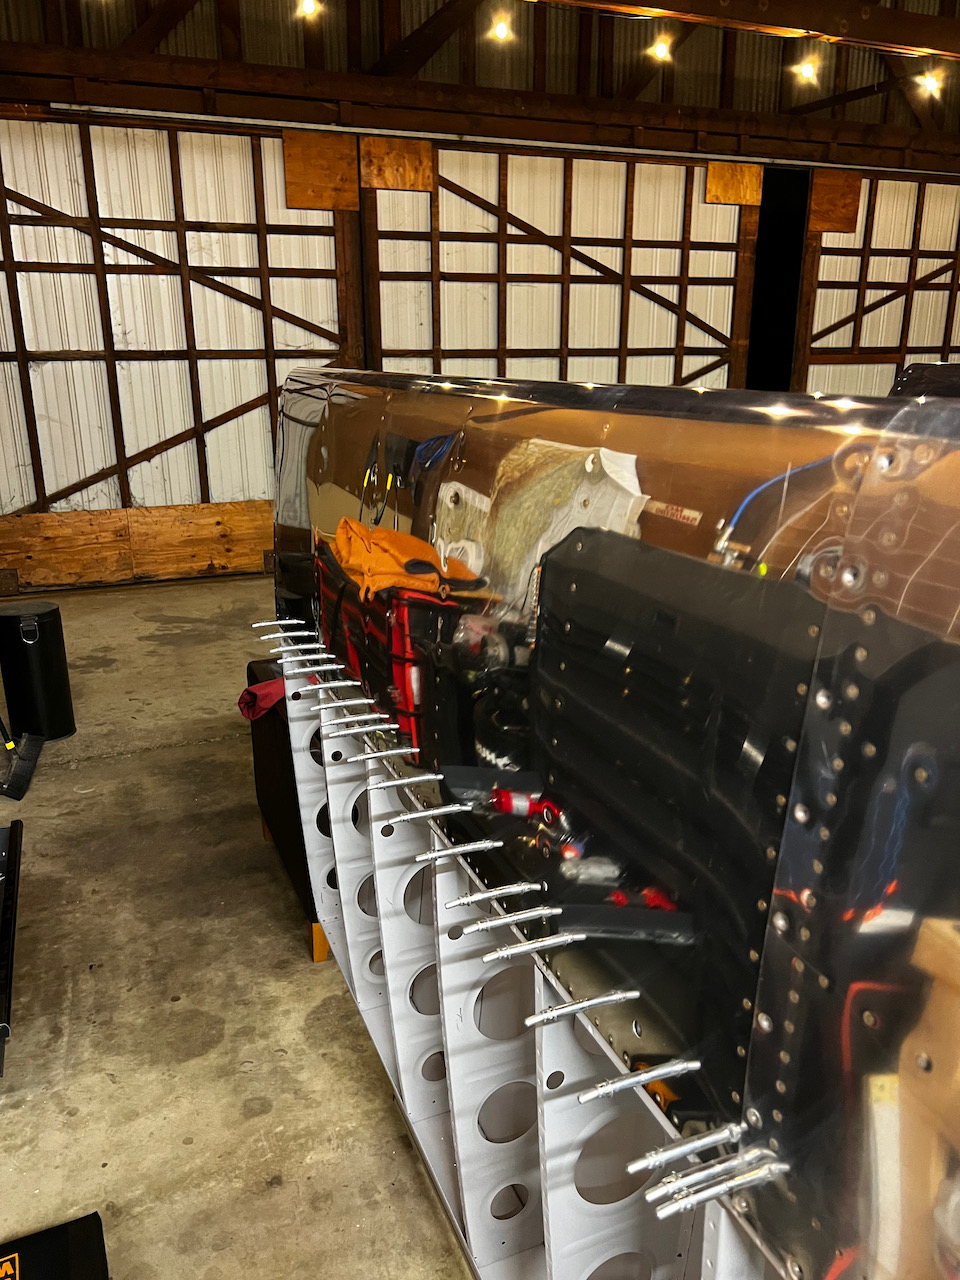
All done!
Overall, it was an epic day of plane building, and it’s always great to do it with friends. Sam and Tod were troopers and together we got through hundreds of rivets. Next up will be squeezing the spanwise trailing edge of the skin to the main spar flange. It’s an easy one person job and hopefully will be done before the end of the week! Until then, I leave you with a photos of the finished leading edges…and happy building!