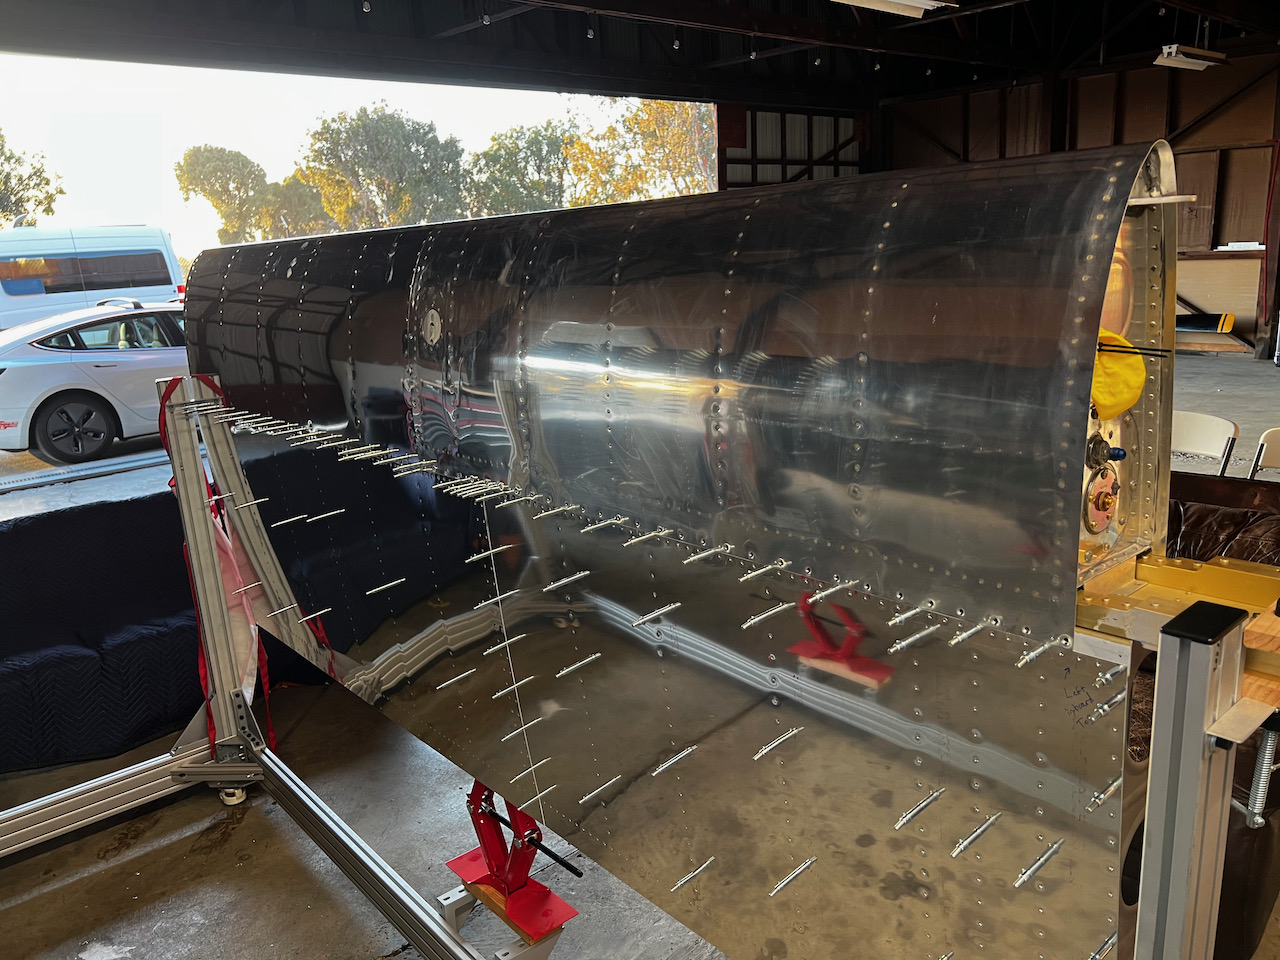
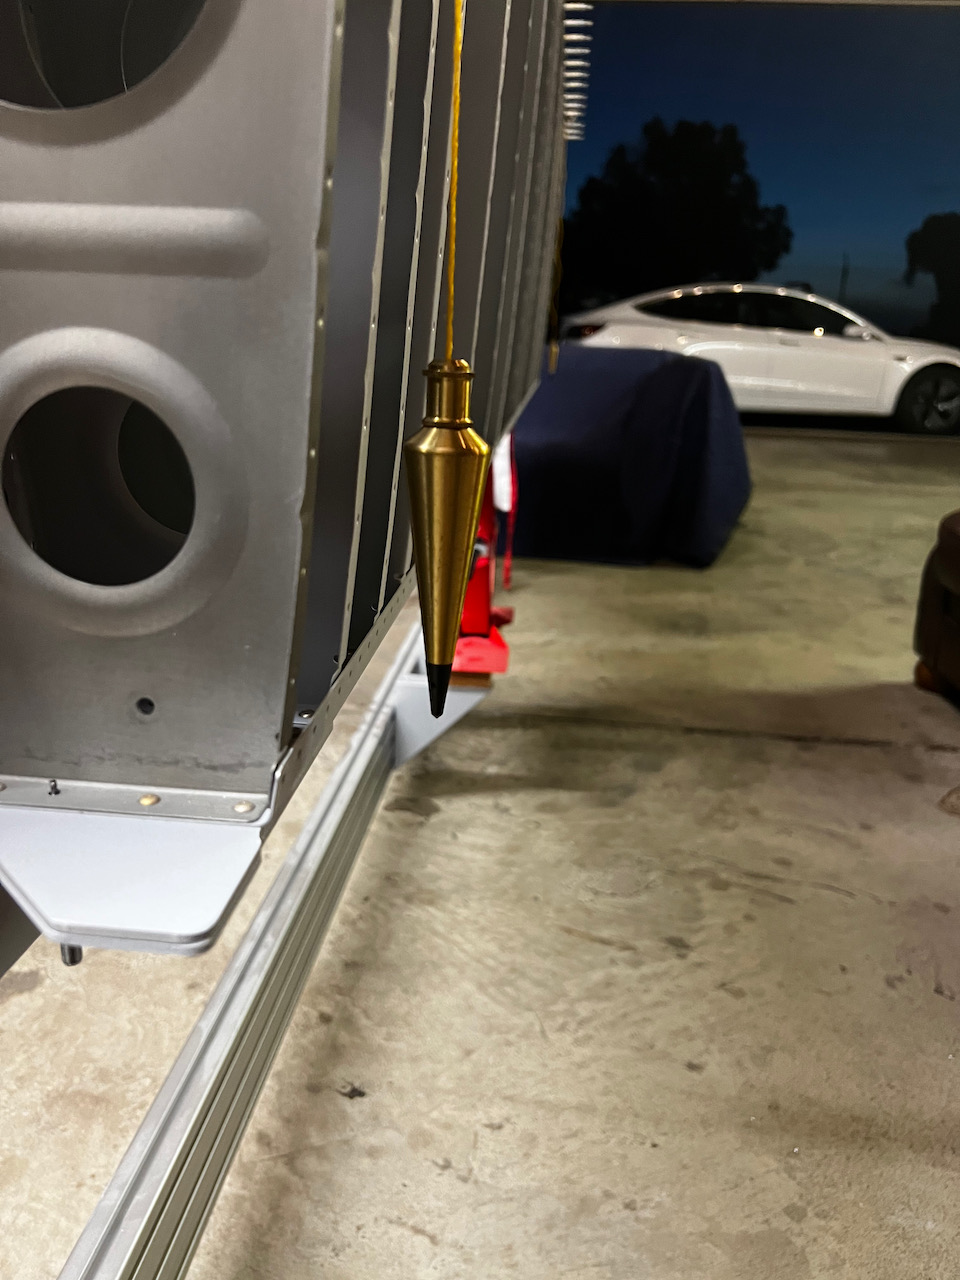
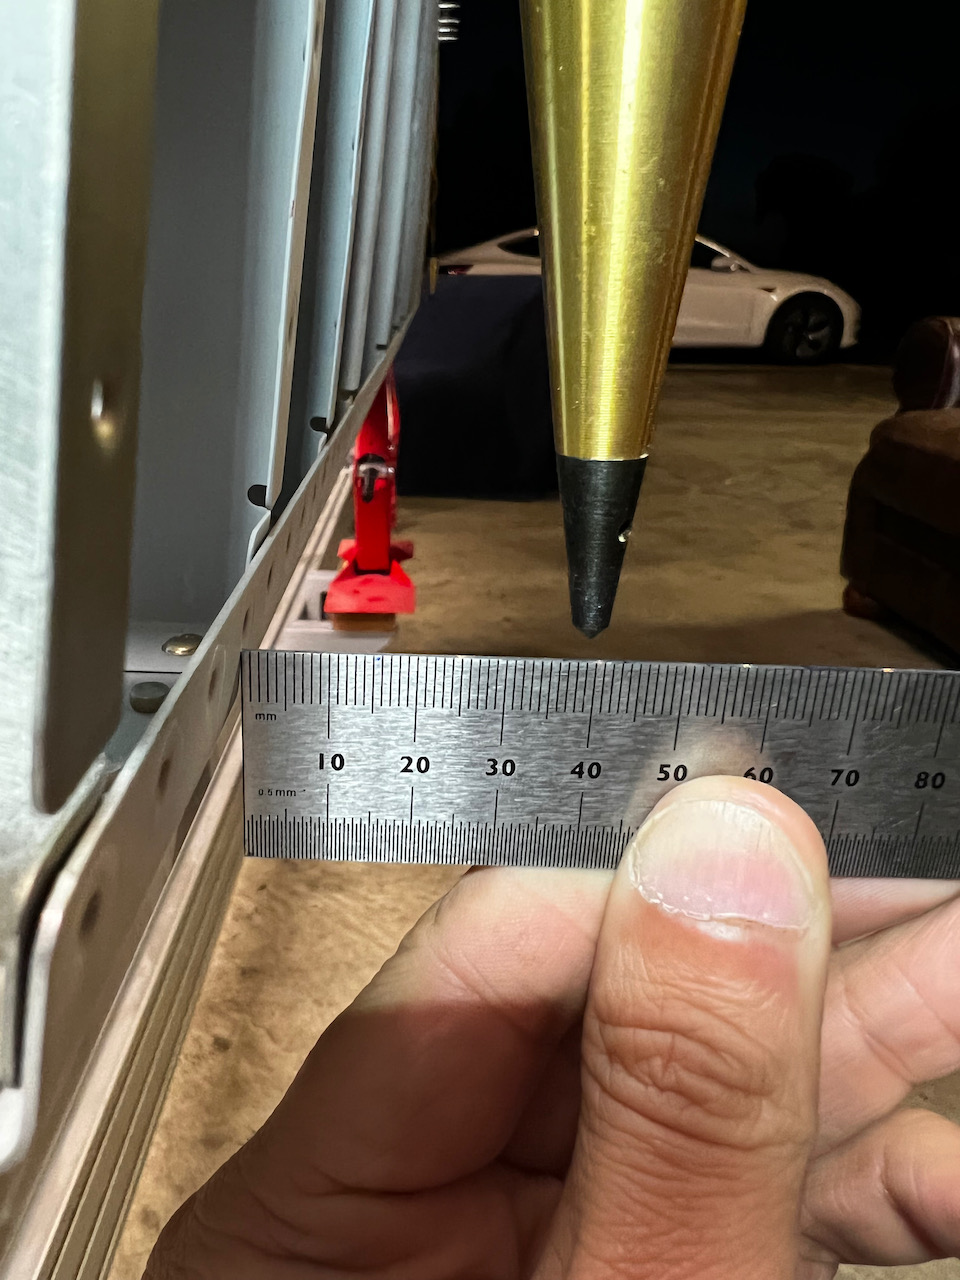
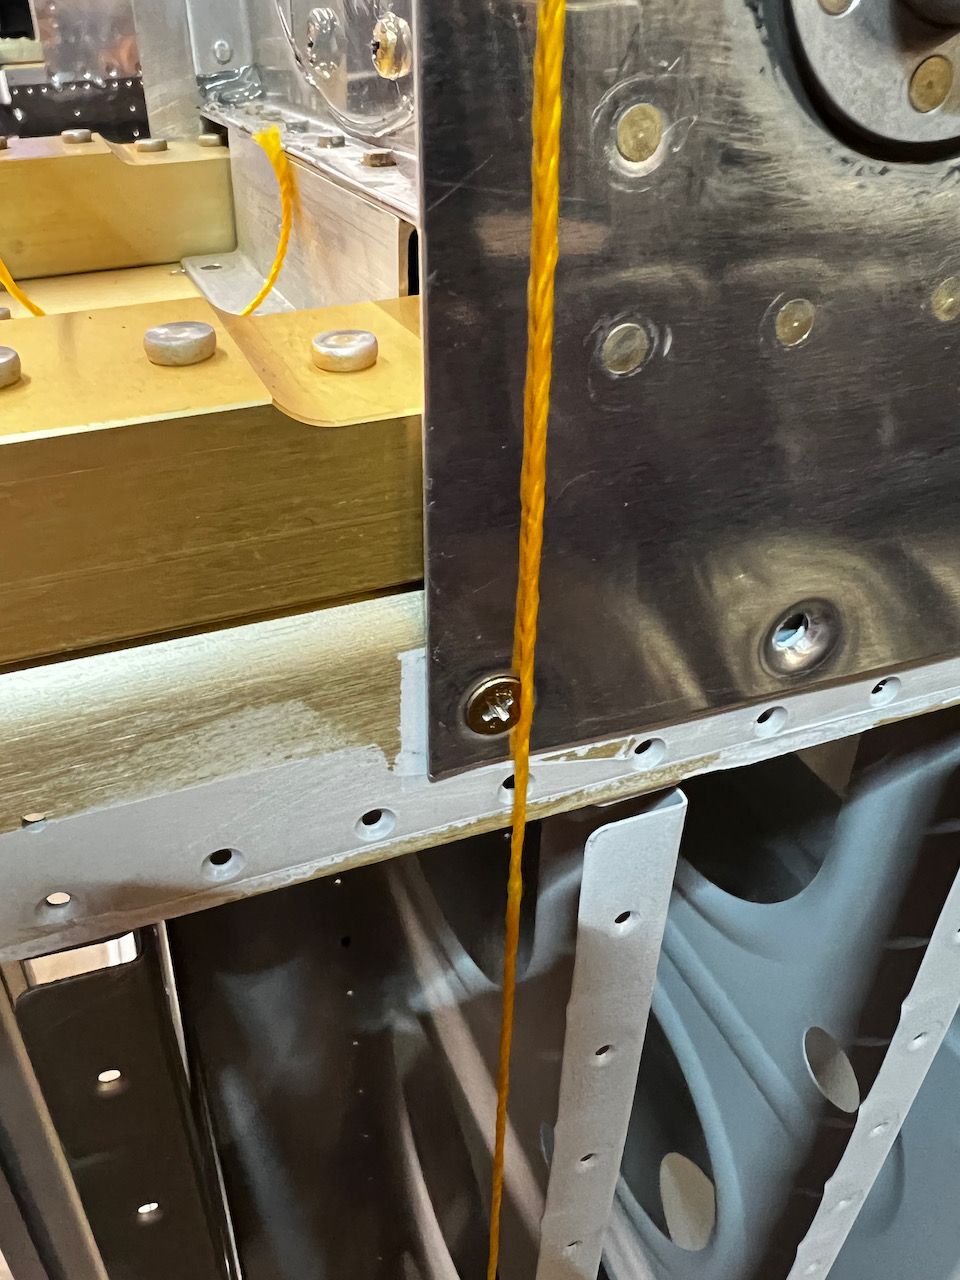
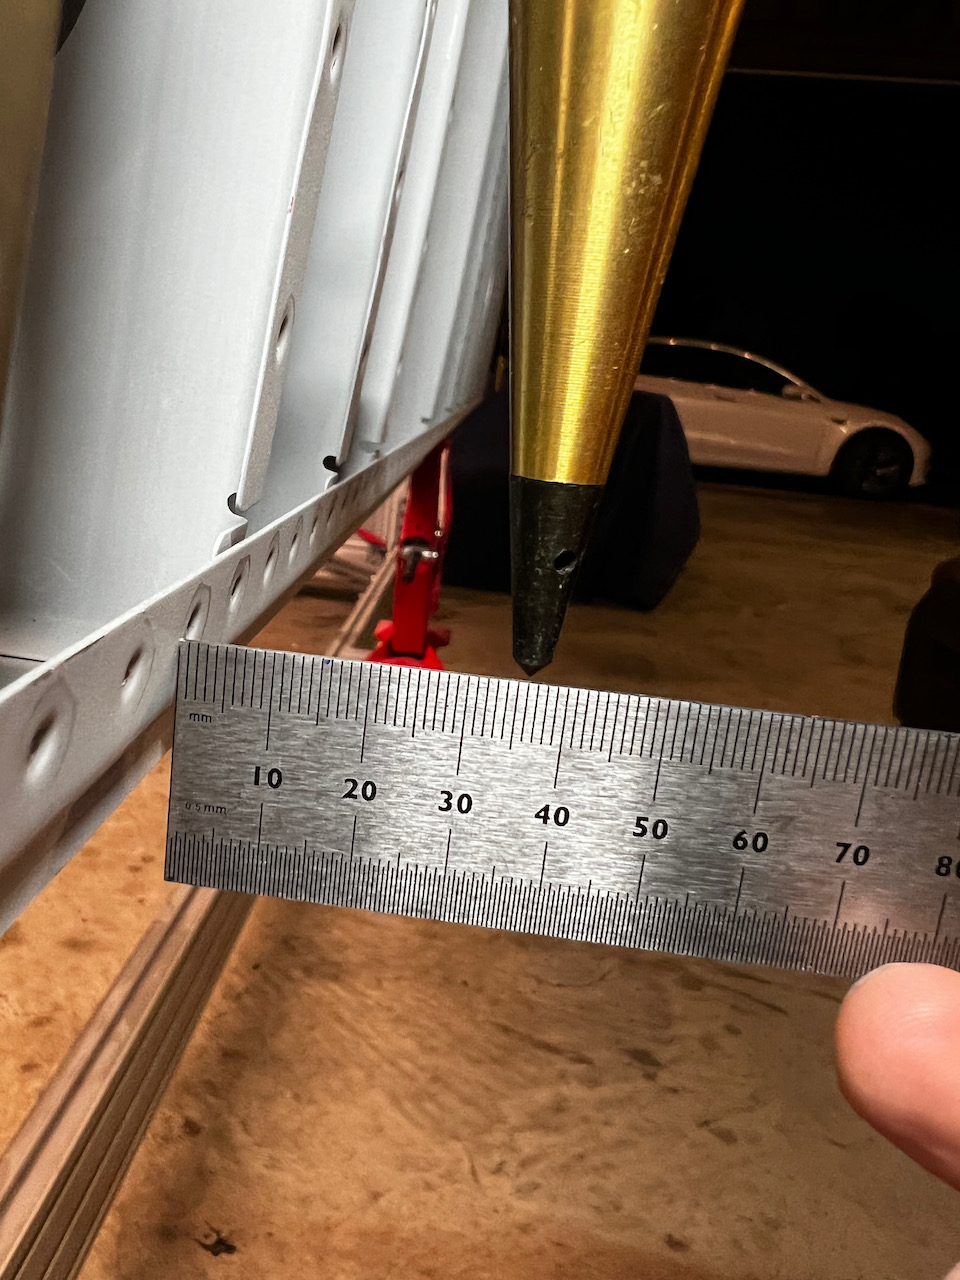
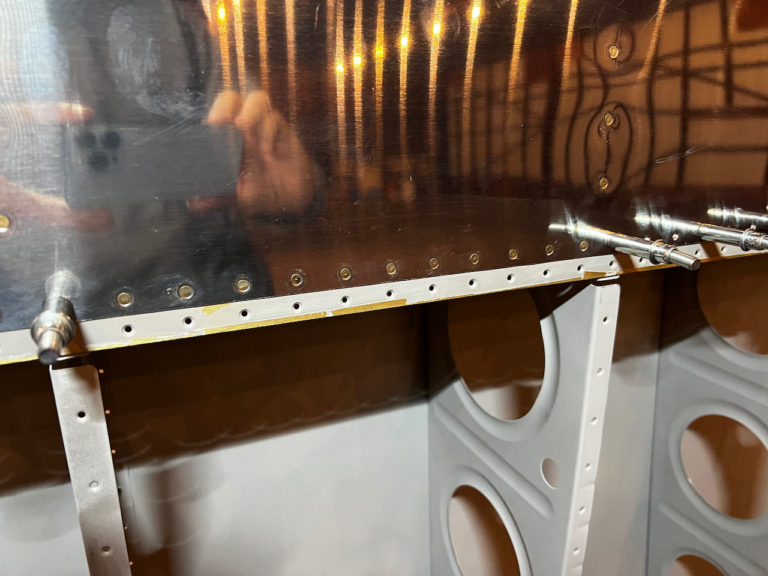
The next step after Sam and I had riveted together the leading edge was to permanently attach this to the main spar. It turned into quite a challenge as the space available to do the work is very limited. Since this riveting was going to essentially lock in the shape of the wing spar I needed to make sure everything was aligned before starting the riveting. In the session before Jack and I did the actual rivet work, I used my trusty laser level and some plumb bobs to get the wing skeleton as square as I could before starting. This ensured eliminating as much wing twist as possible, as well as getting the spar as straight as I could. You do this by hanging plumb bobs off each end of the wing, and measuring the distance to the plumb bob at the aft corner of each side. One thing to note; my first measurement checks resulted in the two sides being 3mm off. After scratching my head a bit, I realized that the plumb bob string was getting pushed out more on the fuel tank side because I hadn’t screwed the skin tight. Once I did so, the measurements were essentially exact (36mm per side!). See the pictures below for it to make more sense.
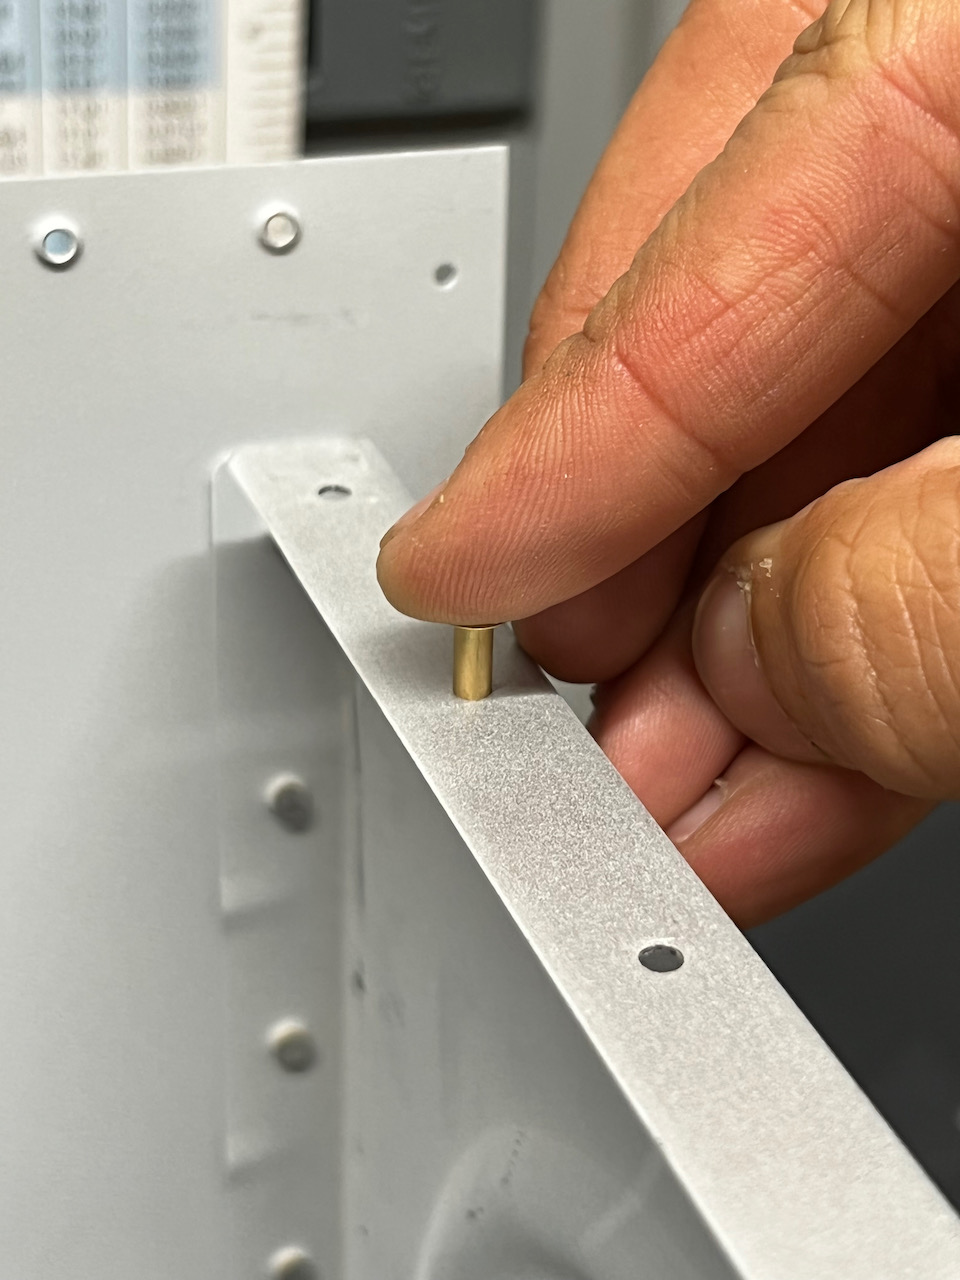
Last look before permanently attaching the leading edge!
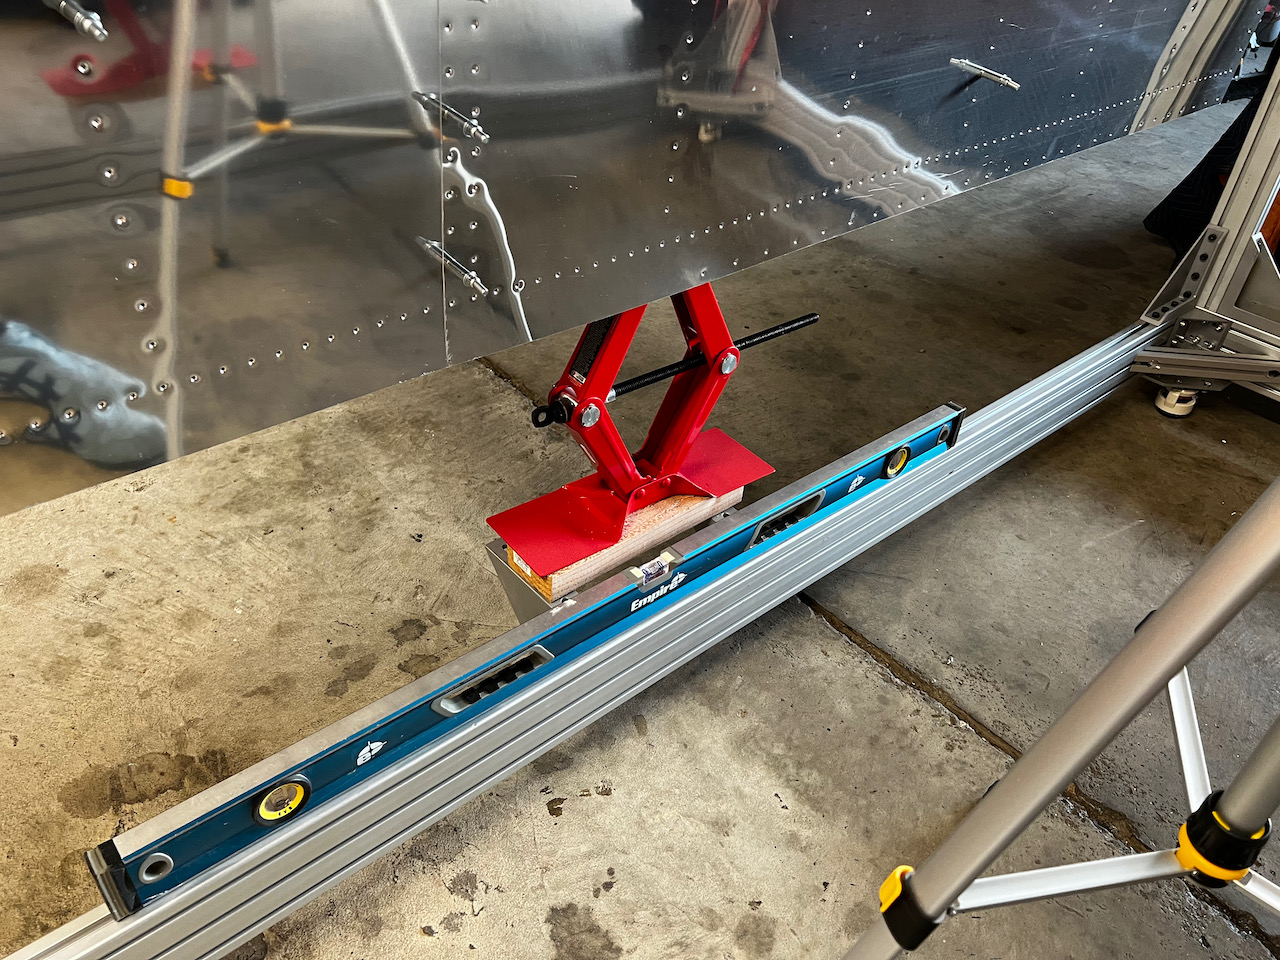
level wing stand first
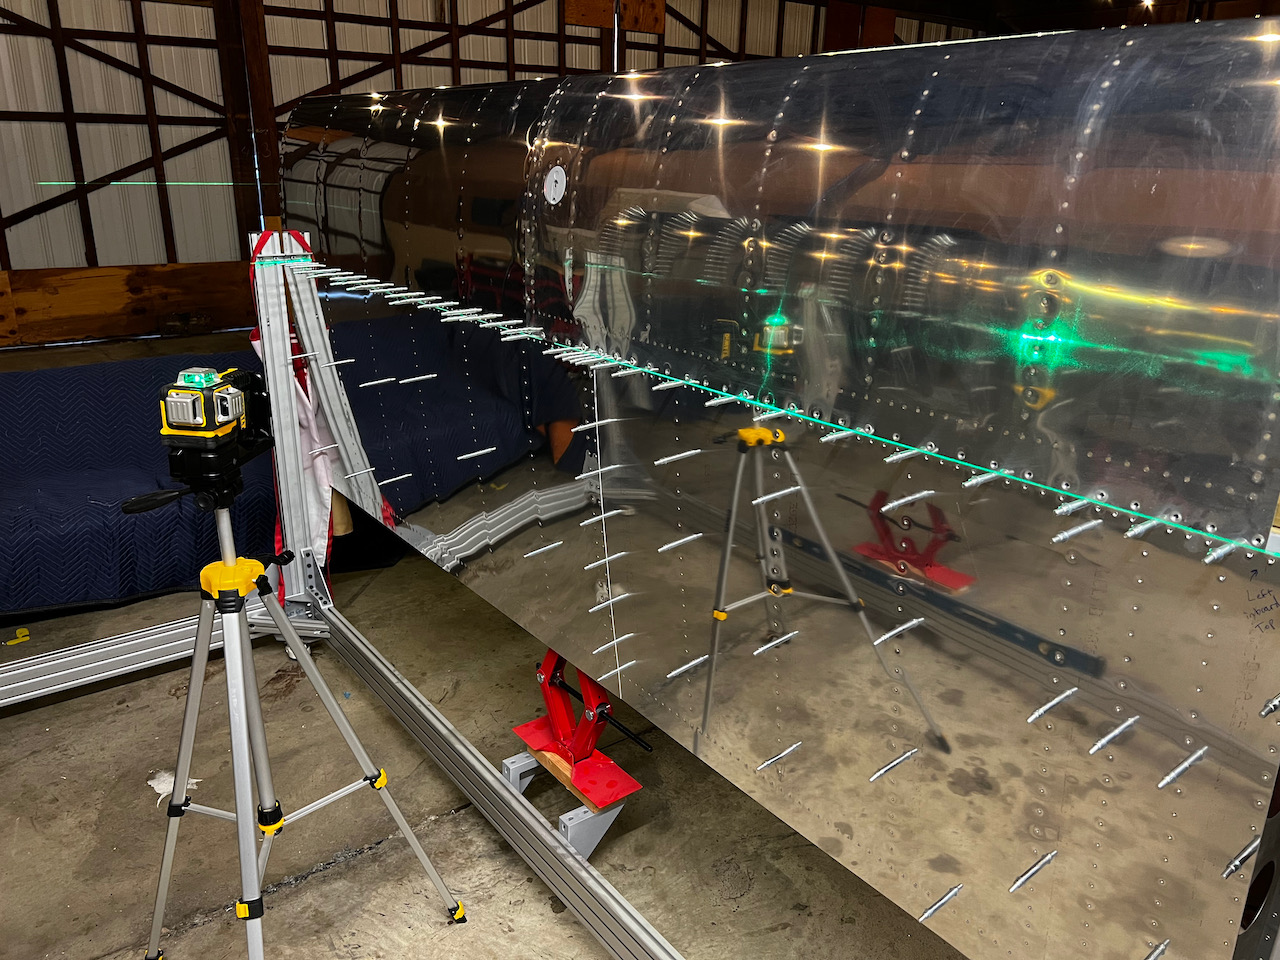
then use laser level to ensure spar is straight
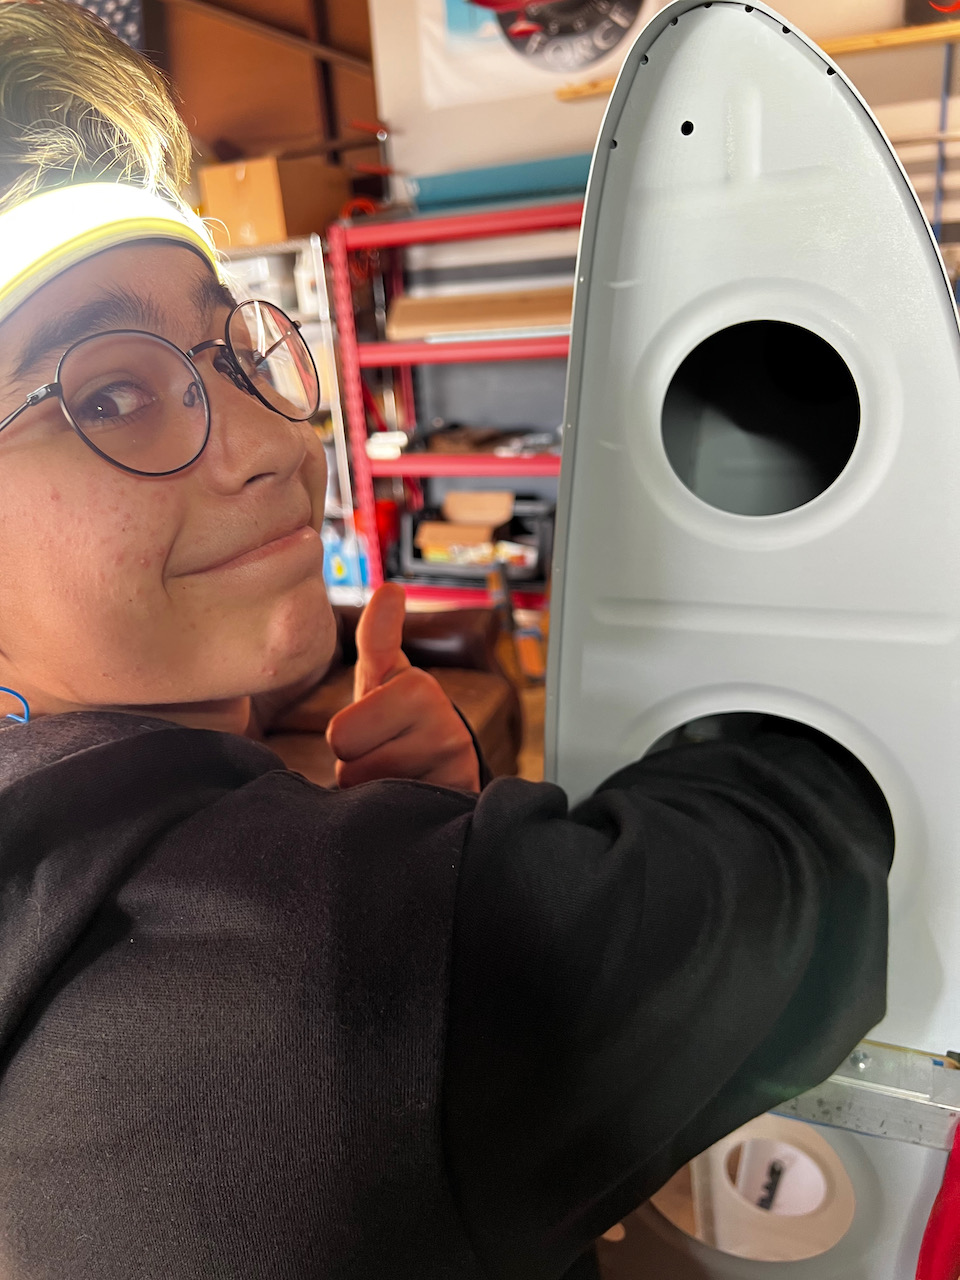
looking good!
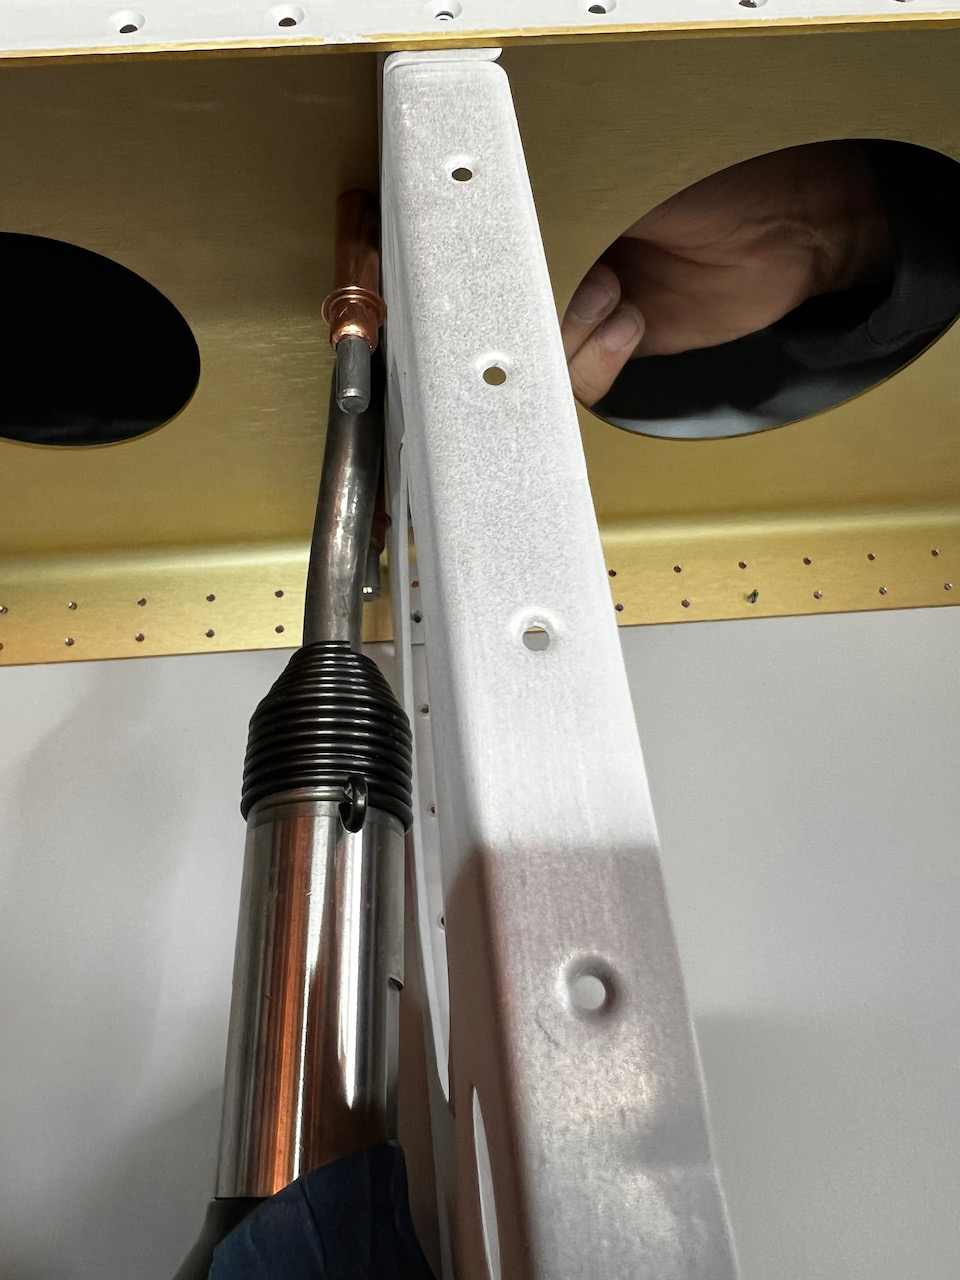
ensuring the spar shelf was straight is important to the wing twist check
Install the plumb bobs..
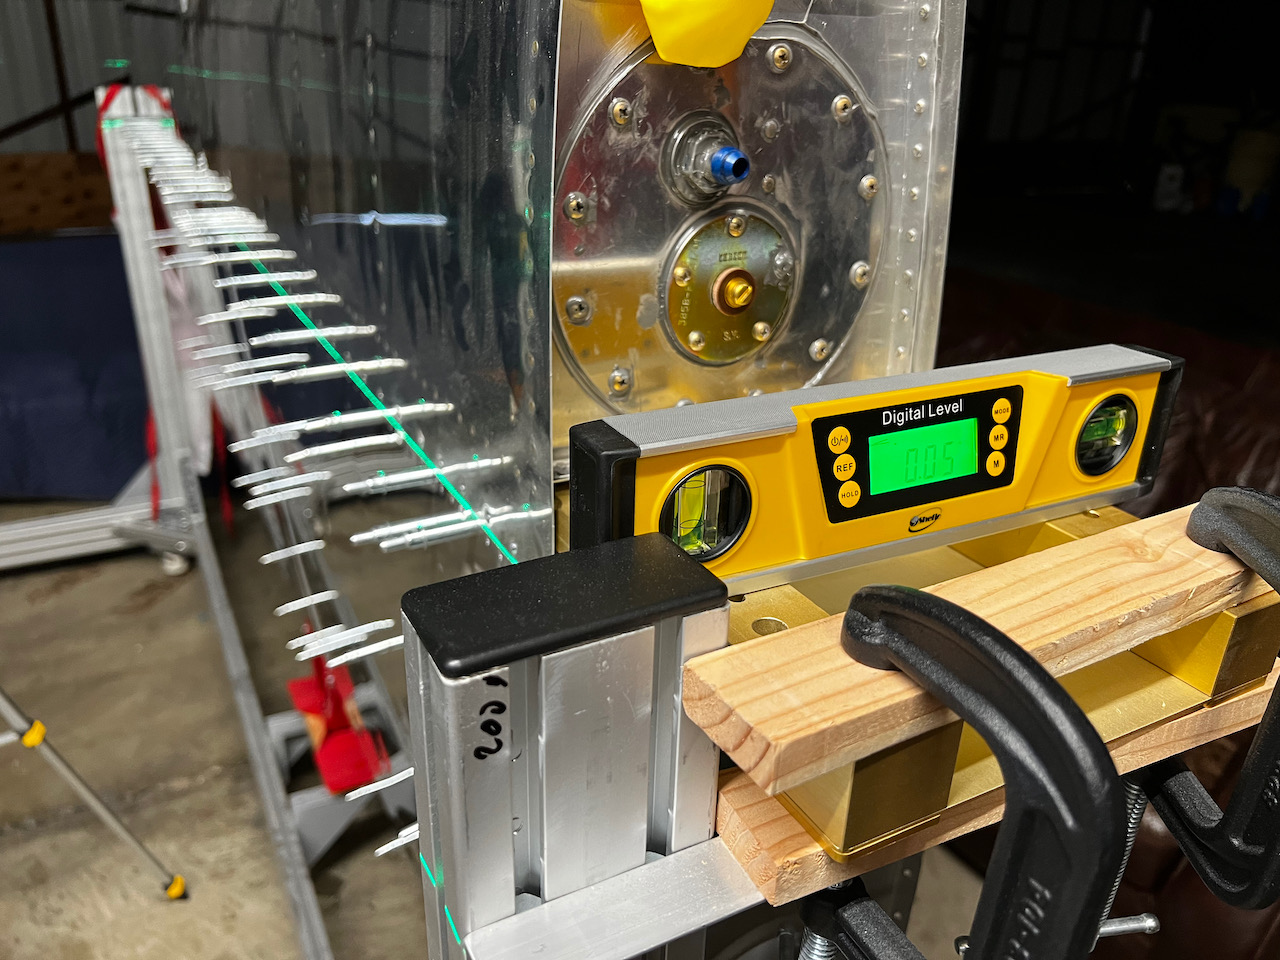
…39mm on one side…
36mm on the other…huh?
wing skin was not pulled in with screw!
after fixing, I had 36mm on both sides!
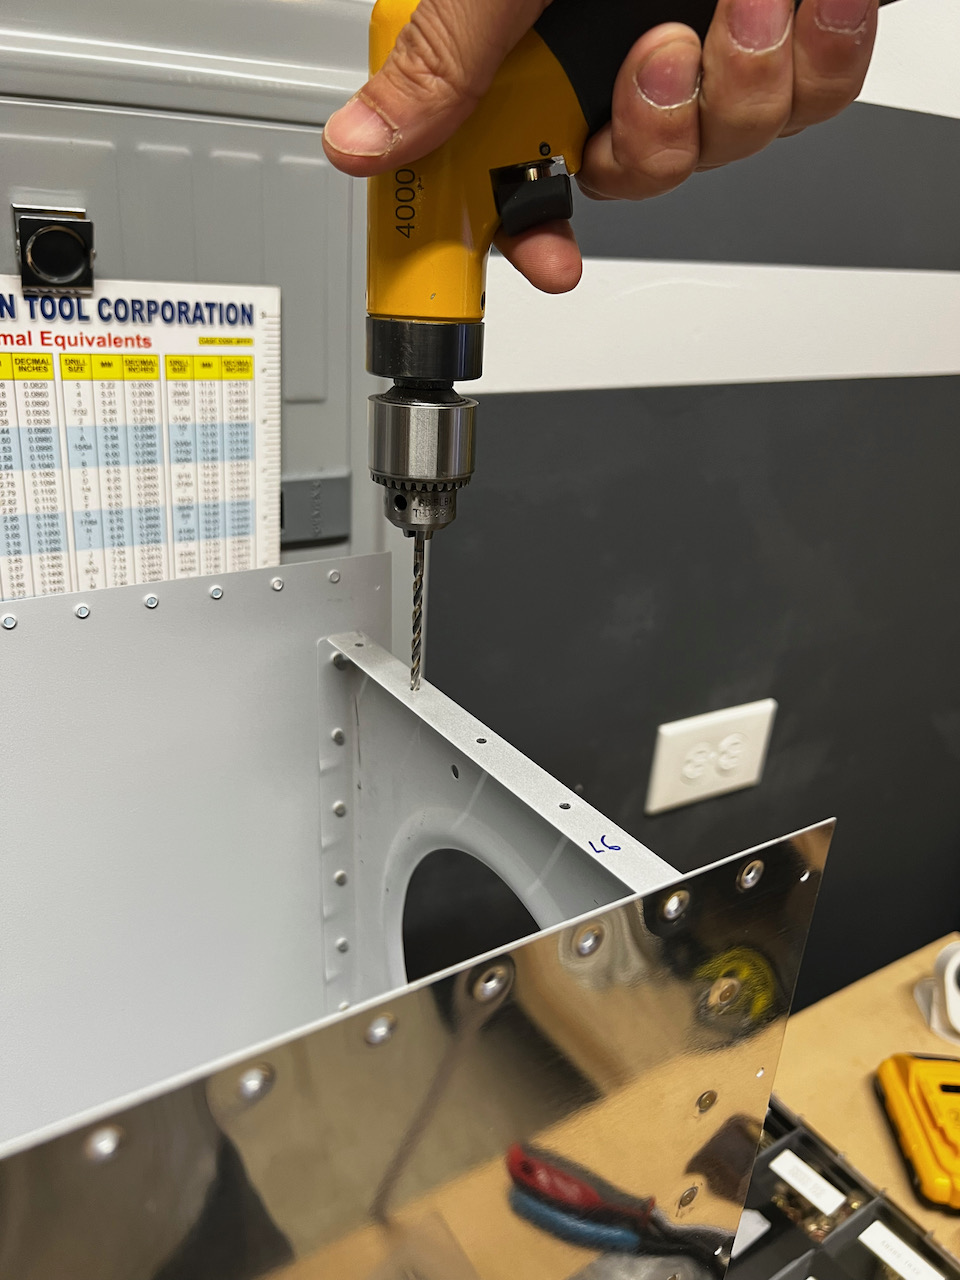
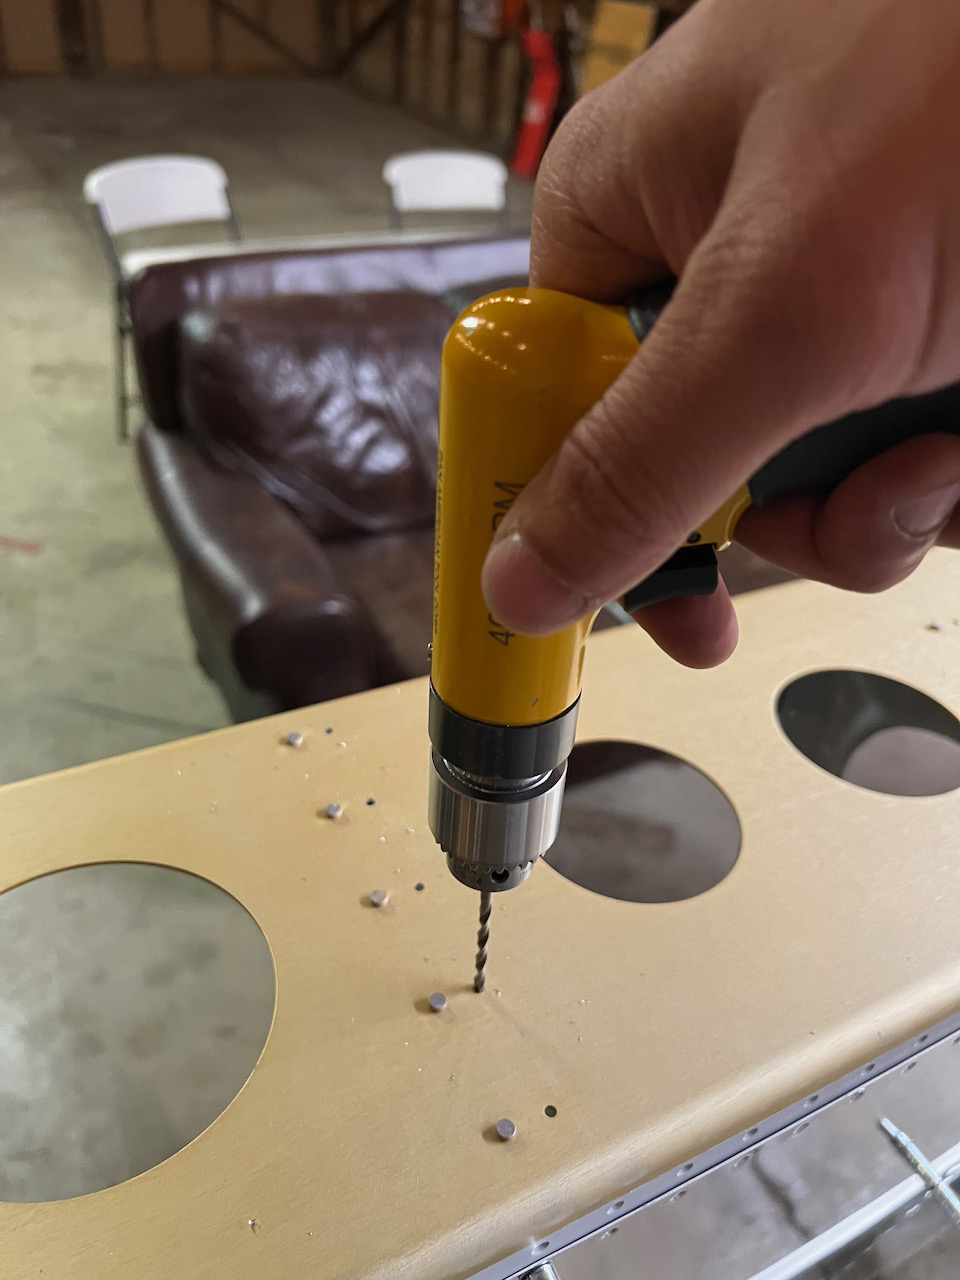
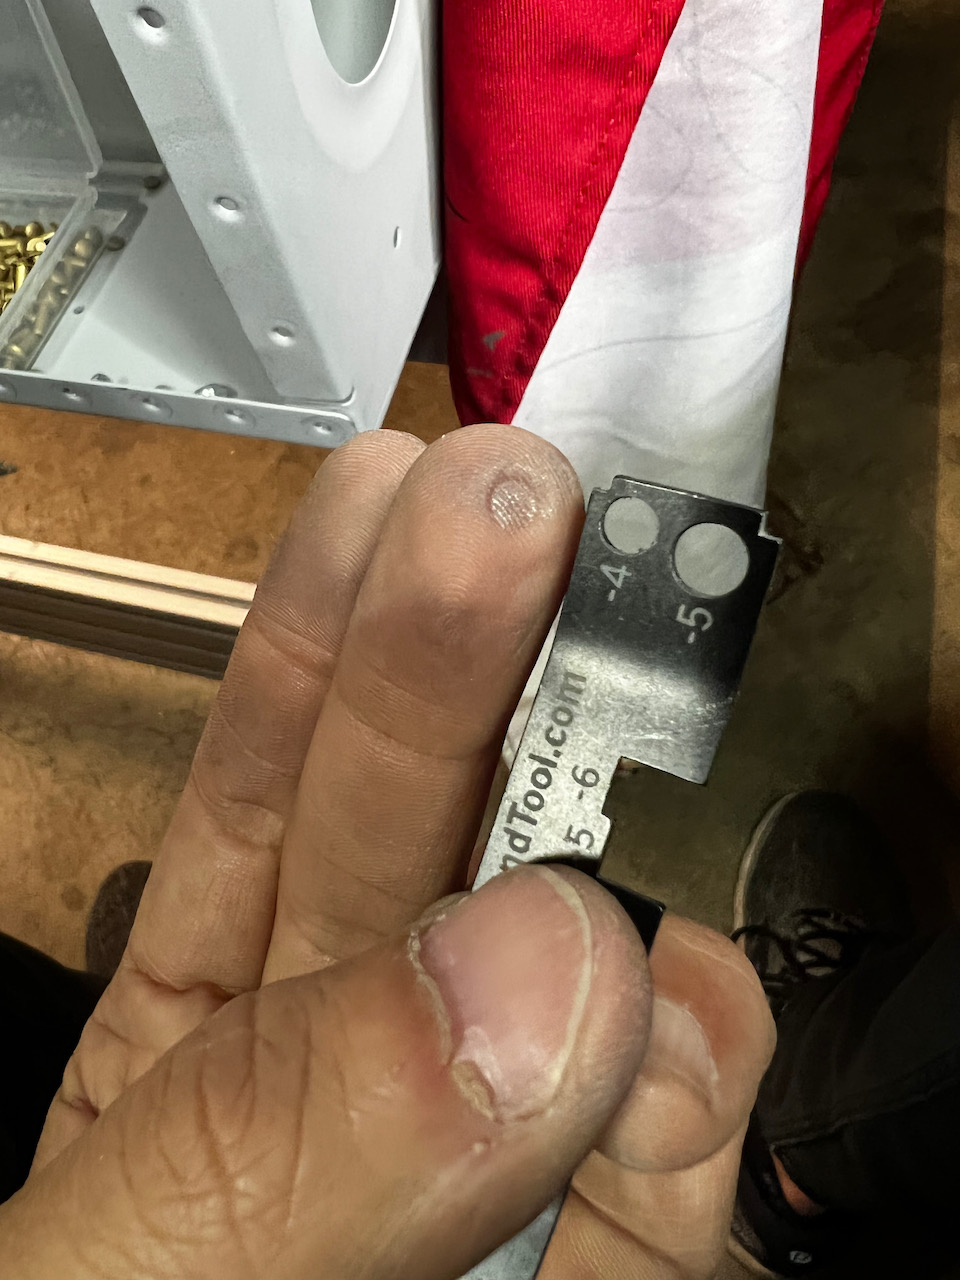
As I had learned previously, I checked all the holes I planned to rivet to ensure the rivets would actually fit. Sure enough, there were holes that didn’t seem to be final size. I went ahead and reamed them out, and did a final pass at deburring.
whether it is the primer or not drilling in the first place, I’m glad I checked!
rear flanges and..
…spars needed final sizing.
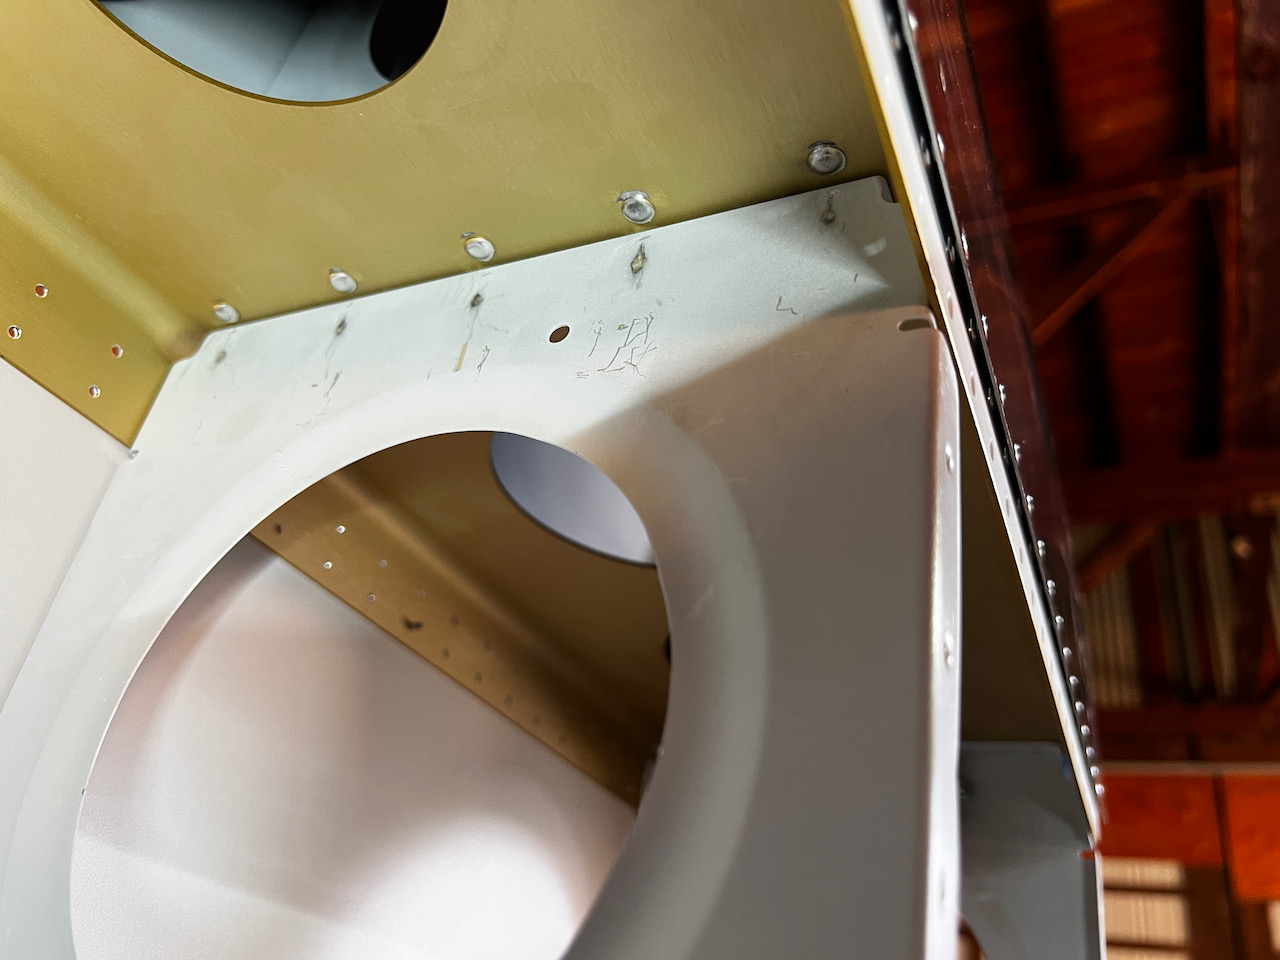
Next up was the riveting. And whoa, was it a challenge. First off, getting the rear flanges to line up cleanly to push the rivet through was a challenge, even with the holes drilled out. With a bit of finagling you can do it, but it wasn’t straight forward. Second, access to both sides of the rivet was a major pain. Some folks figured out how to get the rivet gun into the leading edge assembly so you could put the manufactured head against the rib flange (Van’s recommends this), but I just couldn’t see a way to do it so I decided to do the reverse, and have the shop head inside the leading edge and use the gun from the spar side. The shop head side was pretty good, with Giacomo reaching in and blind bucking the heads. Thank goodness for his skinny arms! ButI’m definitely second guessing my decision, because the gun was so tight against the adjacent main ribs (even with a double offset rivet set), that I got a ton of “smiley face” heads. This is due to the gun having to be slightly cock-eyed when against the head. What’s worse, I got a couple rivet heads which “curled up” and made me quite worried. So worried that I lost a bit of sleep thinking I was going to need to drill out those rivets. The idea of doing that, and possibly ruining the main spar was terrifying!
Jack was a trooper with the bucking bar. Bruises galore!
checking the shop head was difficult, so I used the “imprint check” method to gauge the quality.
Rivet gun had to be cock-eyed to get to the head
most heads ended with imperfect smiley head marks, but ok….
…where some had these curled up heads…ugly!
The next morning (Monday), I decided this was a decision I needed to escalate. I sent in some pictures to Van’s, and on Tuesday morning I called in. Together we looked at the pictures, and discussed the situation. In the end, Van’s recommended I leave good enough alone. Although not ideal, they said that trying to drill out those heads cleanly would be practically impossible considering how tight the space was. I’m not happy having ugly rivet heads in the plane, but I imagine it won’t be the last. The good news is I could move on, and I feel good about calling vans to verify the problem. I will definitely be rethinking how I rivet that area on the other wing. The two options are to try riveting the other way (gun on the inside), or possibly using some structural pop rivets in the hard to reach places.
Next up, I will be squeeze riveting the skin of the leading edge onto the spar. This should be pretty easy. I already tested it with a trial run, and I didn’t run into any issues. Until then Happy building!


1 comment
Another day, another challange. Good idea to get a second opinion. Good work you too. 🤗