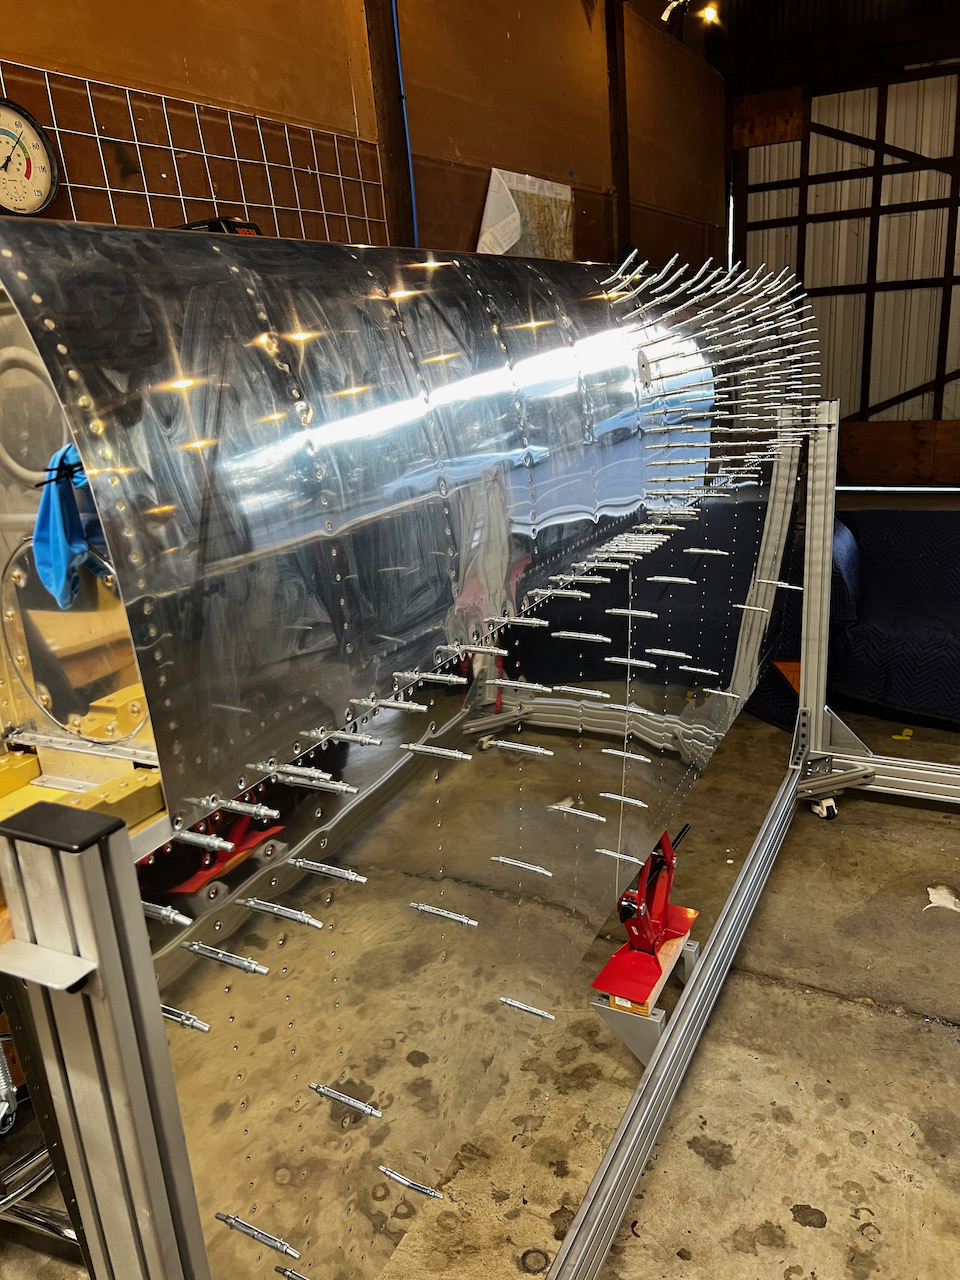
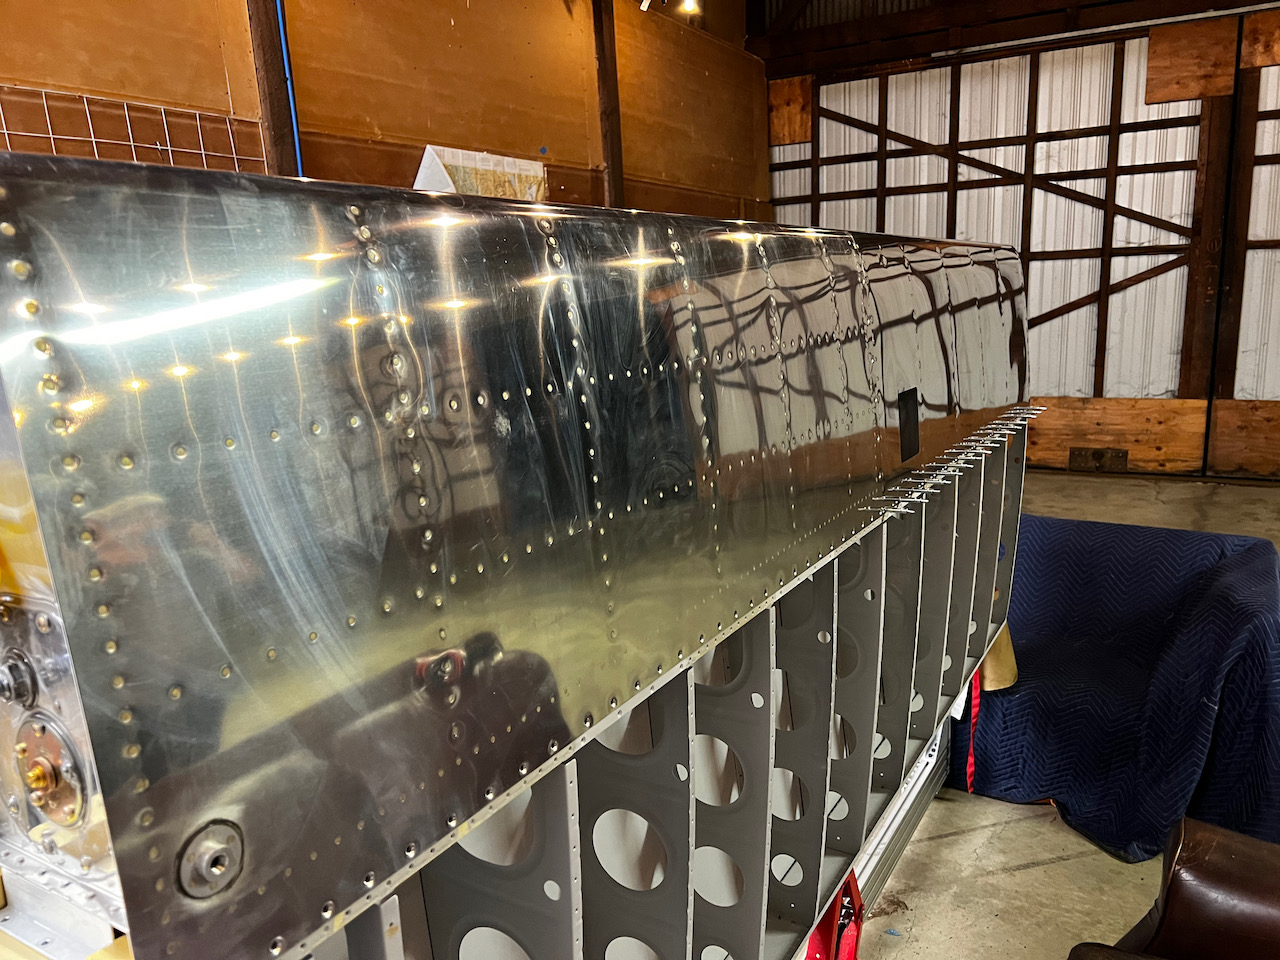
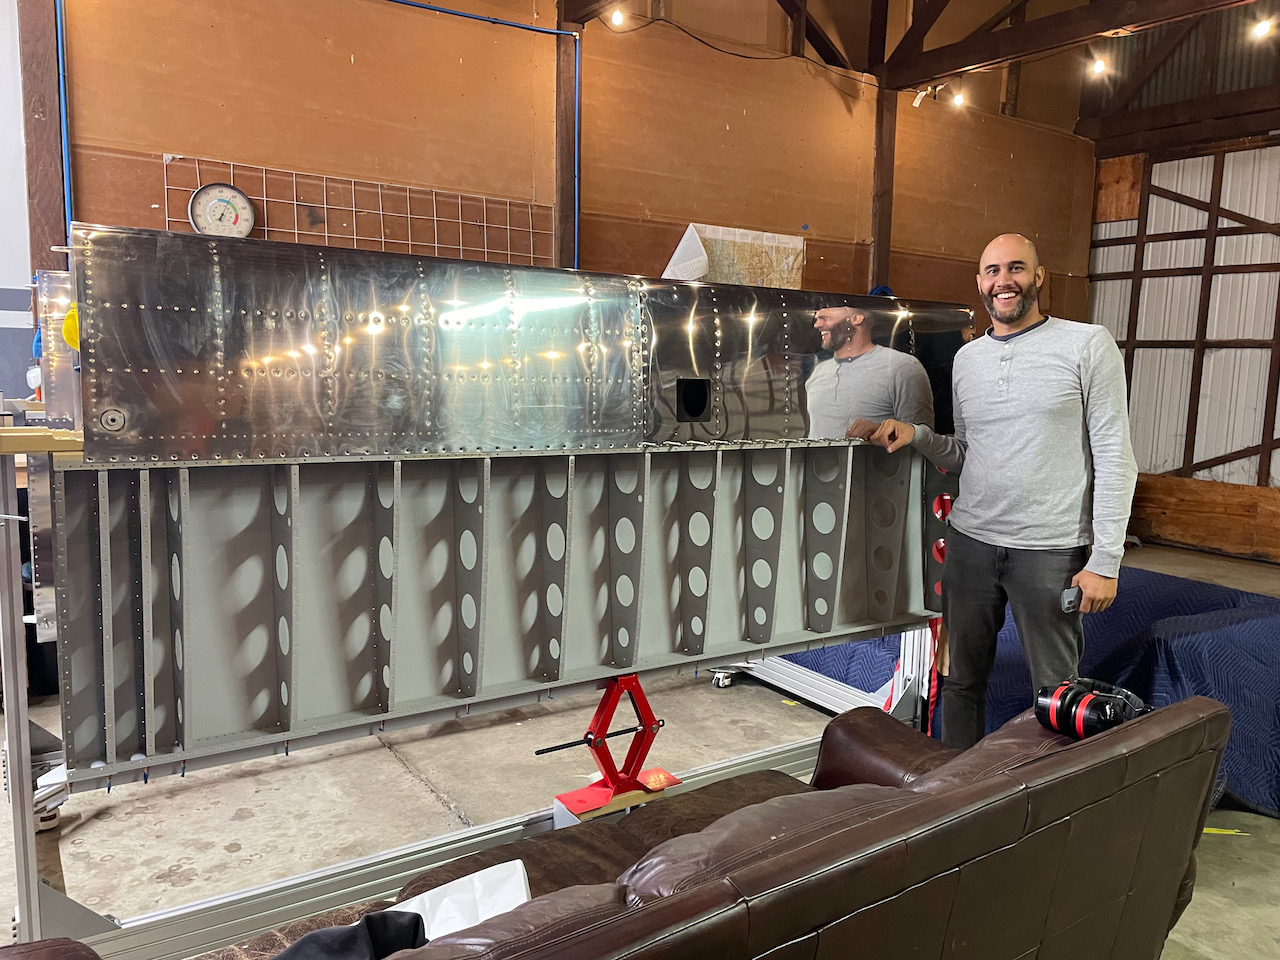
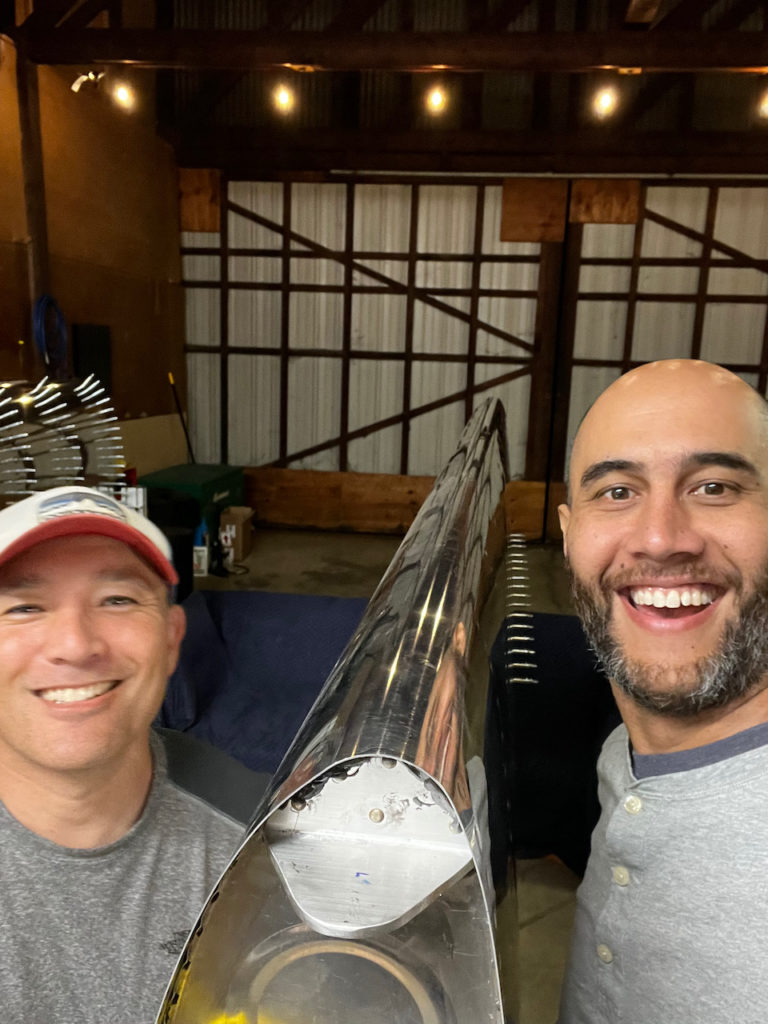
With all the prep work complete it’s finally time to start riveting the wing skins, and the first of those skins are the leading edges. Sam came over for another intense session. We got prepped, had a burger, turned on the game, and started the riveting. With two people, it was generally pretty easy. I was definitely up and down on the gun consistency so there were heads that were too flat, but overall I’m pretty happy how it turned out.
next time leading edge goes on it will be fully rivetted!
here we go!
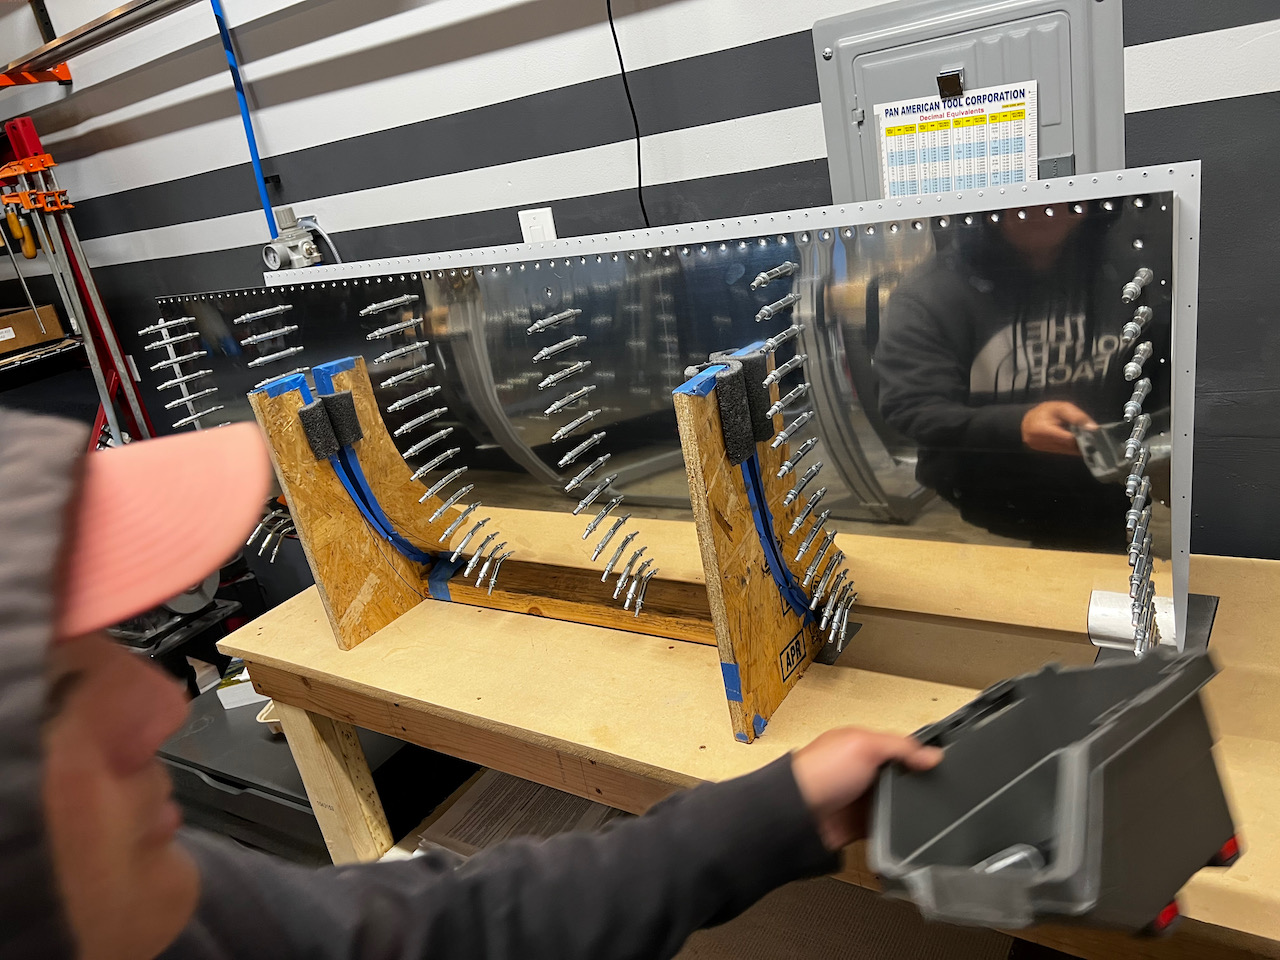
first rivet done!
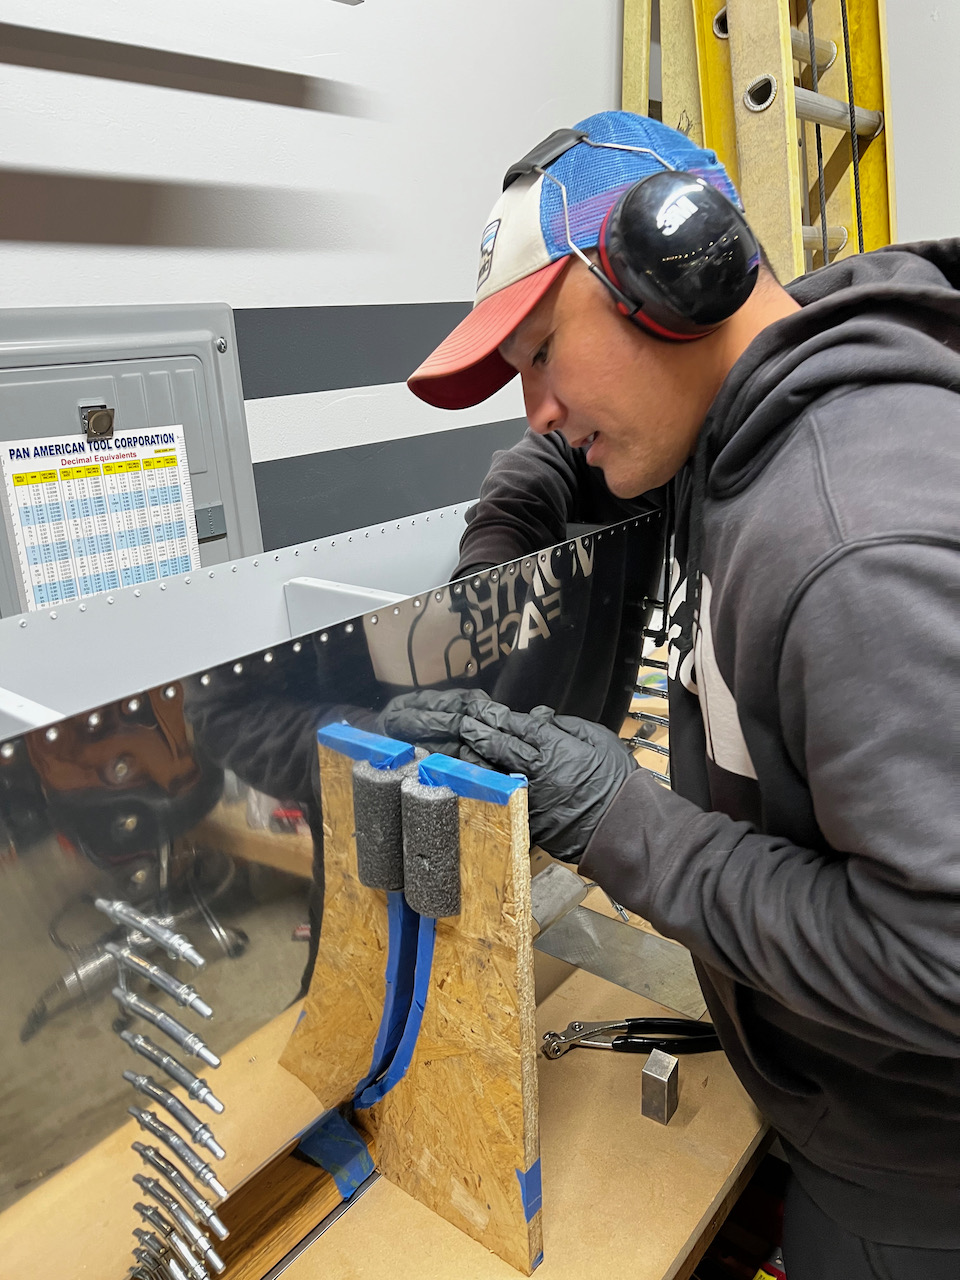
Sam worked the bucking bar
half way done…
…and last row!
Once the riveting was done we had to rivet the pre-punched holes that are in place for the stall warning horn since I decided to skip that installation. In hindsight, I should have included the bracket when riveting which would have given some amount of backing during the rivetting. Because we didn’t, it was difficult to get a solid head. In the end we got it to work, but definitely had to try a couple times on a few of the holes. If you’re not going to install the stall warning horn, don’t forget to rivet in the bracket when riveting the holes closed.
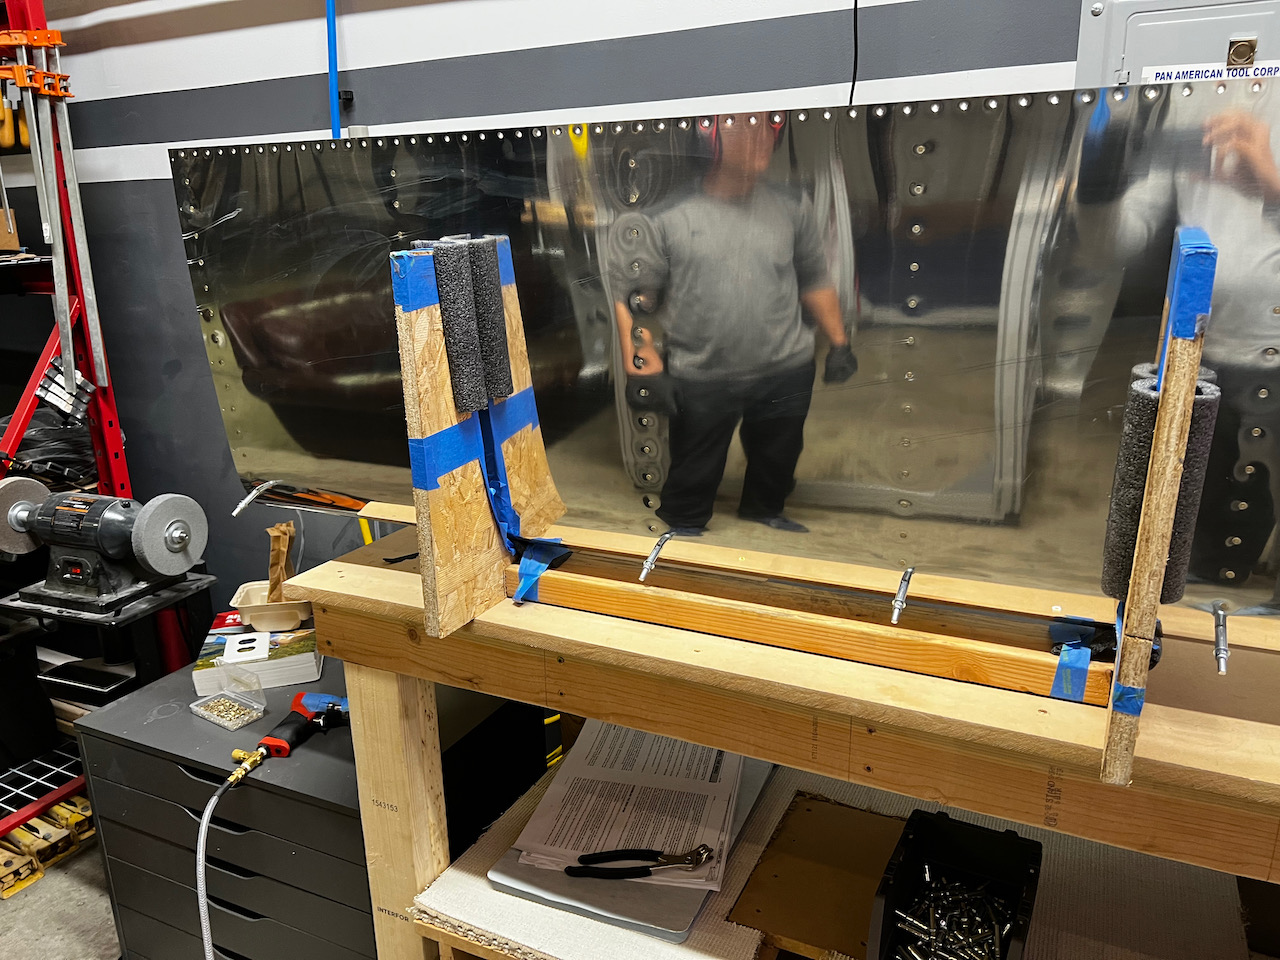
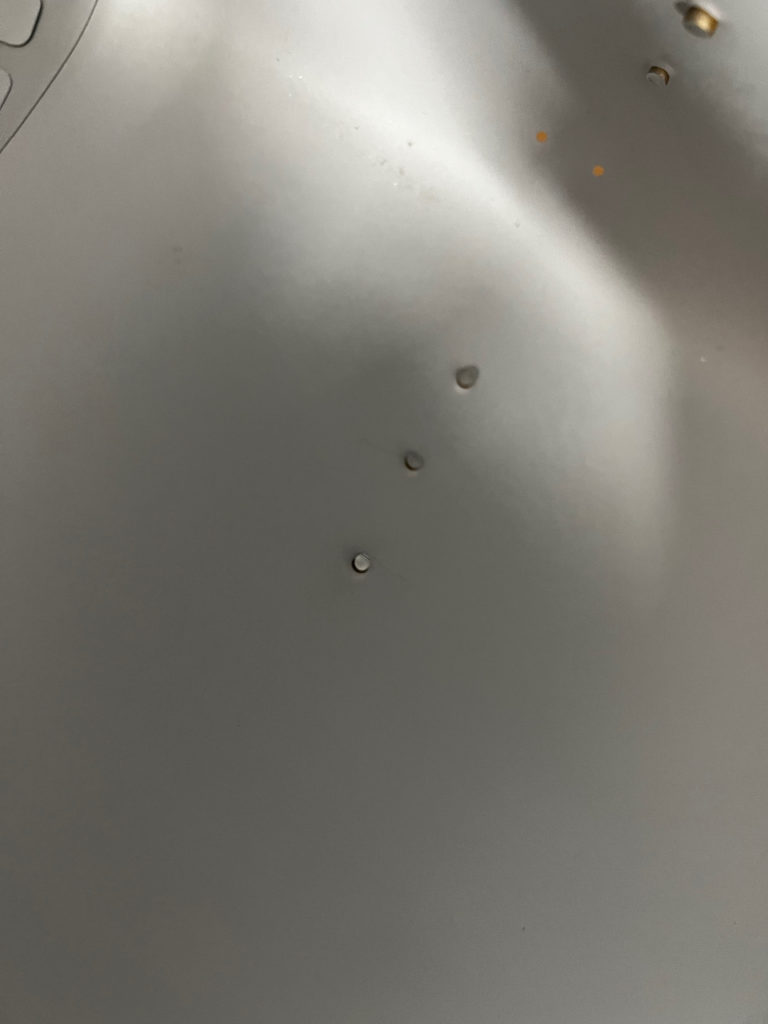
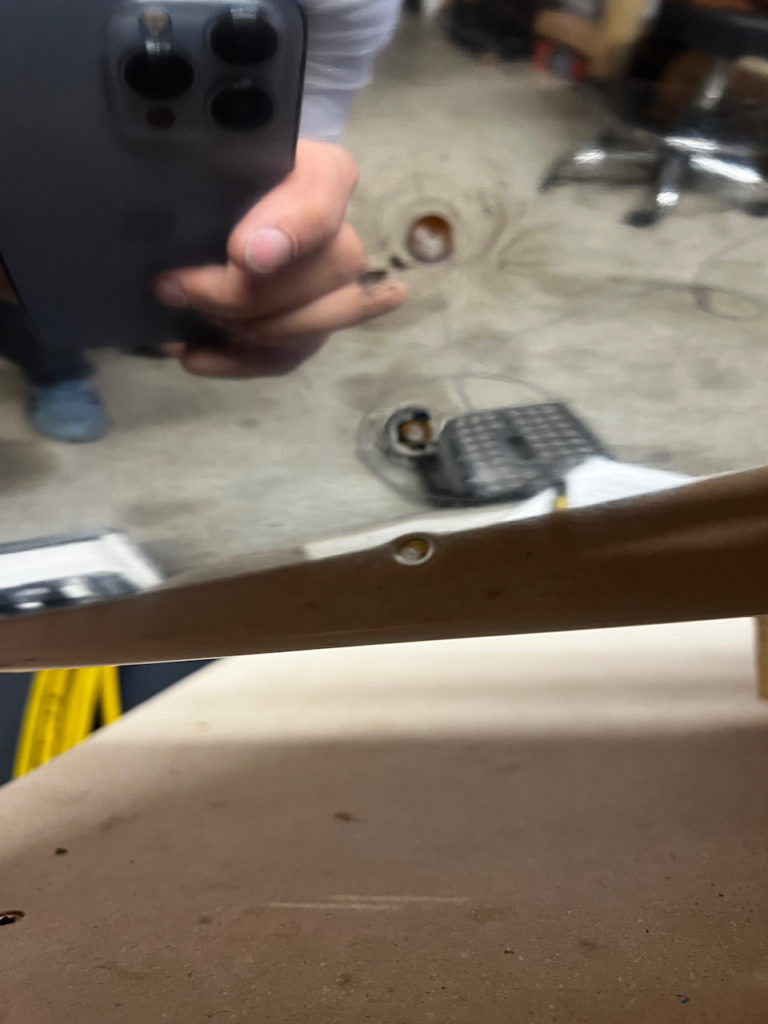
shop heads ended up ok but we should have used the bracket as backing
rivet holes are closed nicely
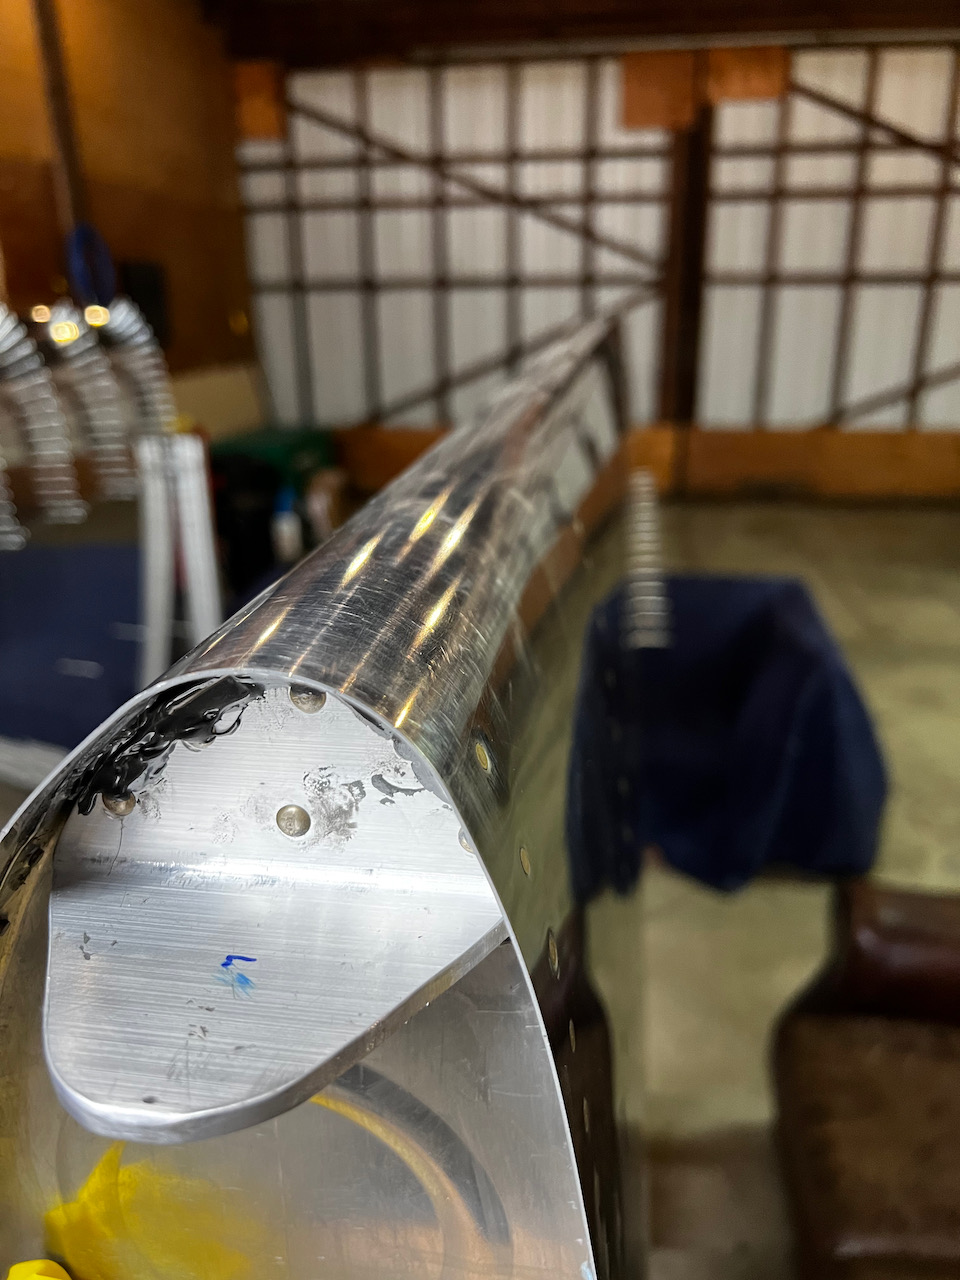
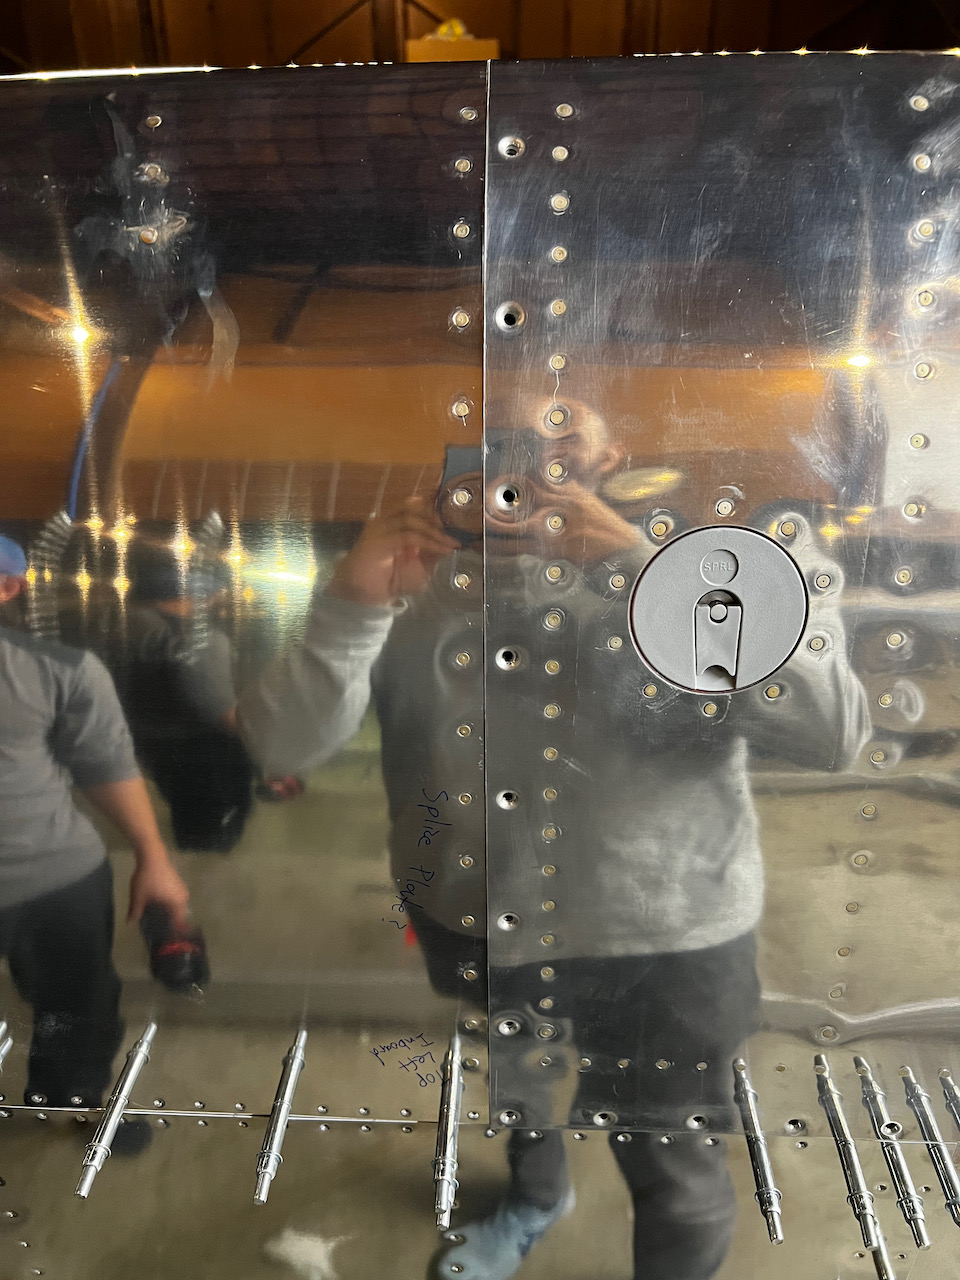
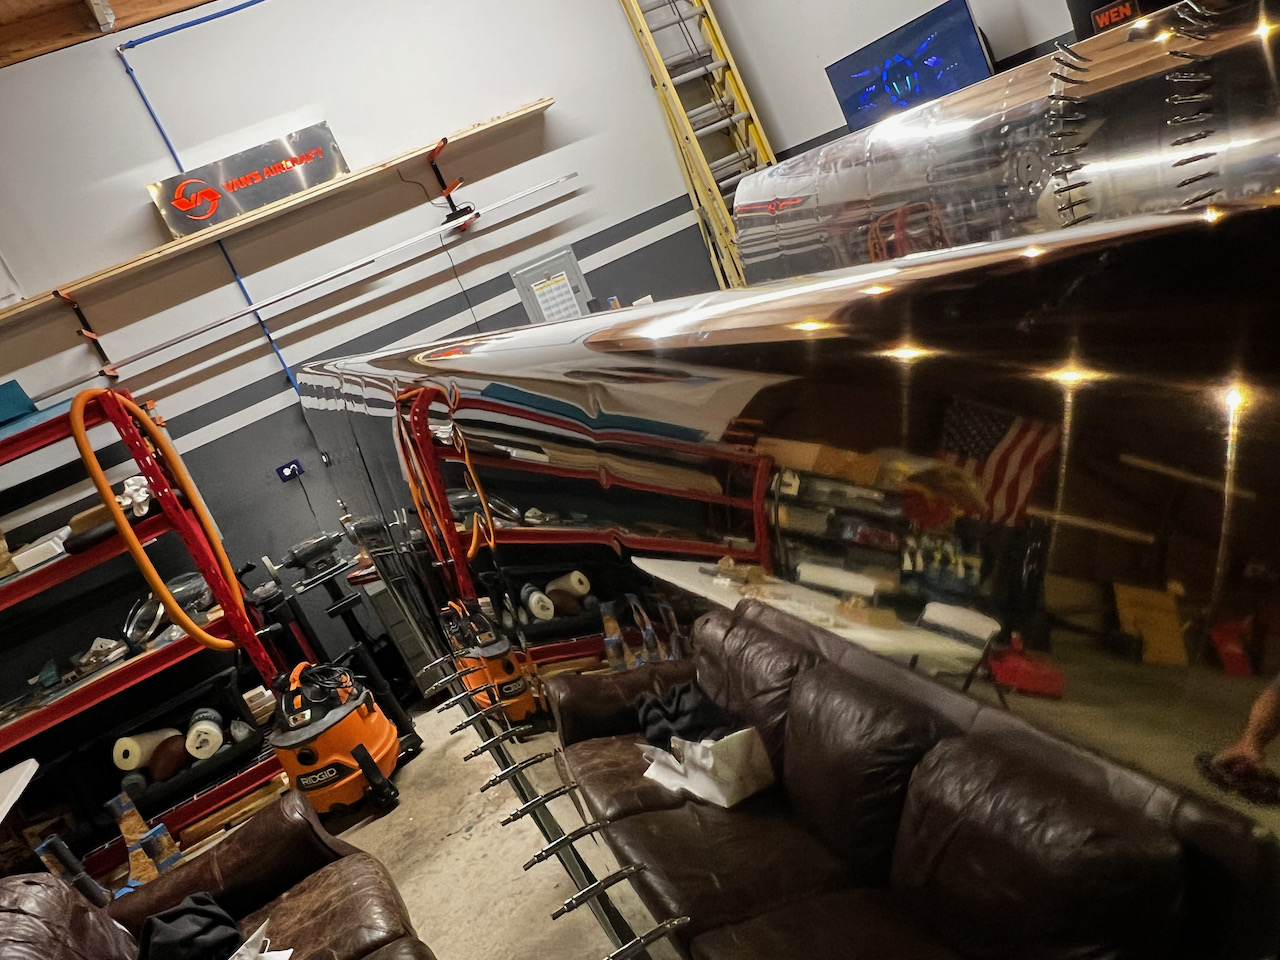
With the leading edge riveted, we did a test fit to see how it turned out. Spoiler alert, it looks GREAT! The seams with the fuel tank appear nice and tight, and the leading edge is extremely clean. Next up, I have a couple choices in direction. I can do the other leading edge, or continue work on the left wing skins. It’ll depend on whether I can get Sam to help or not. Either way, things are coming together nicely and I’m looking forward to continuing forward. Until next time, Happy Building!


2 comments
Time to pop a small bottle of champagne or a really really really special beer. Bravissimi
Yes it is beautiful ! N amaxing!