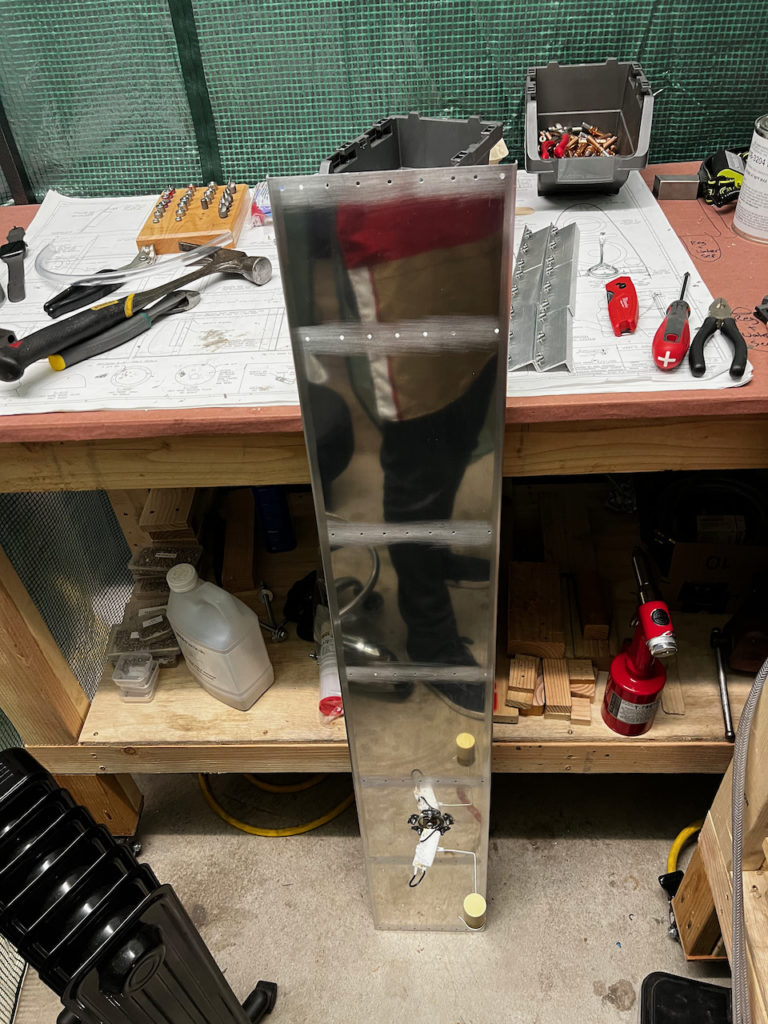
In a fun evening, Sam, Tod and I closed up the right tank with the baffle and tank attach brackets. It started with final prep cleaning which Tod rocked. Go Tod!
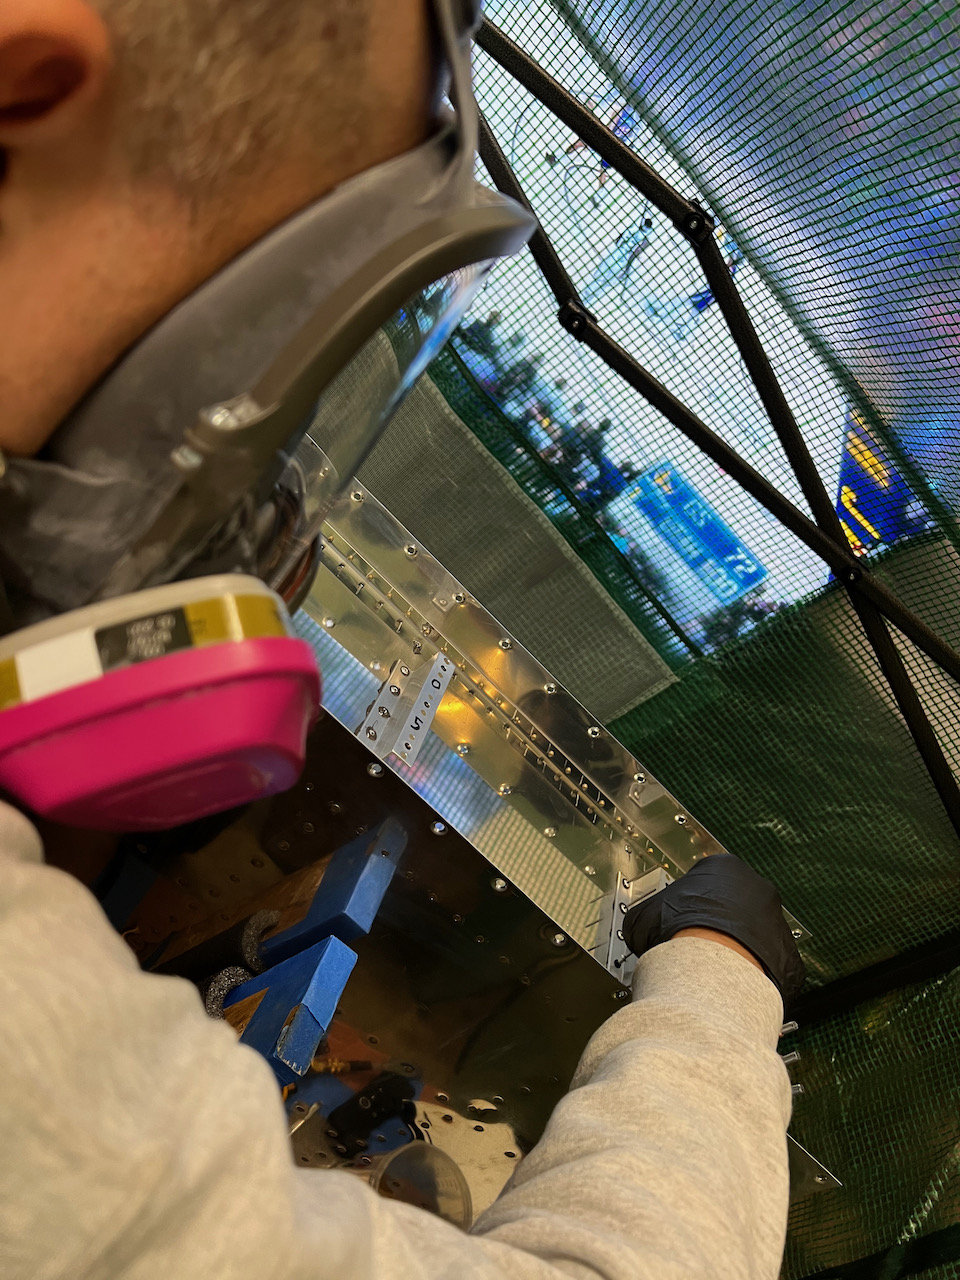
Once prepped and sealant was tested, I laid the bead and dropped in the baffle. I was so distracted with the process that I failed to take pictures of the bead before closure, but it was definitely a solid one. By cutting the applicator a touch smaller than the 3/16″ recommended final size, the bead ends up about the right size. Sam and I then cleco’d the rear flanges, and skin-to-baffle connection. Pop Rivetting the baffle and squeeze riveting the skins went smooth. There was some challenge aligning the holes even though I used more clecos (every other hole). With some finagling we were able to get the rivets in and the more that were squeezed the easier the alignment became.
sealant ready to go
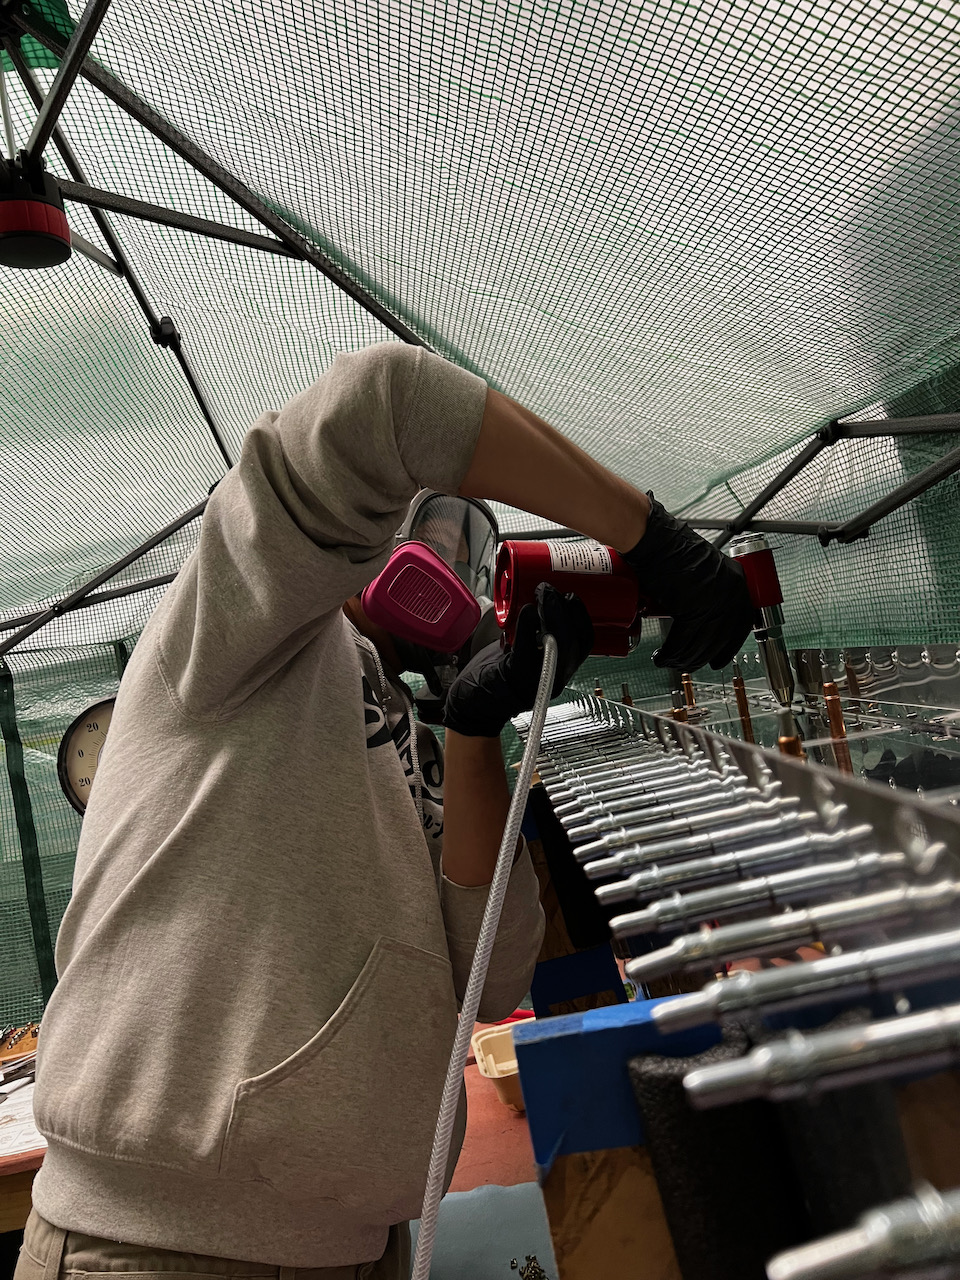
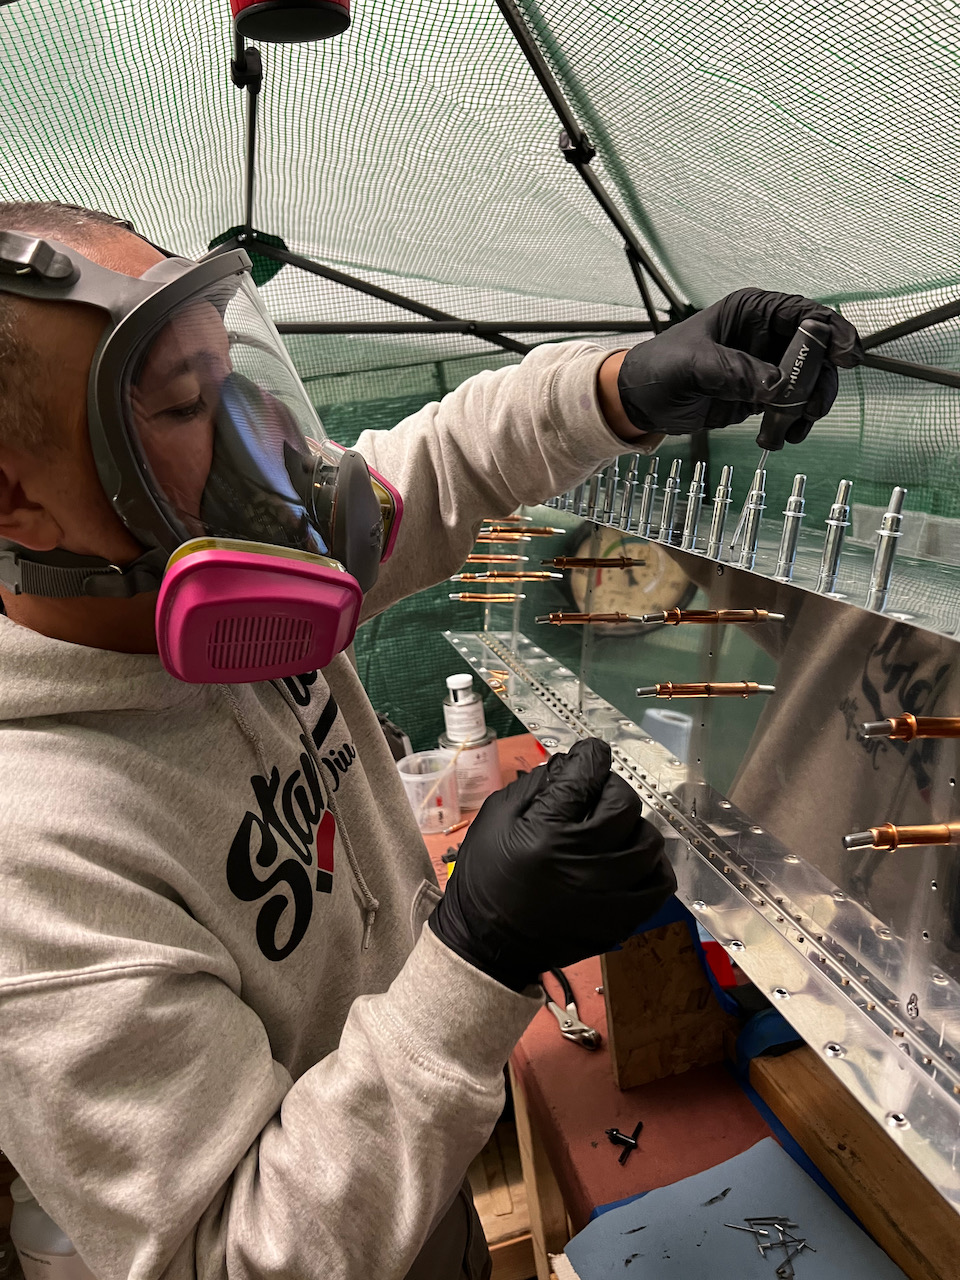
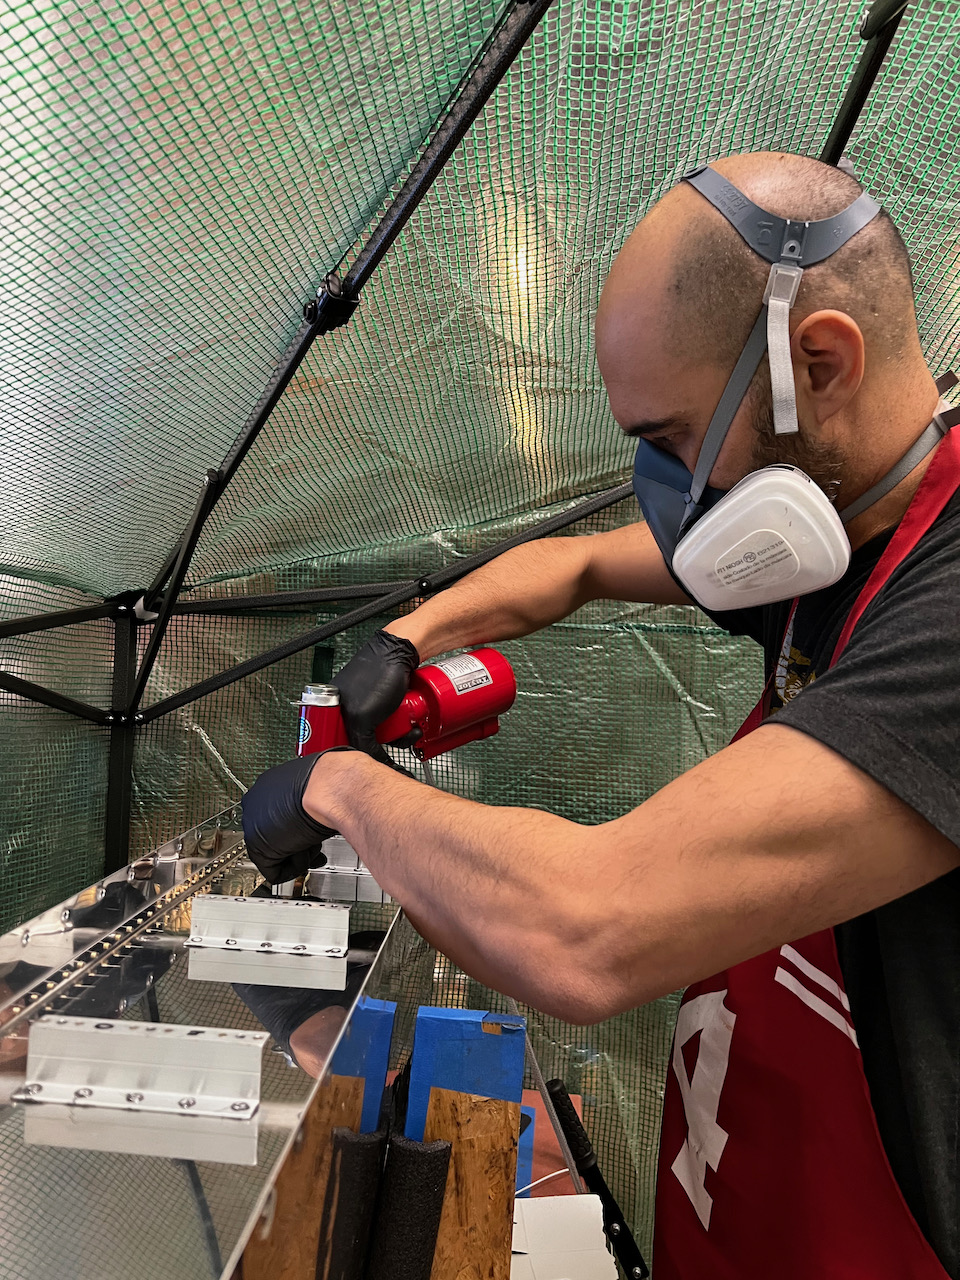
Sam Pop riveting the AD-41Hs
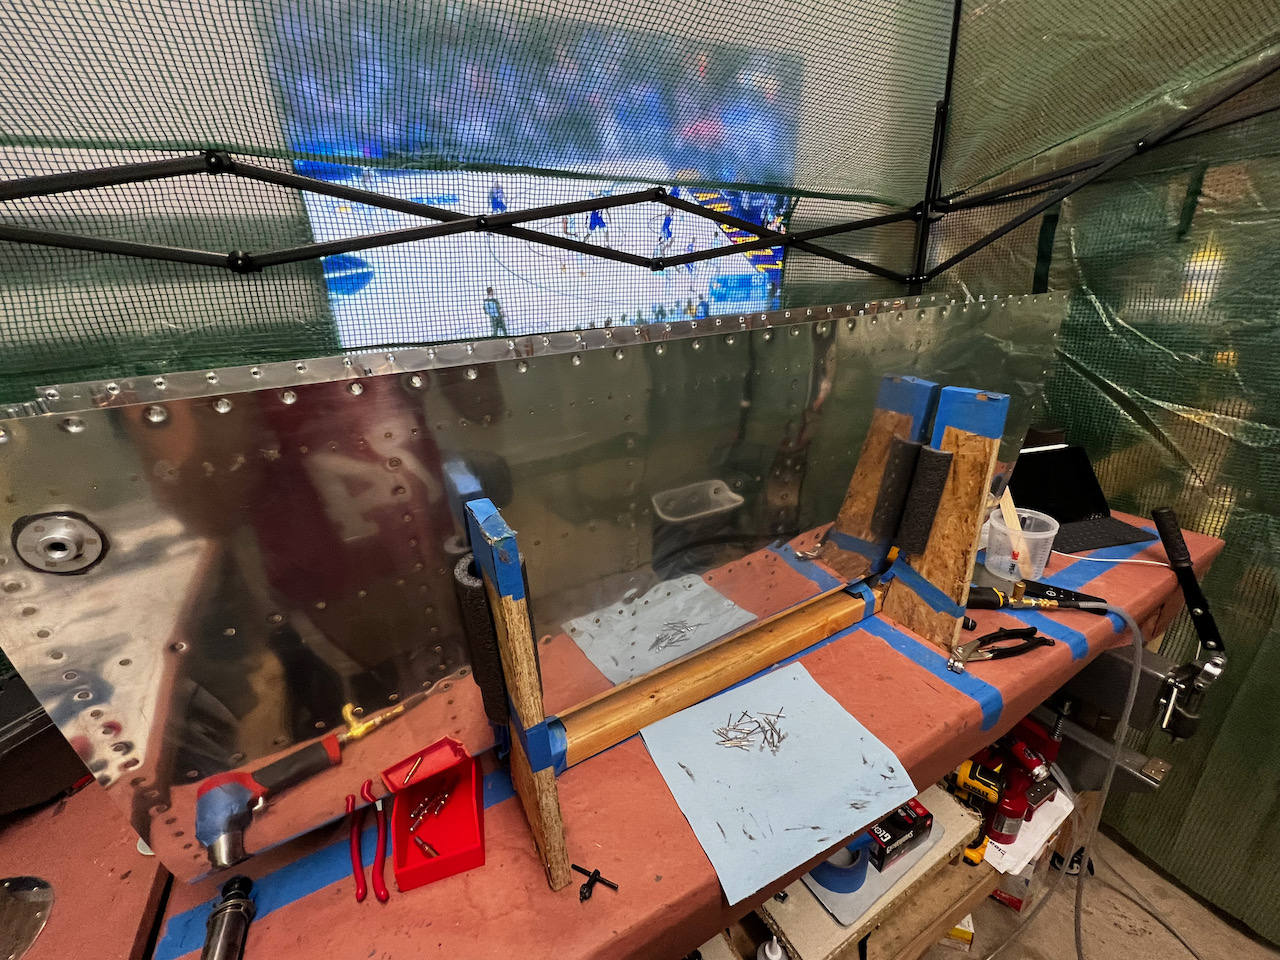
working on alignment for the skin rivets
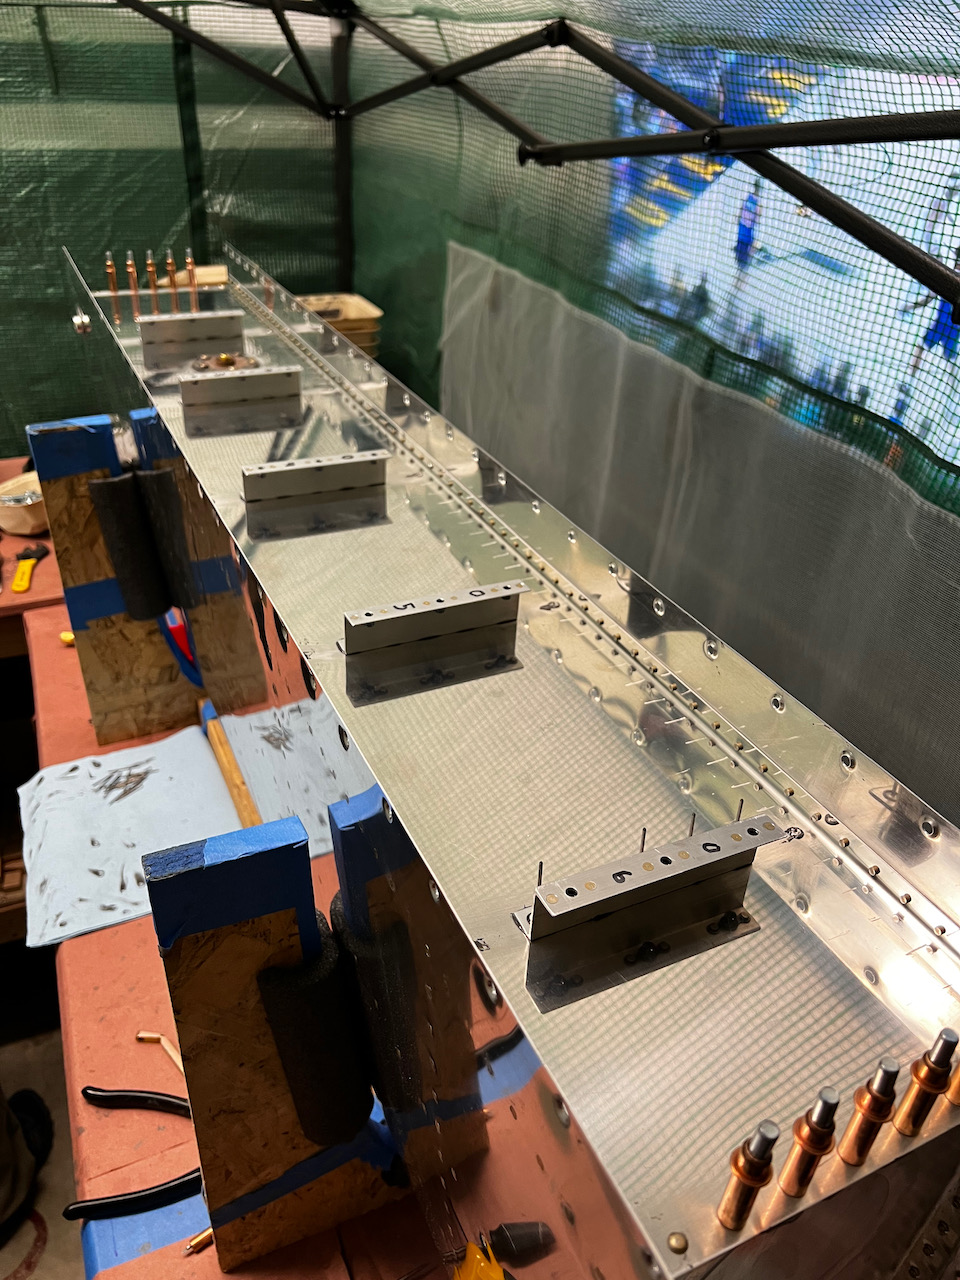
skin rivets in!
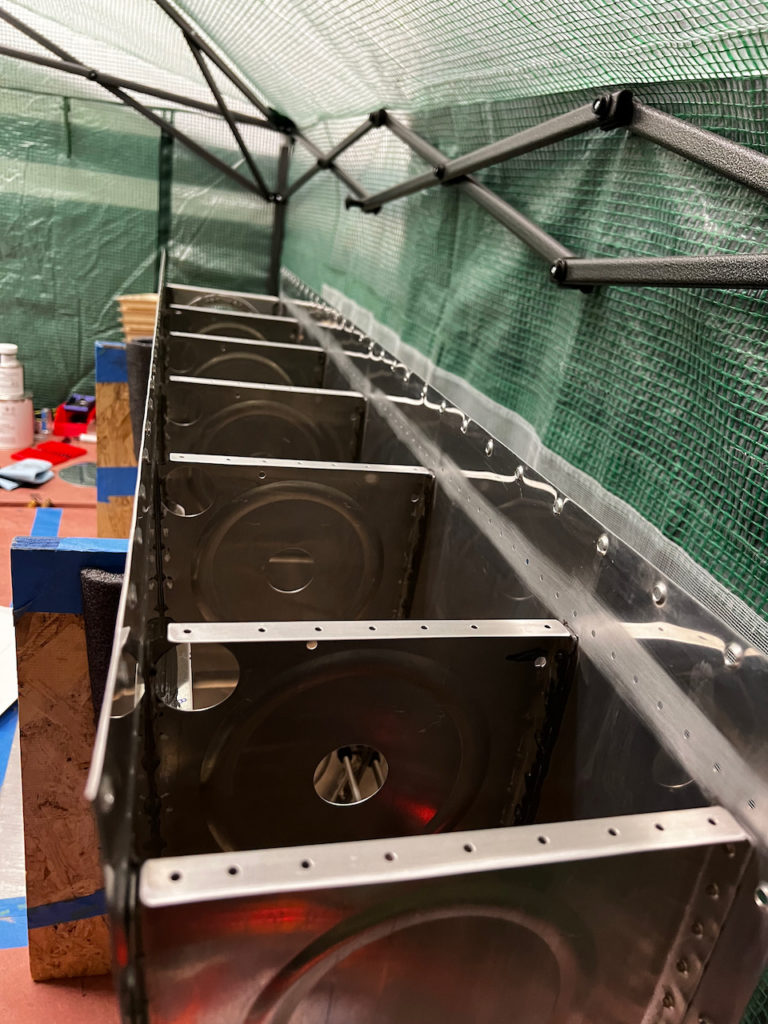
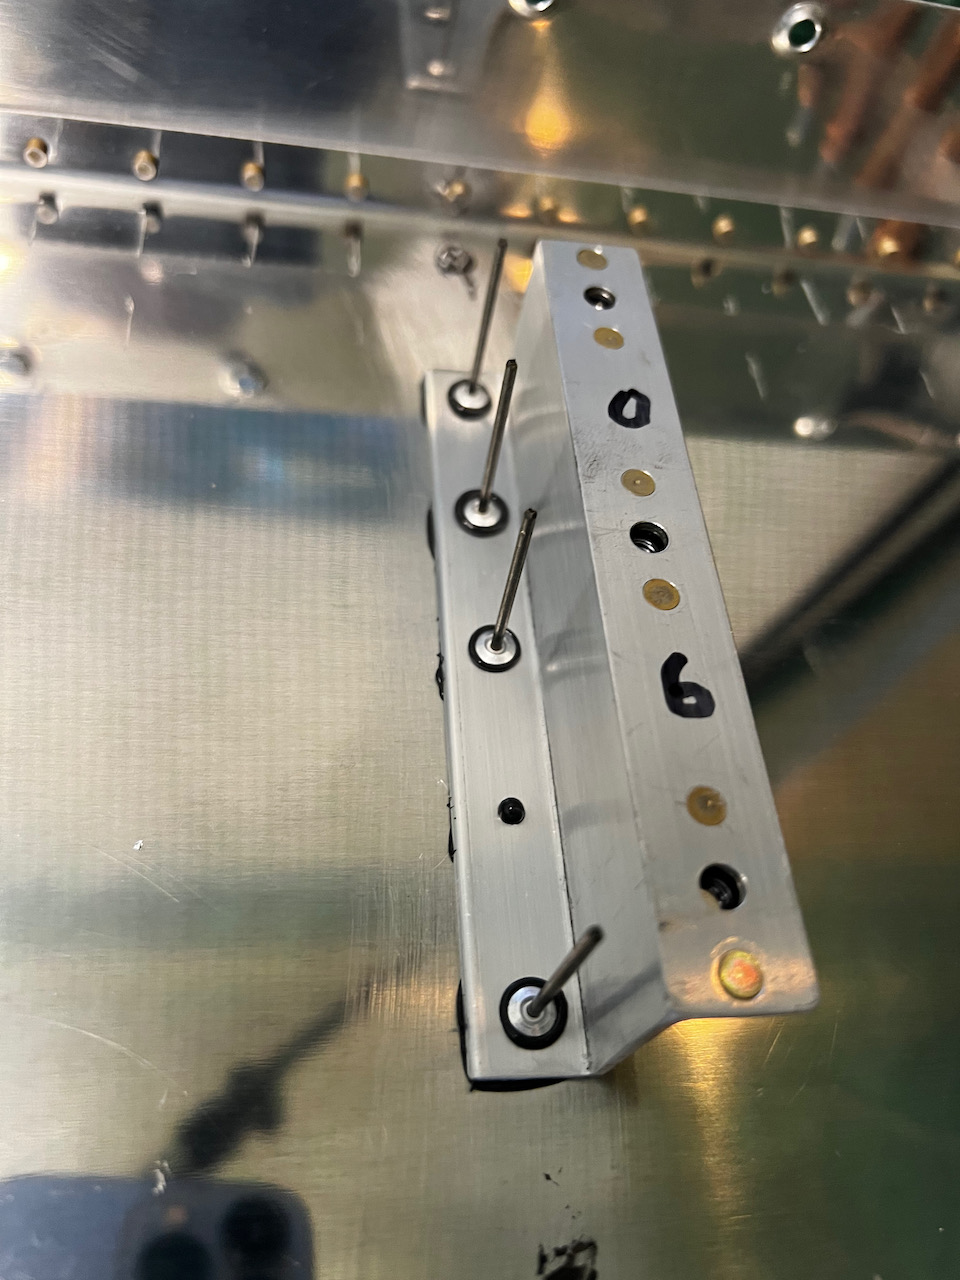
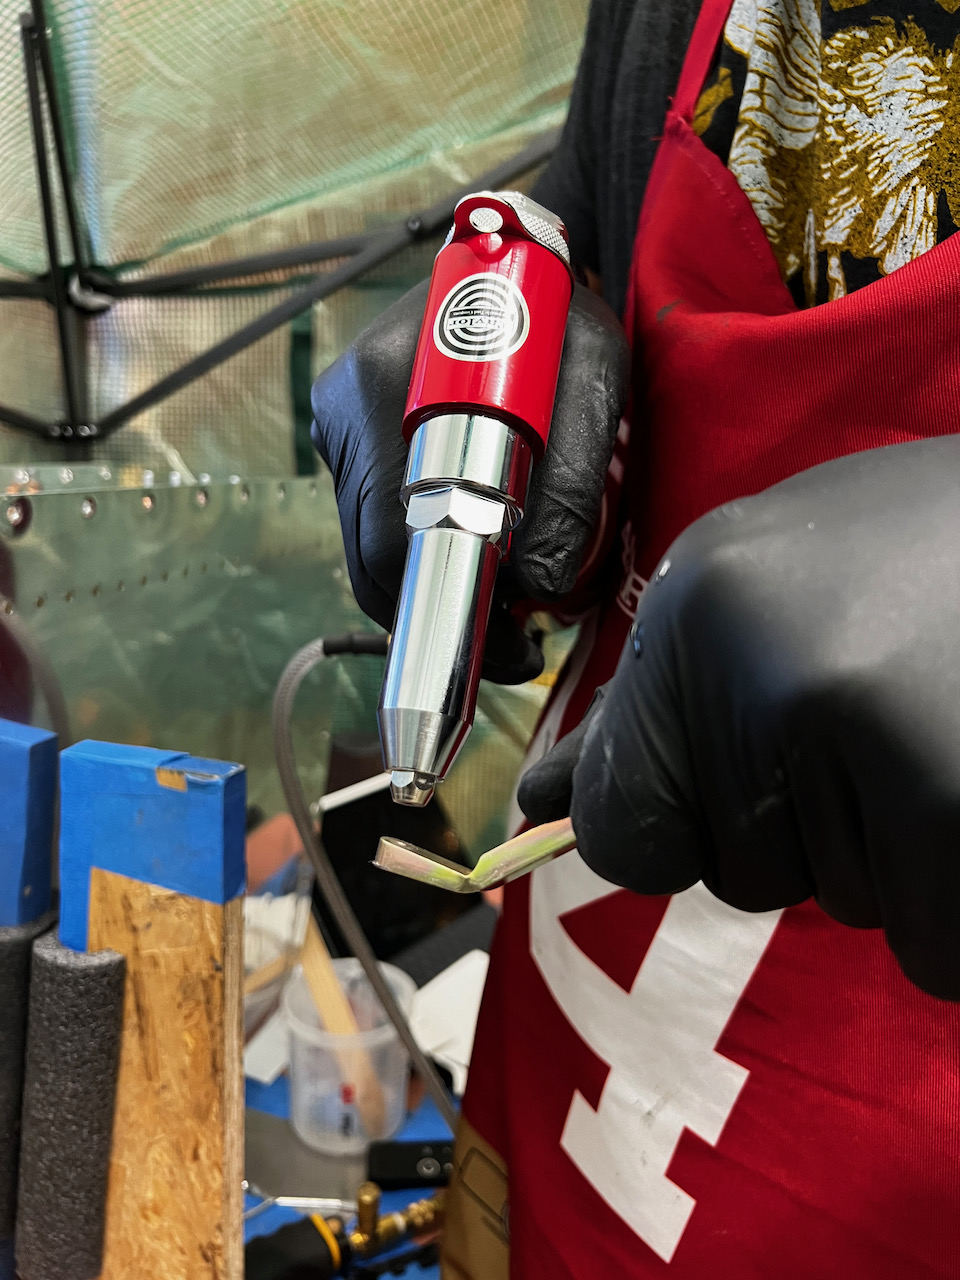
Lastly, we pop riveted on the tank attach angles. I forgot to put the sealant in the fridge, so it had set up too much to use for the brackets. I mixed another batch and we worked together to get through the brackets in no time. Once again, the close quarter rivet puller was a big help getting well set rivets.
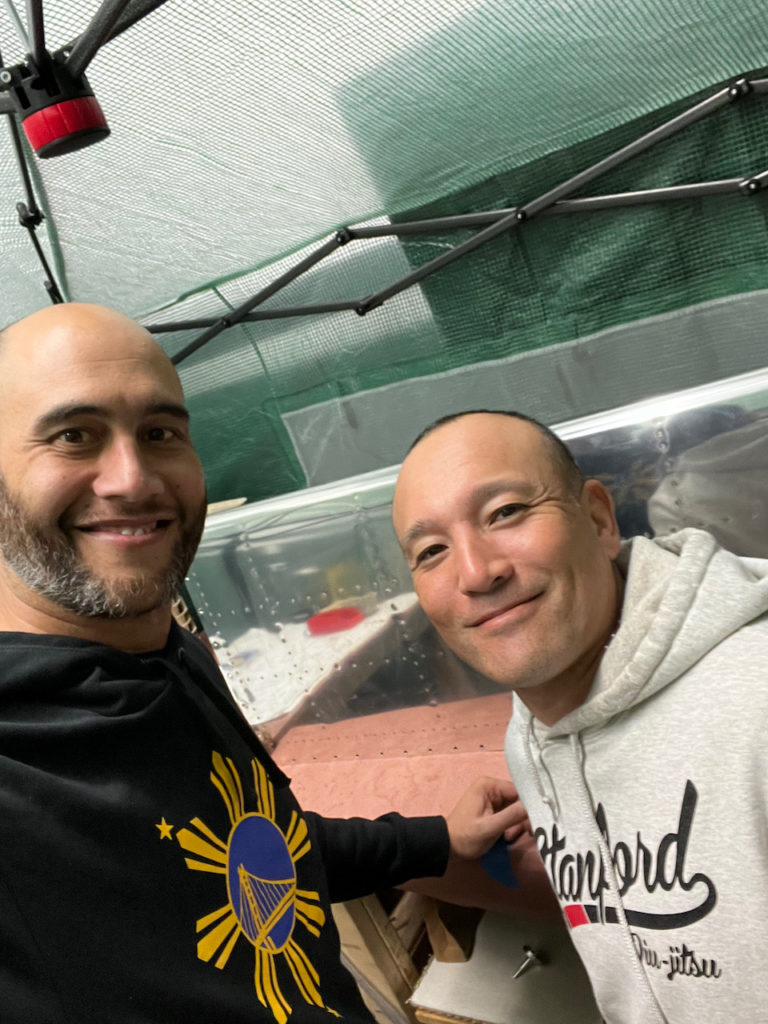
Almost done!
sealant squeeze out looks good
Sam twirling and placing AD-42Hs
pulling the last of the rivets
rivet puller works great
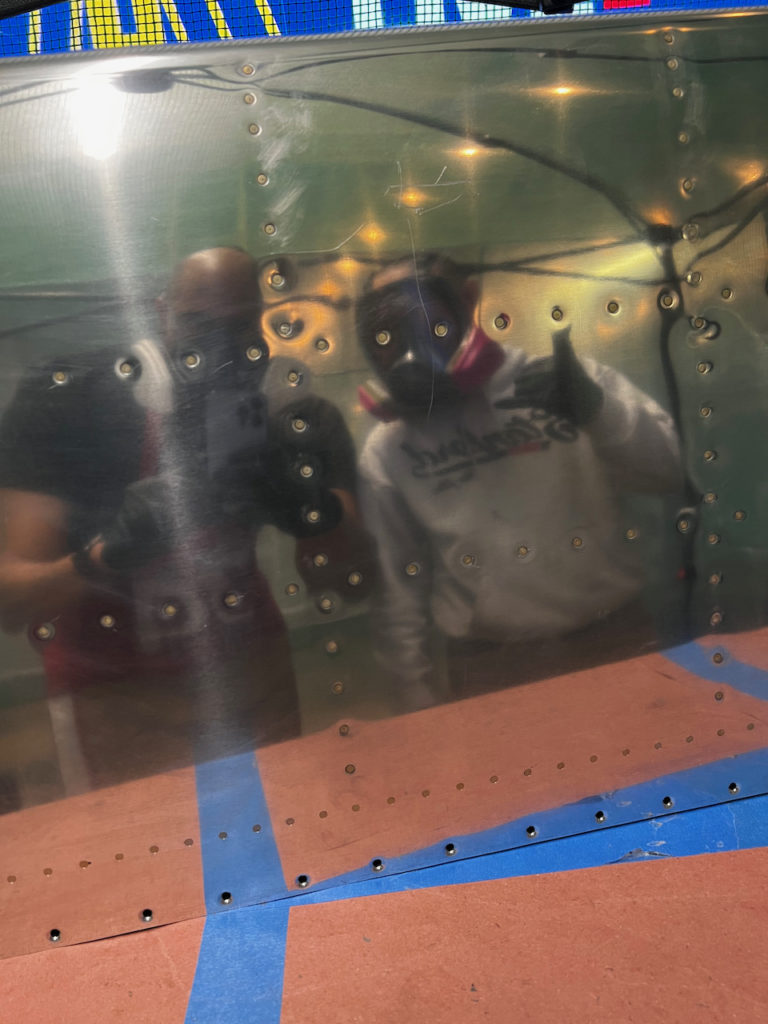
That’s it! Thanks Sam and Tod for the great session! Baffle is installed and I just need to seal the access cover plate to close up the tank. Hoping to do that this week. Until then…Happy Building!


1 comment
Two old buddies still at it …precious memories among friends!!
Sam you are the best!
Nina