Tonight’s session started with a goal of completing the Leading Edge and Fuel tank cradle. With the efficiency of the night, I was able to do a lot more than that! I thought I would need to get some material at Home Depot, but a quick check in the attic for spare material, and I found enough wood to be able to build the cradle without a trip. The plans (DWG-12A) give you a basic idea of what you need to build.
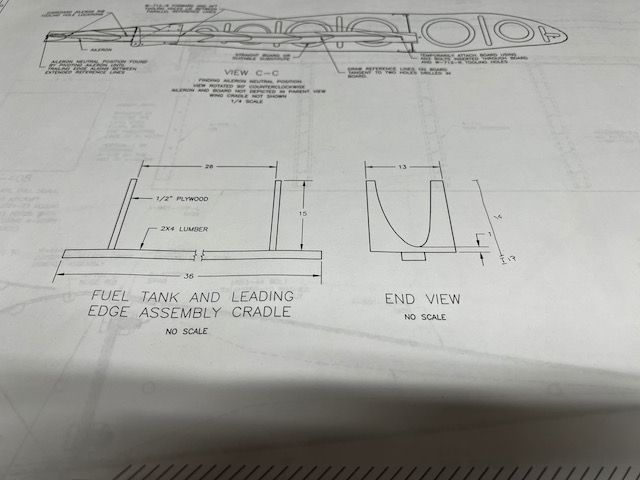
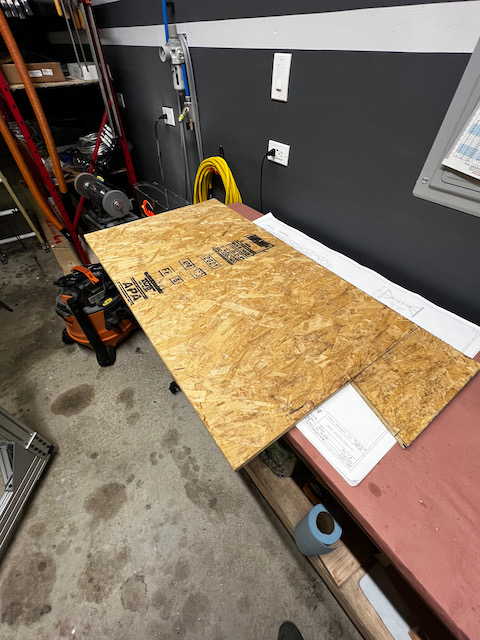
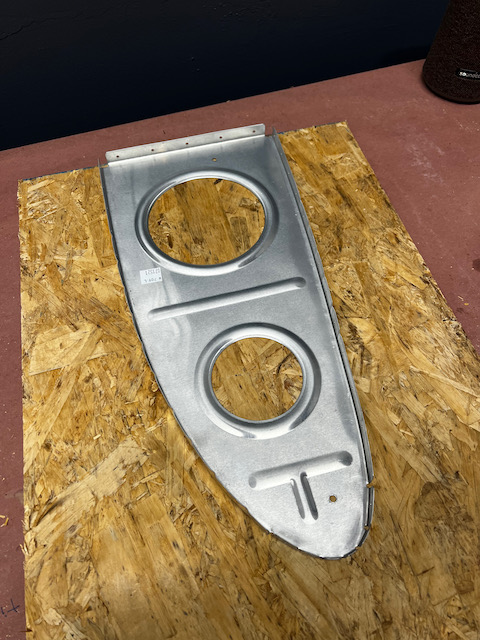
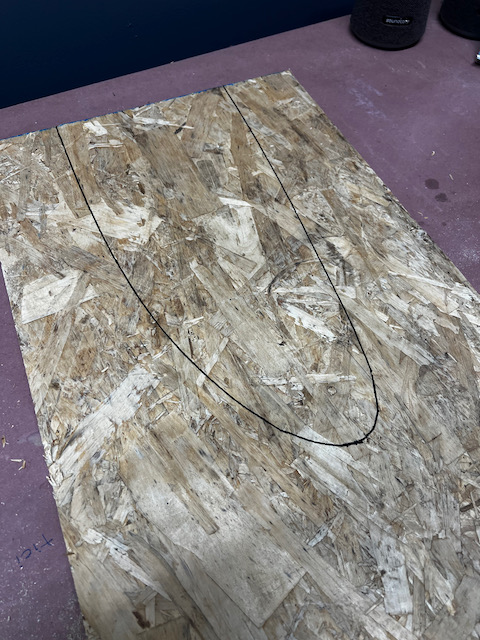
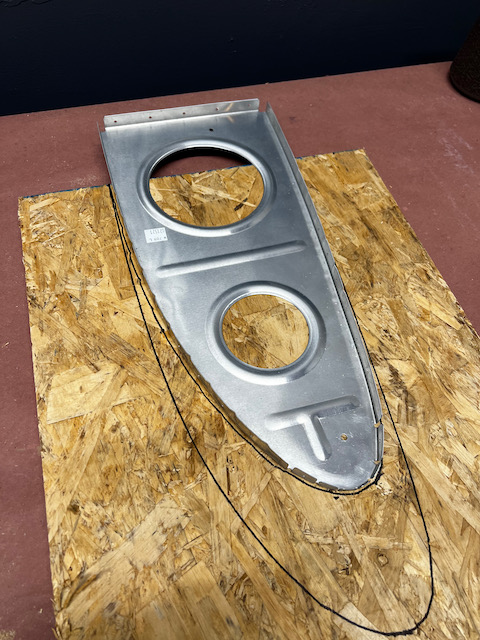
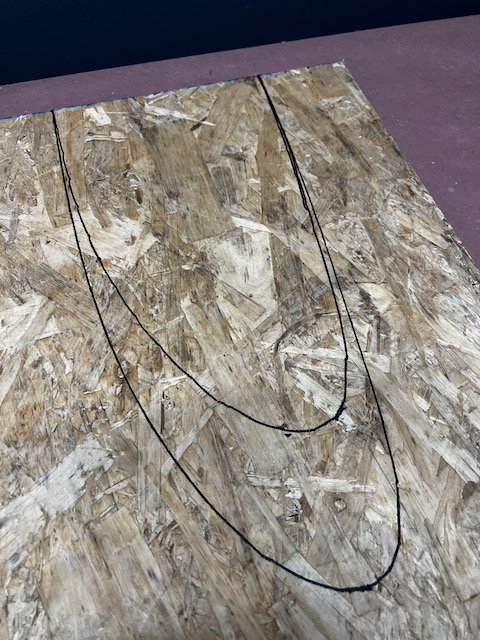
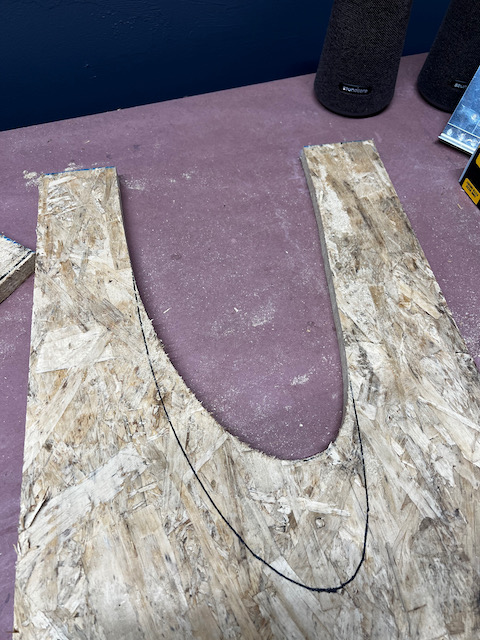
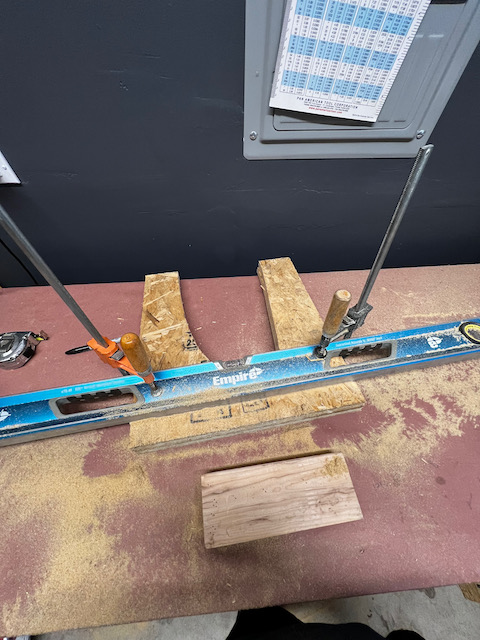
The plans call for using a W-709 rib to trace out a cutout for the leading end or tank skin to sit in. By making it a bit larger (but not too much), you can pad the inside, while still encouraging the skin to the correct shape which helps installing the ribs. After my first pass at tracing I realized I traced the entire rib, but really, you need to trace less of it so that the assembly can be put in and taken out easily. The dimensions defined by the plans help inform the depth of the cradle. After cutting the wood to the correct width and tracing the shape, I used a jigsaw to cut out the piece.
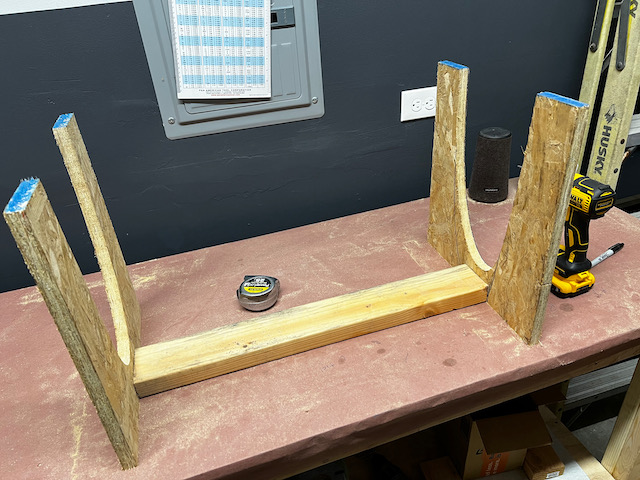
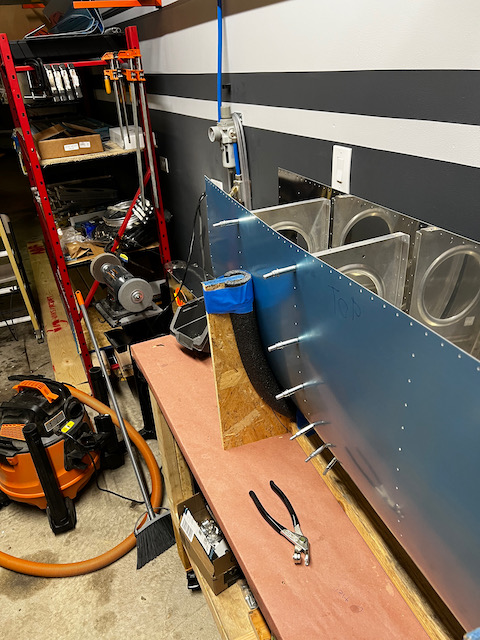
One thing I didn’t like about the plans cradle was how the connection of the two ends resulted in an unstable base (i.e. it wouldn’t sit flat on a table). Instead, I added a little extra depth to the ends and used a 2×4 flush with the bottom. This allows for a more stable base, and I think a stronger cradle. I then hacked together some padding using spare pipe foam and painters tape. I may replace this with something else at some point.

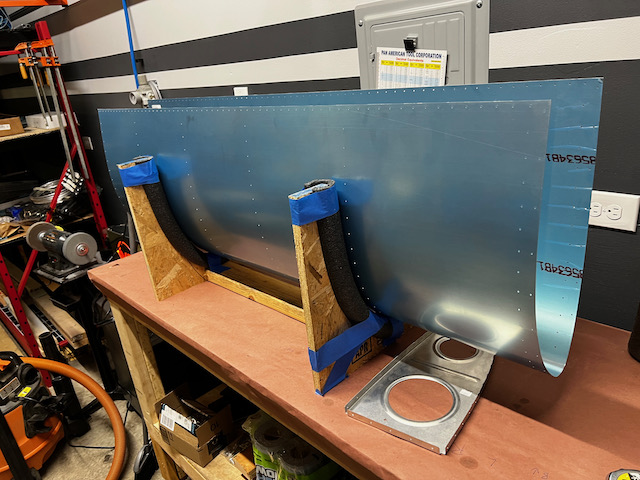
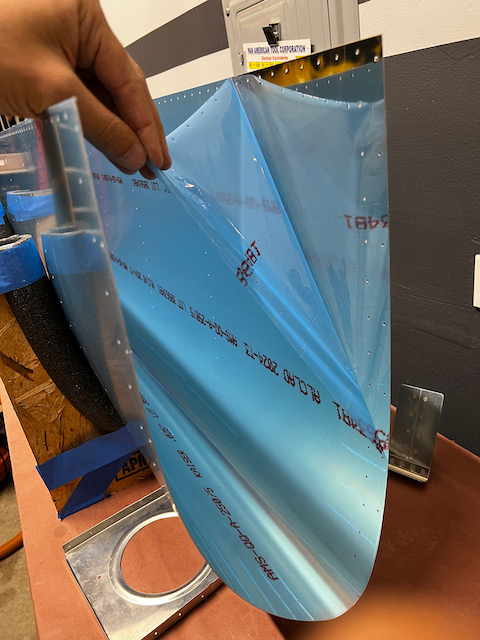
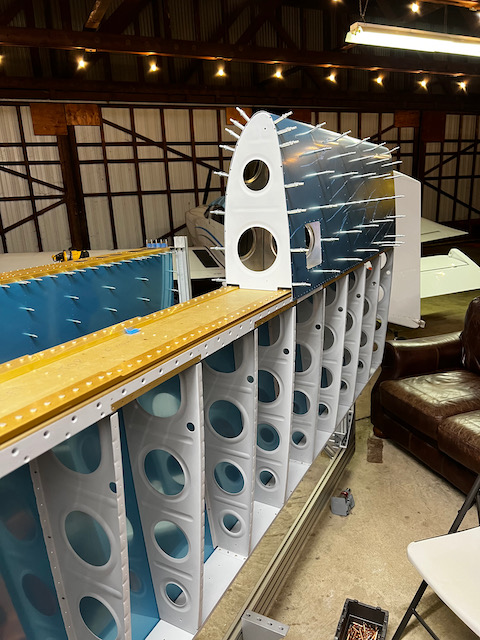
After a quick bite (Curry Up Now Tikka Masala Burrito..yum!), I decided to get running on the leading edge assembly. This was pretty simple, although I had to steal clecos from the main skins to put the assembly together. The cradle nicely held the left leading edge skin, and after removing the inner vinyl (as per plans), I cleco’d everything together. Nothing major to report.
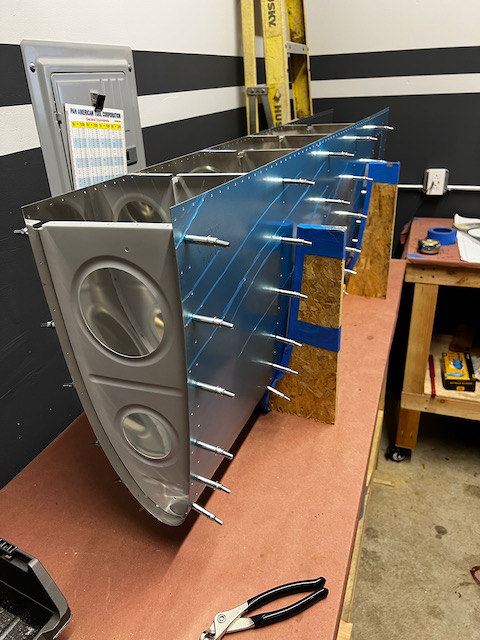
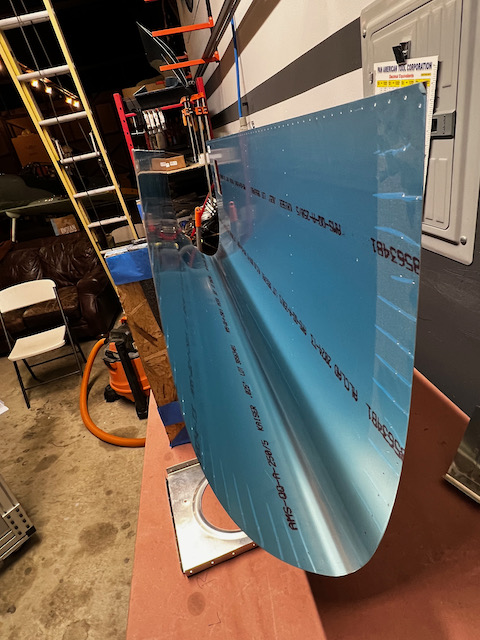
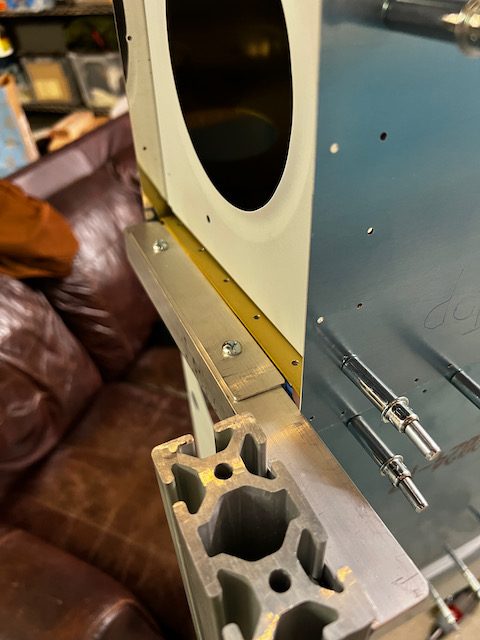
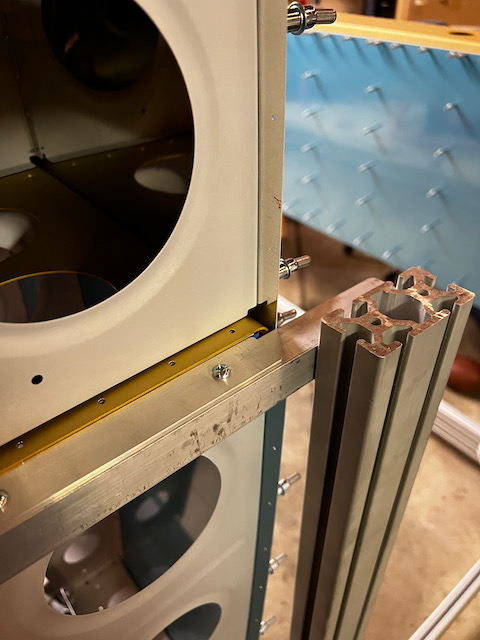
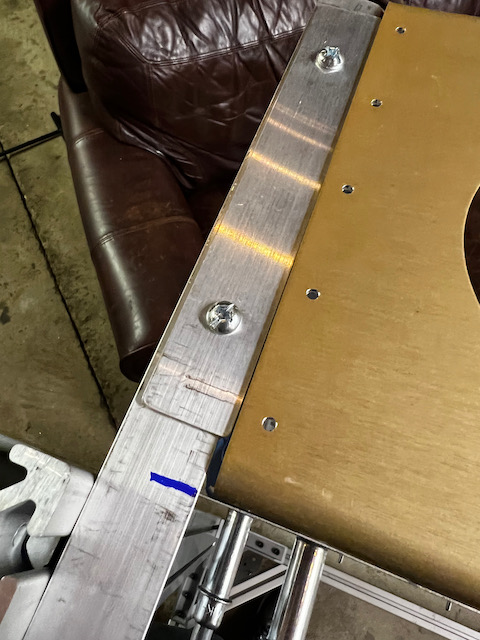
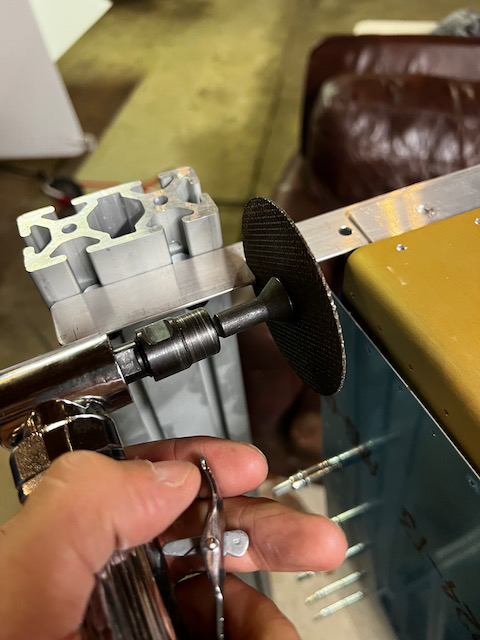
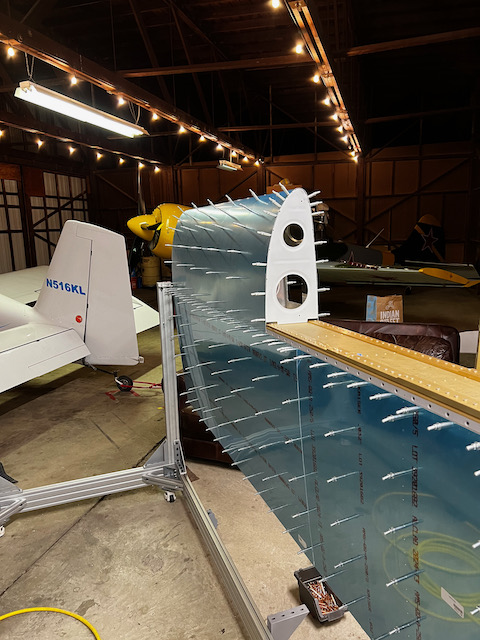
Although there are a few steps I need to take care of before I mount the leading edge on the spar more long term, I wanted to do a test fit just for fun. The only problem is that when I went to test fit, I realized that the way I built the wing stand, the overhang of the outboard skin butted up against the spar shelf on the outboard side, restricting the assembly from lining up with the pre-punched holes. To fix this, I used an angle grinder with a cutting wheel to cut out a little slot for the skin.
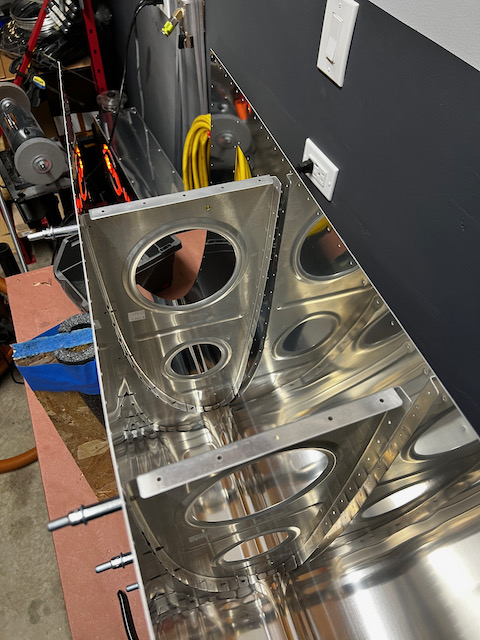
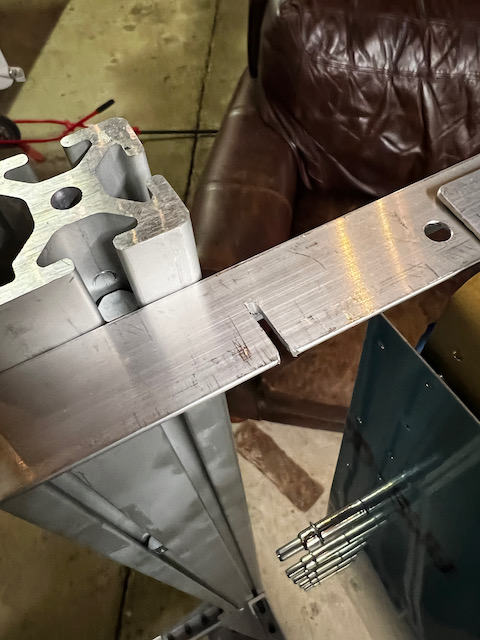
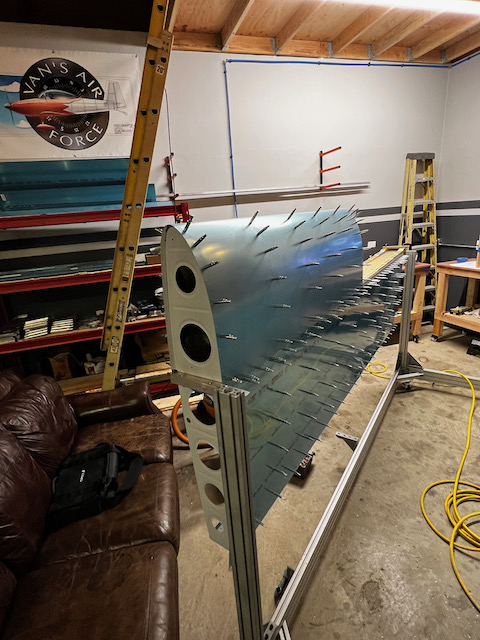
That did it! And so the fun fitting began, and after clecoing the leading edge assembly onto the main spar, I had what looked like a complete outboard wing shape! Woo hoo!! I know it is only a test fitting and there is a lot to do before I will actually keep it assembled, it was a great finish to the evening to admire what the size and shape of the wing will look like in it’s finished form. Next session I hope to build out the stall horn assembly (yes…I ended up deciding to do it). Until then…happy building everyone!
3 comments
What a progress. Nice work
Amazing project!!
Thanks Tito Ike! Feel free to follow along using the subscribe link above. Hope everything is well in the Philippines!!