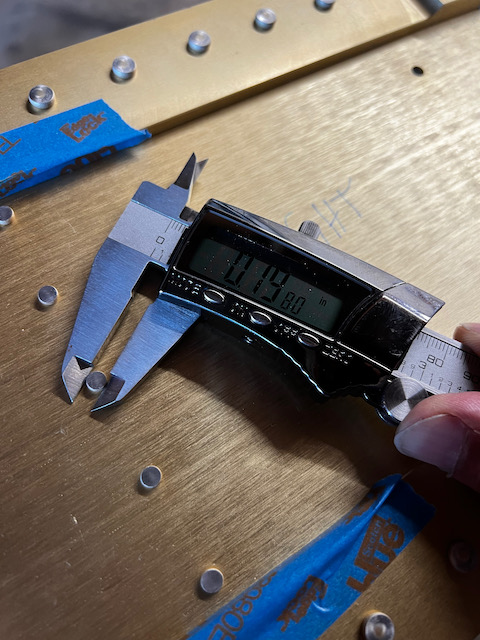
It was nice to get back to the hangar. It had been a while due to Thanksgiving break, and I was anxious to get going on the wing skins. Before jumping into that, I wanted to check the rivets on the main spar based on some feedback Alexander provided. Rivet head size is a really important indicator of whether you have driven the riet the appropriate amount and Alexander recommended I check a few heads that looked marginal. I had been using a rivet gauge to verify sizes, but decided to double check using calipers and a post from vansairforce.net describing the minimum size (for a 3/32 rivet, it needs to be 0.188″). There was one that could use a couple extra bucks, but besides that everything seemed to be in order.
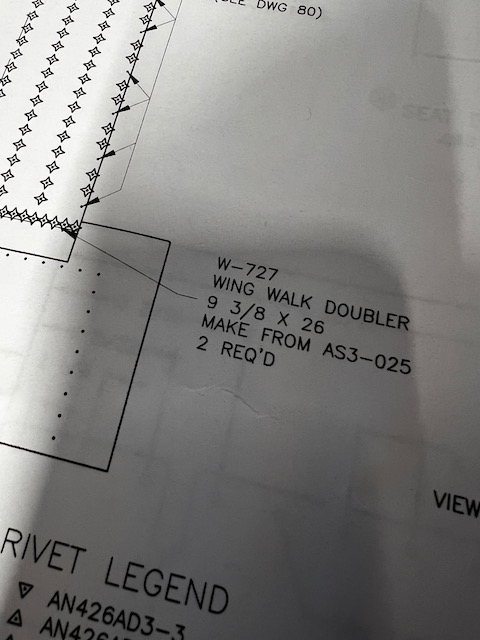
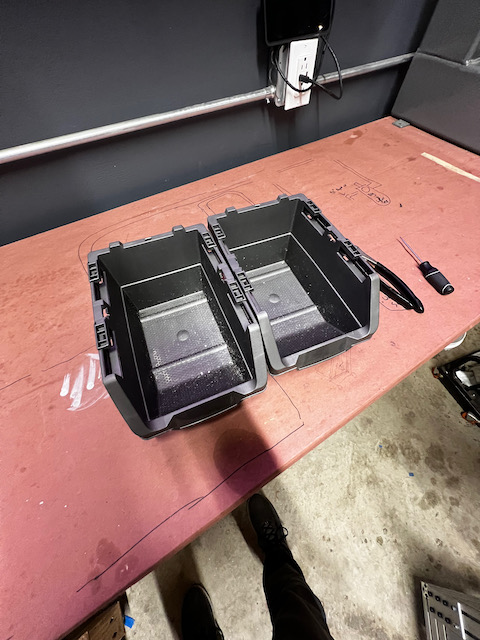
With that verification out of the way, I started a new section “7-4: Fitting the Wing Skins”. This is a fun one as I would get to cleco on the wing skins and see how all the prep work would pay off. The first step is to make wing walk doublers, which go under the main skins on the inboard side of the wings. This will reinforce the area for folks walking on the wing to get into the cockpit. The plans call for making this doubler out of “AS-025 9 3/8×26”. I searched my shelves, but couldn’t find it. When checking the original packing list, it appeared it wasn’t included. Hmmm… back to the forums to search for answers. Good news, the forums had a thread on this topic already (as always). Bad news, it looks like the part is actually not included in the kit, and I needed to order it separately. Bummer! If I had done this research beforehand, I could have made the order last week.
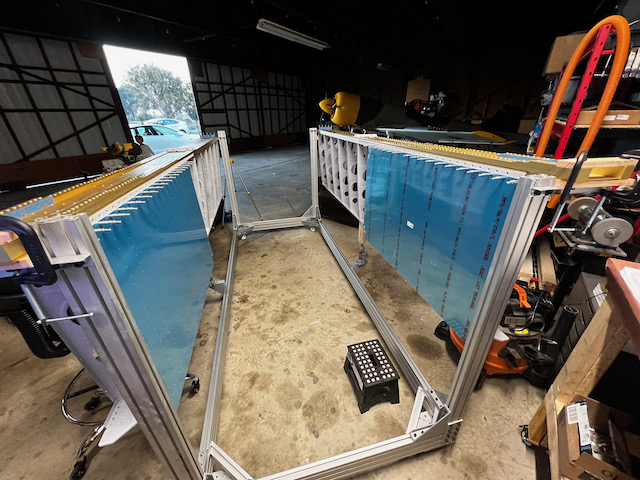
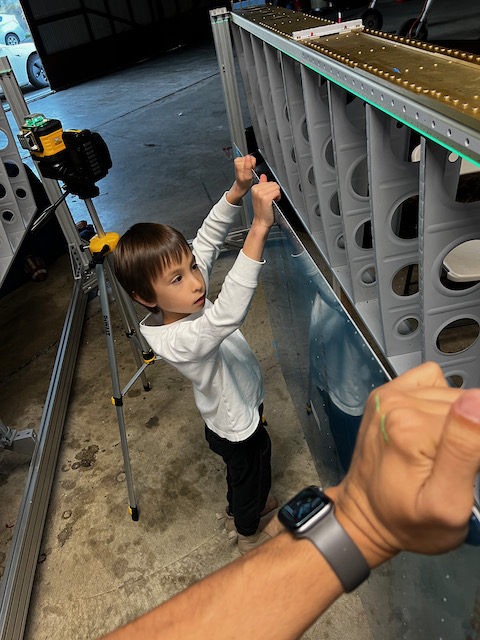
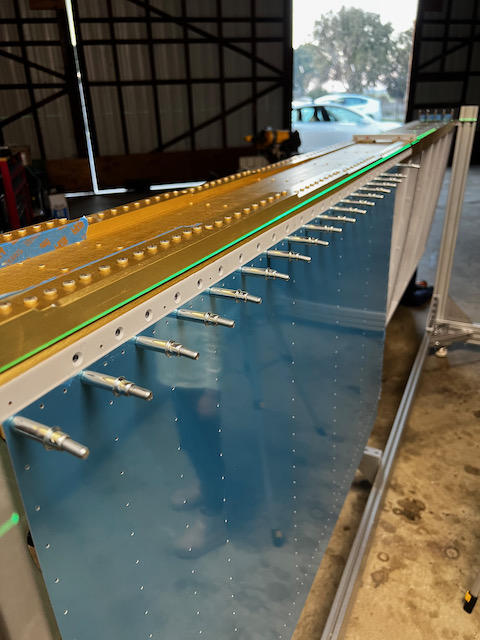
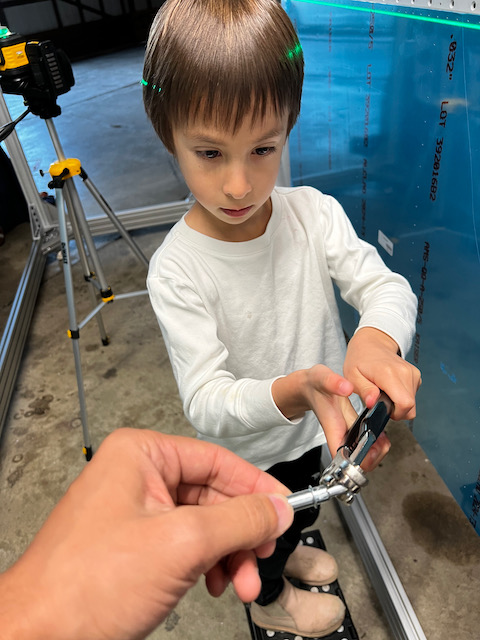
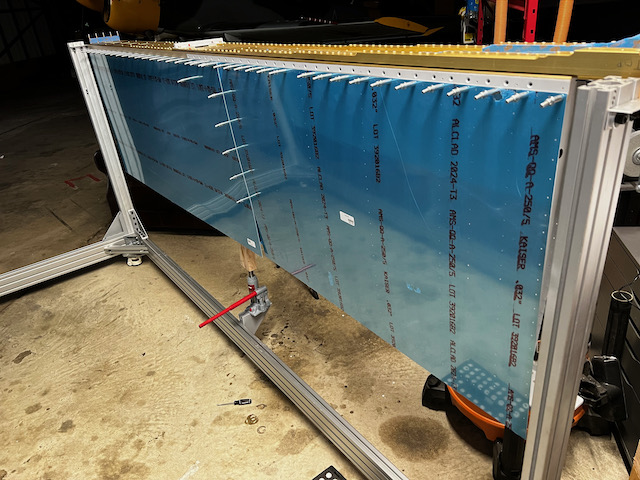
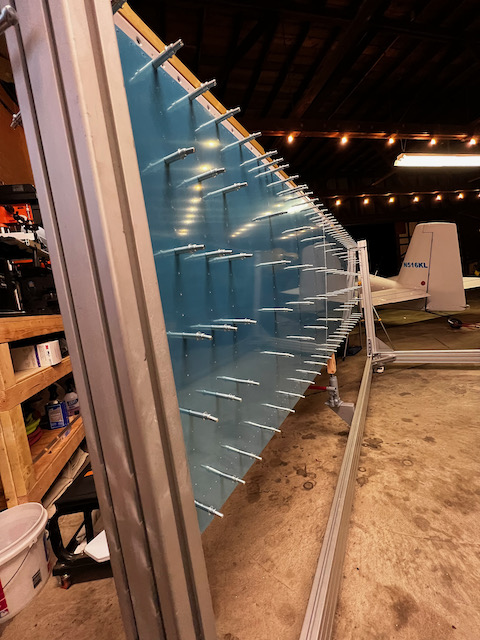
Since I couldn’t fabricate the wing walk doublers, I decided to cleco the wing skins on. I won’t actually need to final drill each hole because of the special dimple dies from Synergy Air, but I still wanted to test fit everything. As I cleco’d the ribs, I was pretty impressed with how lined up most of the holes were. This comes from all the rib straightening prep I did a while back. It also really helped to have the laser level. When I got the spar straight, the holes lined up quite accurately, so very little finagling requirec. Where they weren’t perfect I was able to use a small pick tool to align one hole as I inserted a cleco into the other. I had a visitor show up for a few minutes from a colleagues hangar down the row. Colton (age 7?) is an airport local who has grown up on the field. Good fun getting him involved, and he helped me get the top row of the top skins in!
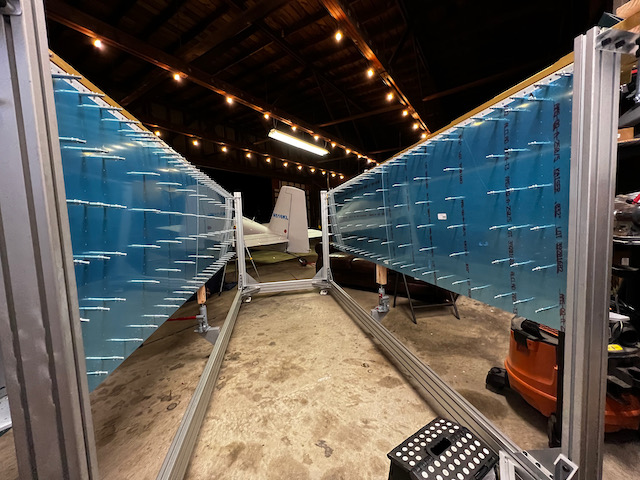
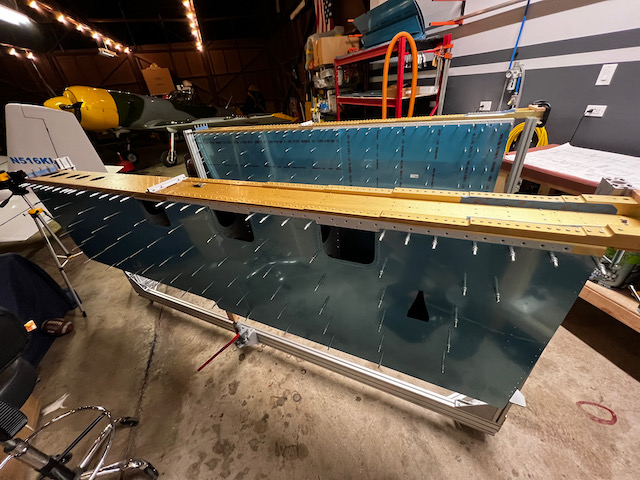
After getting the skins hung from the top row, I followed the plans recommendation of starting from the top middle rib and working my way down and out towards the wing ends. I was able to get the tops of both wings cleco’d, and the bottom skins of the right wing. Unfortunately I ran out of Clecos before starting the bottom left wing skins. A quick order on Cleaveland, and they should be here in no time. Although a quick-ish session, it was nice to get back to the hangar, and I look forward to getting back in the groove before Christmas break hits!
2 comments
You don’t waste time getting back to your plane !
So dedicated. 20 hrs drive back from thanksgiving family party would have killed most other human being 😂😂. The wings starting to look real good. Conu