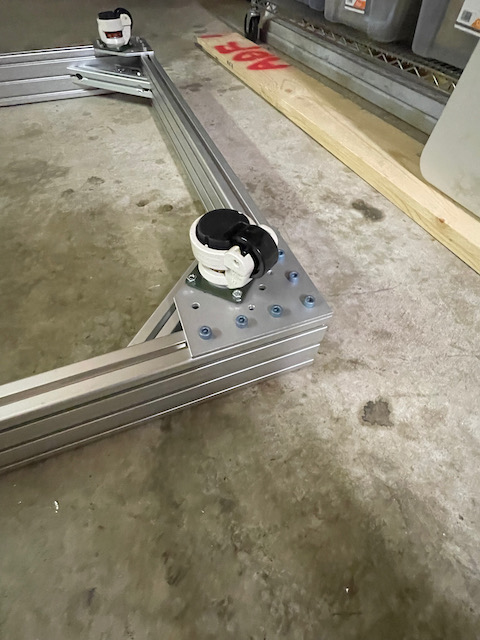
Like most people, I hate making mistakes (like drilling in the wrong place last night for the caster holes). Maybe less common, I get pretty fixated about correcting it right away. In this particular case I decided an early morning session could get it done. I had all my tools laid out from the previous evening, so I was able to arrive and get running right away. I didn’t want to pull off the plates and use the drill press again so I took a different route and hand drilled this time around.
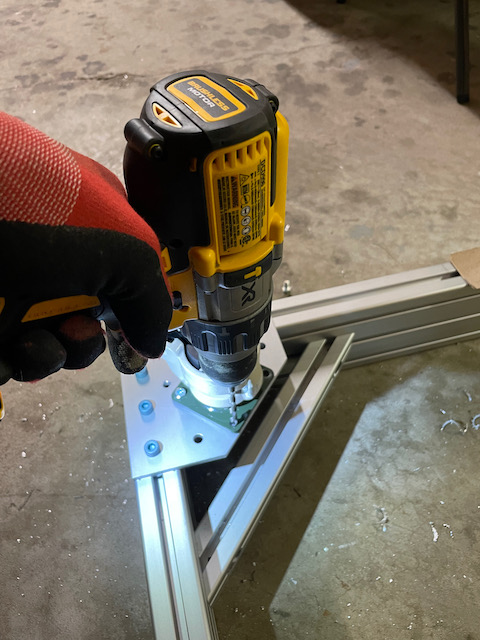
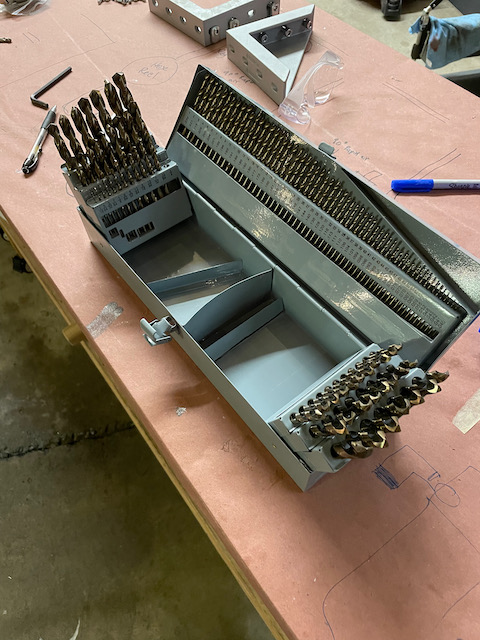
If you’ve ever wondered when you’ll know that a drill bit is dull (which I had been wondering), I can definitively tell you…. you’ll know. I was using the same 1/4″ bit that I used on the drill press last night. I was already noticing last night that the drill wasn’t happy without cutting oil, and this morning, after drilling a single hole, it became nearly impossible to get through the metal with or without cutting oil. My drill bit was dull. Ugh. Good news is I had recently purchase a full drill index set (basically a drill bit set that has every common drill bit size from tiny to quite large. In there was a 1/4″ bit. The new bit was night and day, and it felt like cutting through butter with a bit of cutting oil!
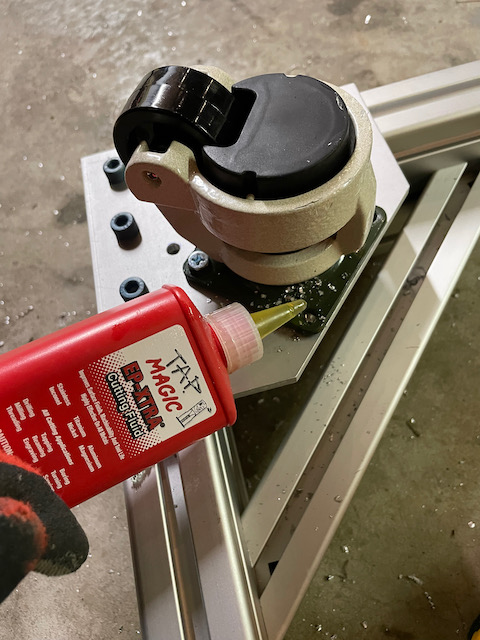
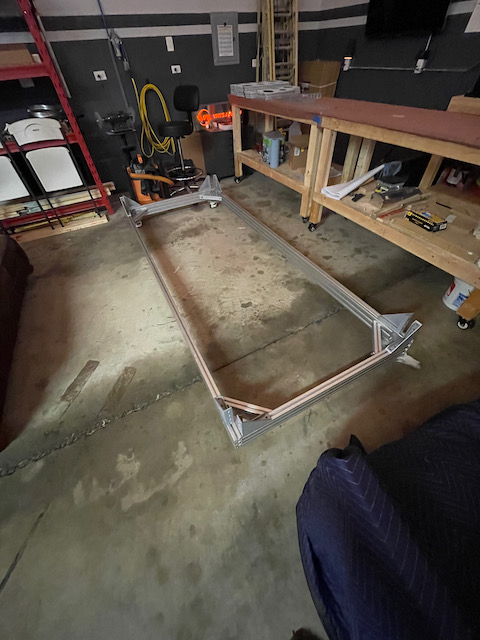
With a sharp drill bit, and a plan of attack, I was able to get through all the holes and mounting in about 45 minutes. Although the cutting oil makes the clean up a little more annoying, it is well worth the smoothness of cutting. I’ve heard it also increases the longevity of the bits as well as makes for cleaner cuts. After mounting all the casters, I flipped it over and moved the base into place.
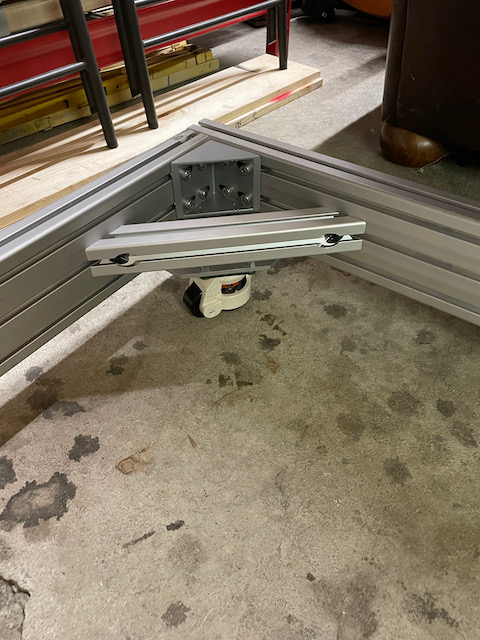
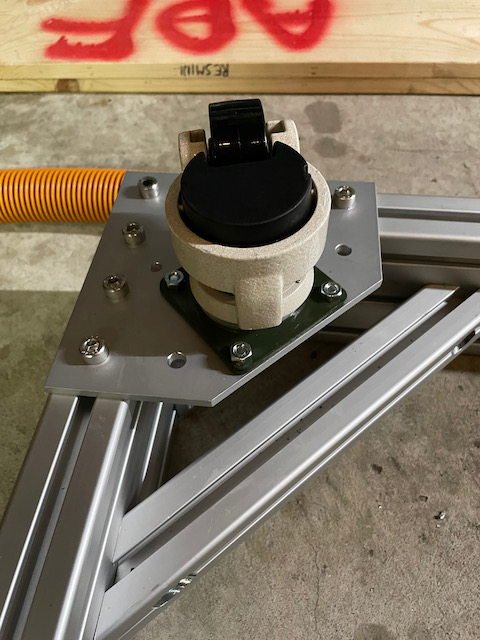
On a side note, I choose these new casters based on a recommendation from Finn. The leveling mechanism is pretty cool, with the entire rubber foot being adjustable without any tools. You can get it here from Amazon if you want some.
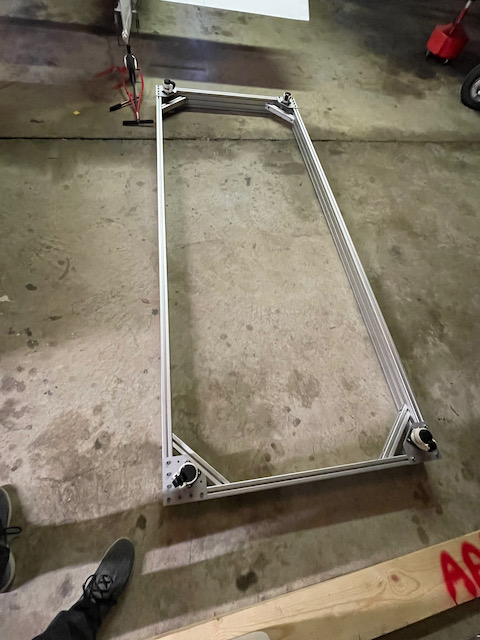
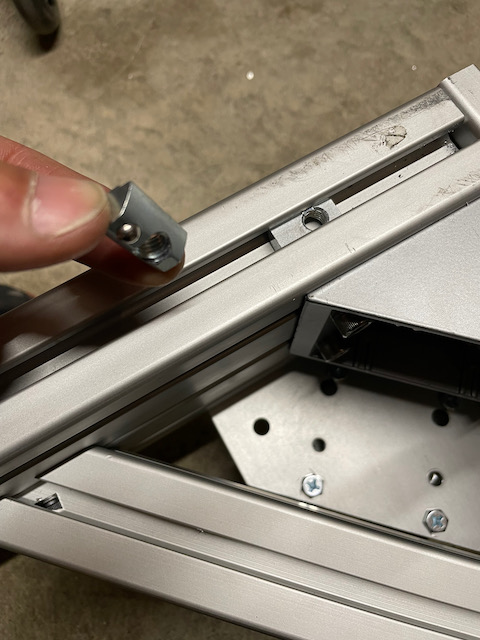
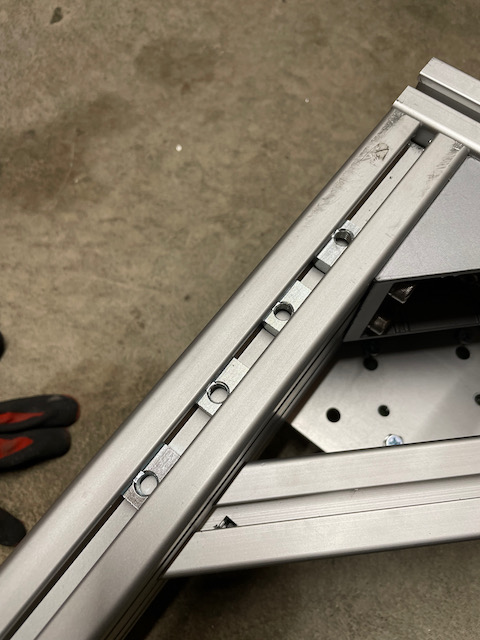
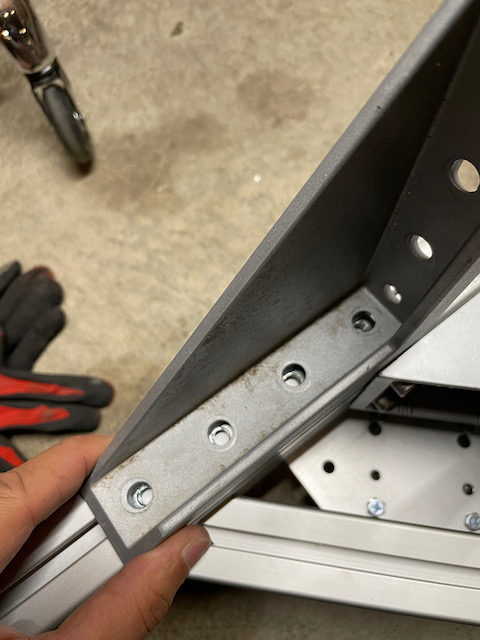
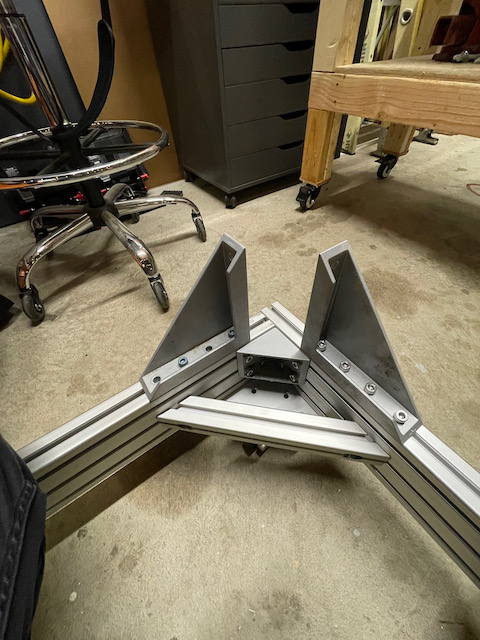
Since I had some extra time (needed to get to an 8:30 meeting, but it was only 7:30!), I decided to start playing with the bracing for the vertical “towers” that will eventually hold the spar shelf. These are large 90˚ brackets that are mounted using 4 nut plates. Since some of the 8020 rails were no longer fully accessible (ends were blocked), I used a different type of nut plate that you can insert after the fact. These “snap” into place, and the you have to line up the plates with the holes you will be mounting in. After running out of M8 bolts (more coming on Friday!), I called it a morning, and wrapped up with a nice picture of the stand base complete. Next update will be later this weekend as I’m off to the mountains for my younger son’s birthday. Can’t wait to complete the stand and get some spars on there!
2 comments
That’s paolo for you. Nothing less then perfect is acceptable 😂😂😂
ha ha. you know me too well.