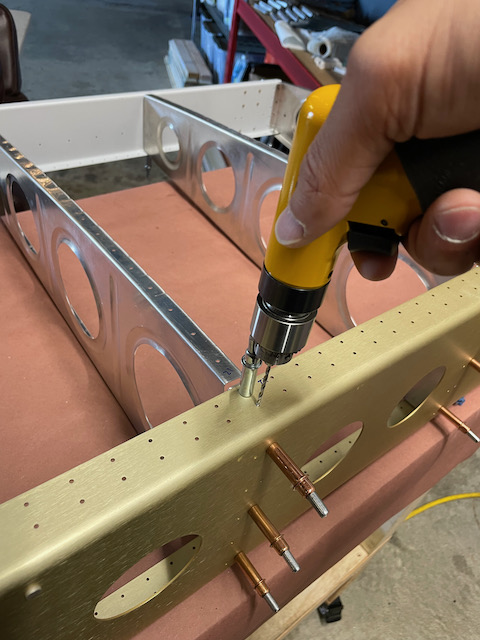
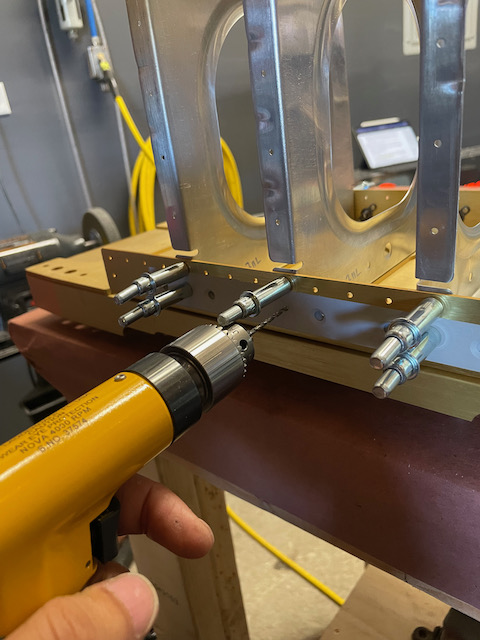
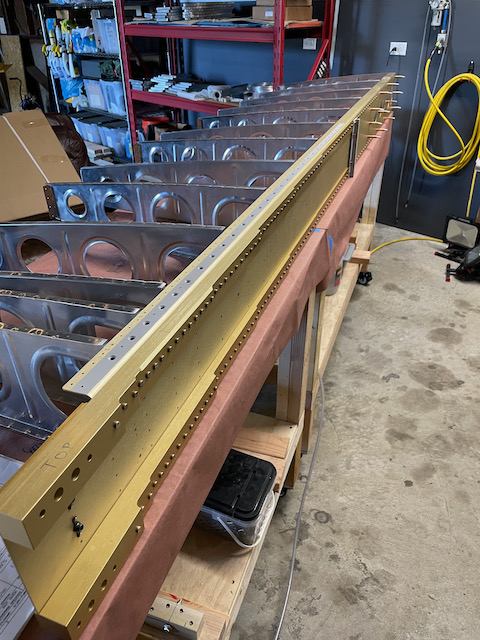
With a 49ers game on and the anticipation of a halloween evening, I was able to get up early and continue work on the wing skeletons (skeletons on Halloween…yeah!). First up I need to drill out to final size all the #30 holes on the spar webbing, and #40 holes on the flanges. It was a pretty simple task, although keeping track of what I had and had not drilled out was the main challenge. I ended up using the clekos as markers of what had been done. To drill both sides of the flange, I turned the skeleton on it’s side. Sitting on top of the clekos was surprisingly stable.
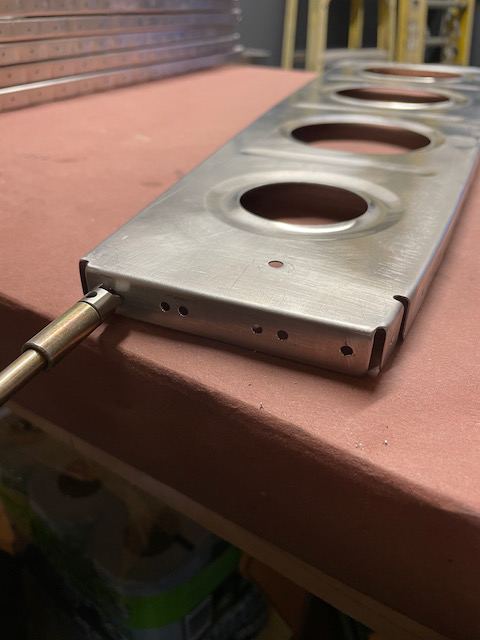
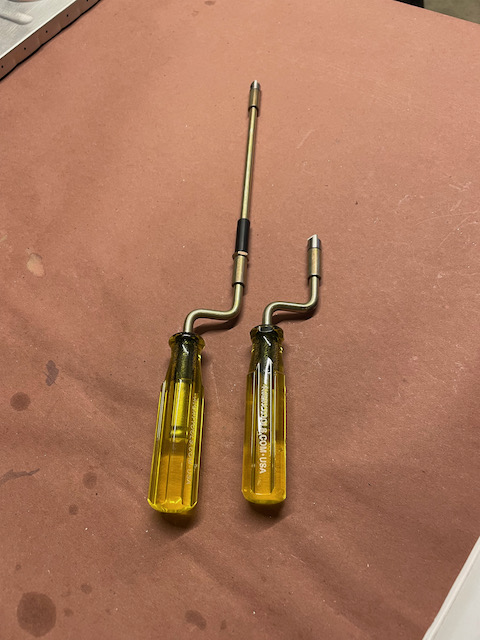
After drilling everything out, I disassembled the parts, and deburred the spars as I disassembled. I figured by deburring during disassembly, it was easier to make sure I didn’t forget anything. I had to use the deburr extension for some of the inner flange holes, and it turned out that I like that configuration quite a bit, even for holes that don’t need it. There is a bushing on the extension that make using two hands quite easy, and the weight of the setup is just about perfect for deburring cleanly.
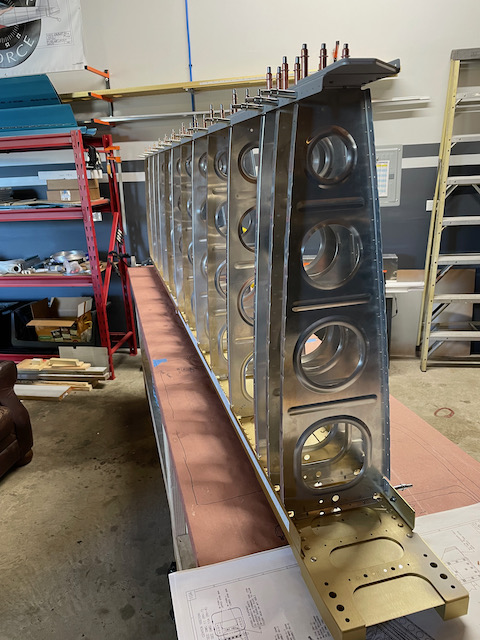
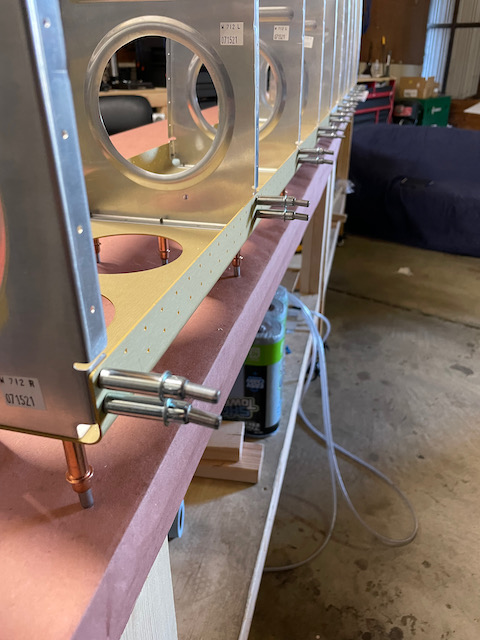
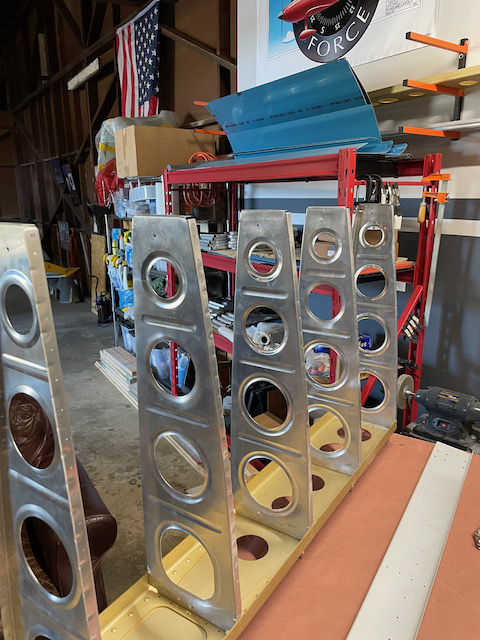
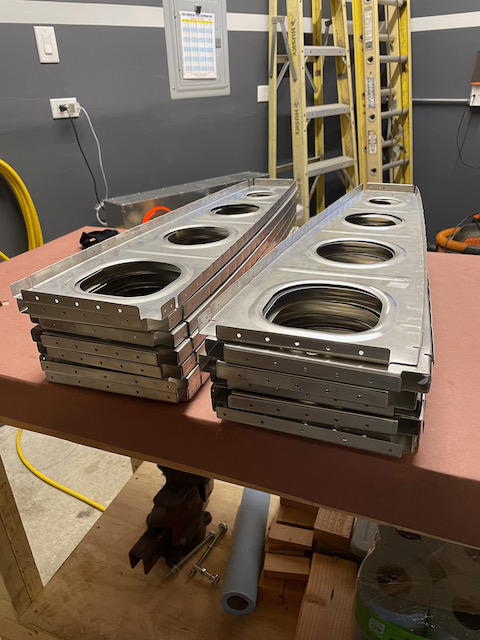
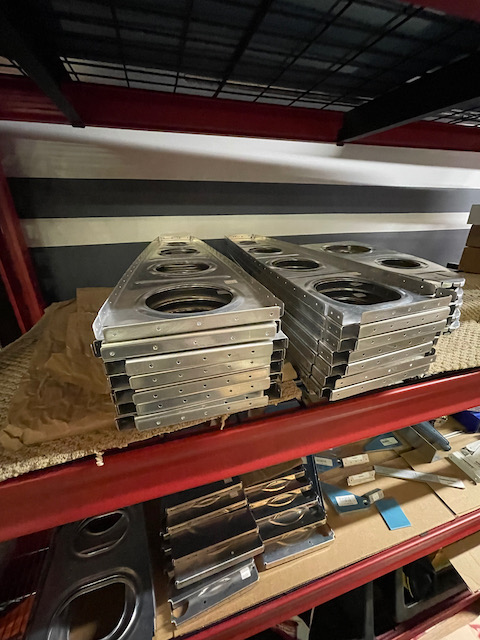
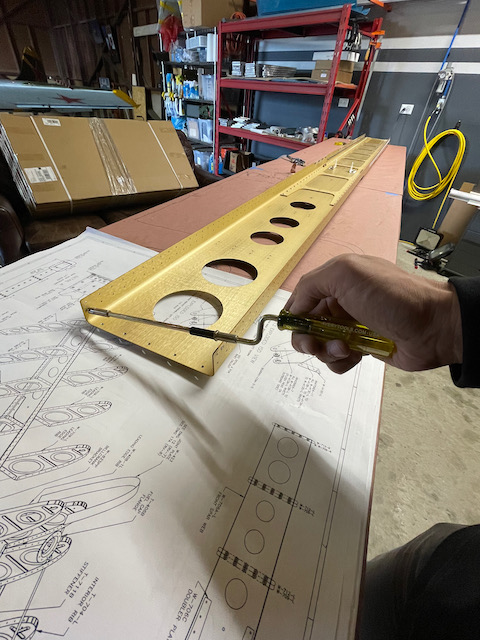
I decided to defer rib deburring until I had all the ribs together, so I moved on to the right wing. Steps were the same: (1) assemble skeleton, (2) drill holes to final size, (3) disassemble, (4) debur. As usual, it went quicker the second time around, and I was able to get through all of steps 1-3, and the deburring step for the spars.
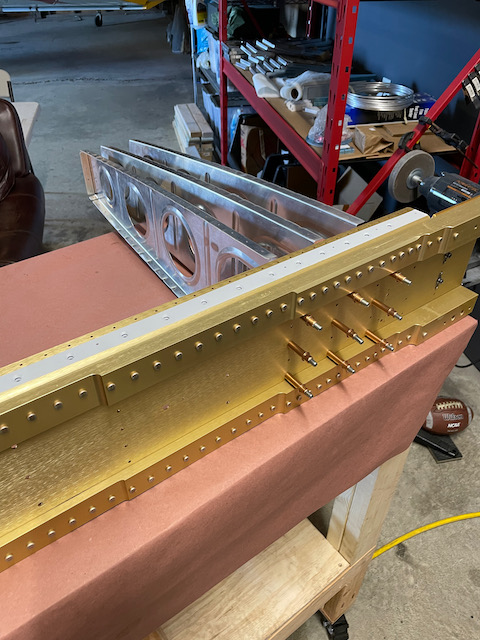
right wing asembly started
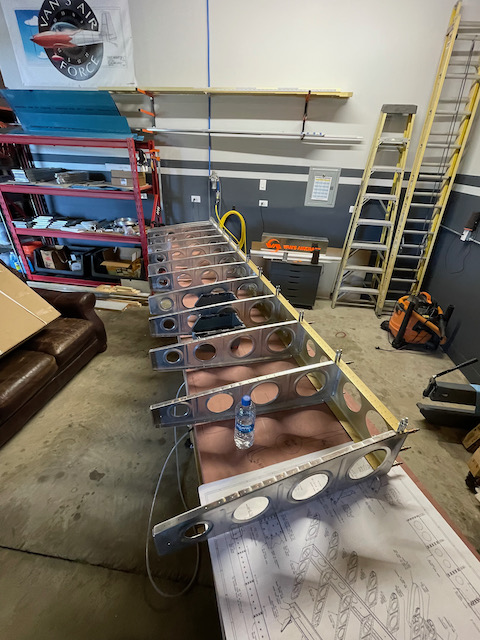
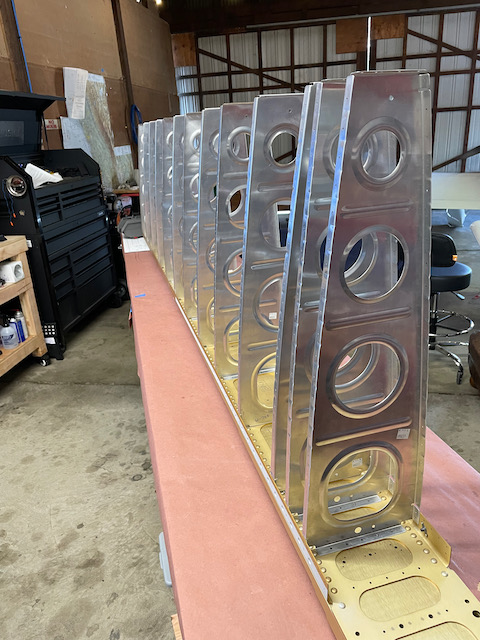
right skeleton starting disassembly after drilling
After a midday break I was able to get an evening session in while the kiddos did their halloween thing (getting too old to want to hang with Dad). The first couple hours of this session was spent deburring the ribs. It was a tedious but easy task, and one that moved faster with the World Series on.
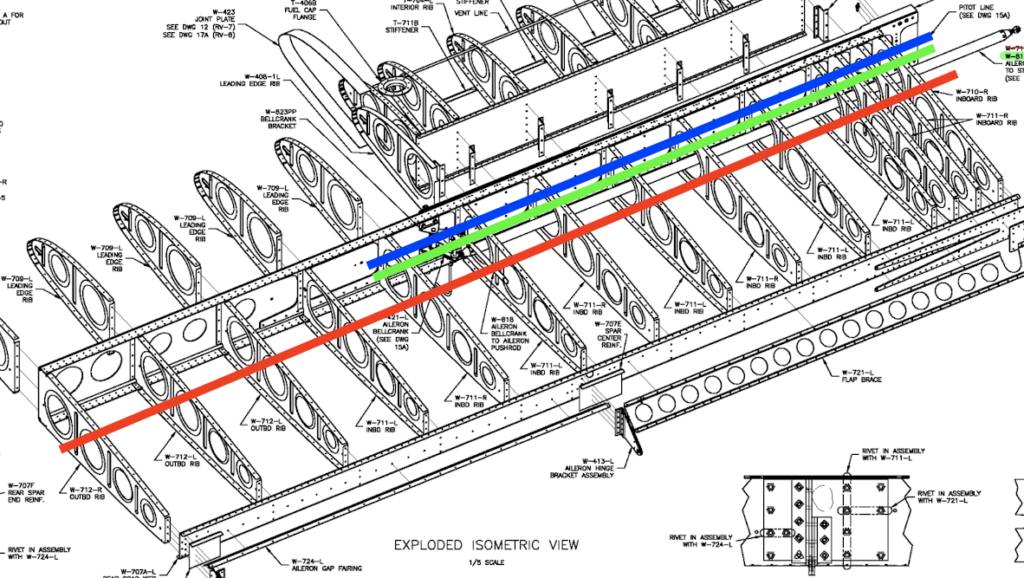
Next I wanted to get going on getting final size holes for the conduit that needs to get run. Based on Van’s conduit recommendation options, I’ve got a few different runs that I plan to do.
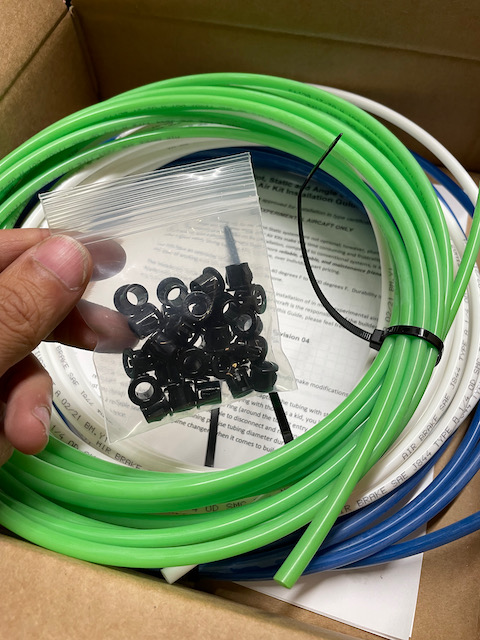
Pitot line (blue – left wing only)
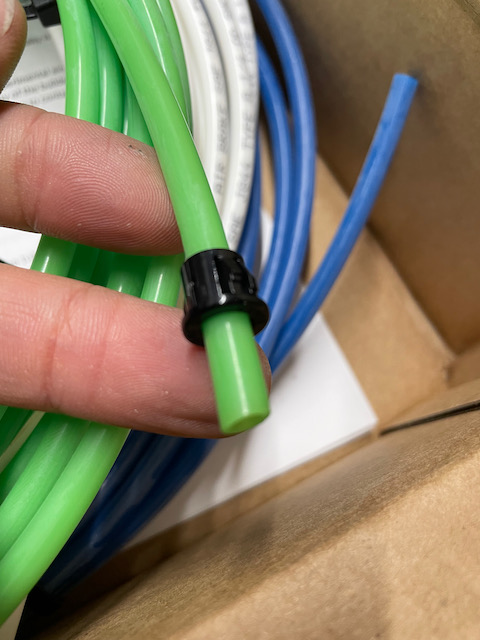
AoA line (green – left wing only)
electrical conduit line (red – root to tip on both sides)
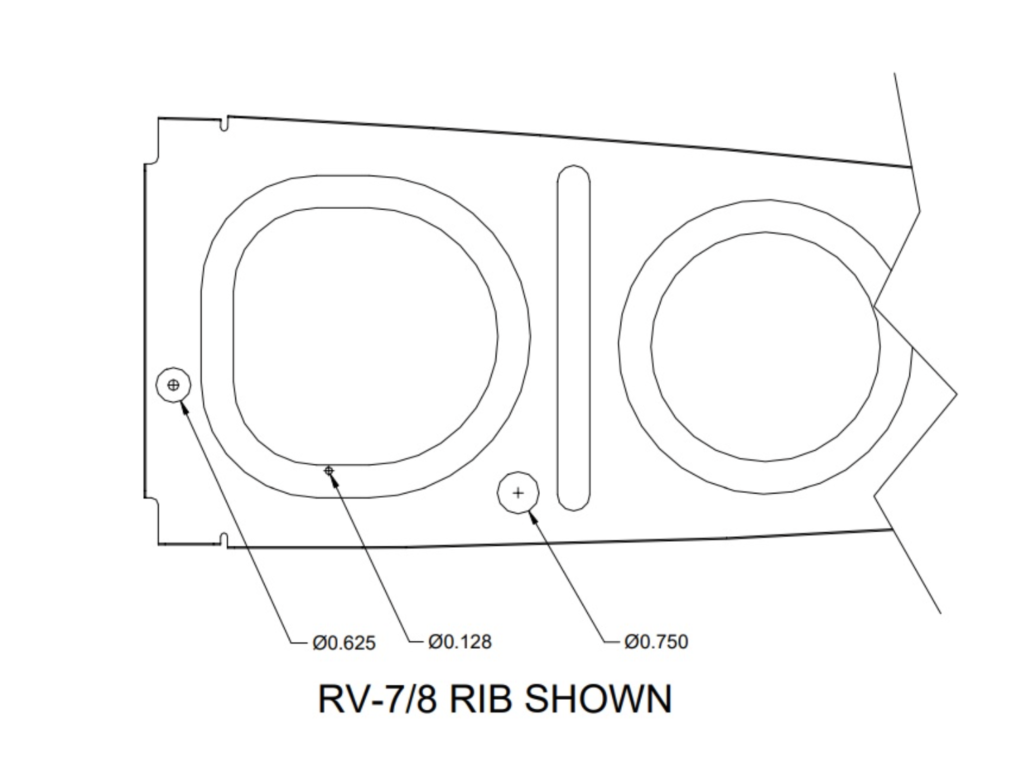
Below is the DWG 10A drawing with the conduits I am going to use marked up.
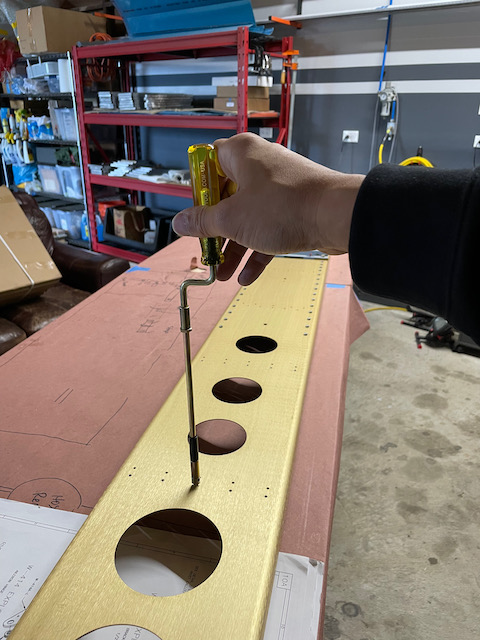
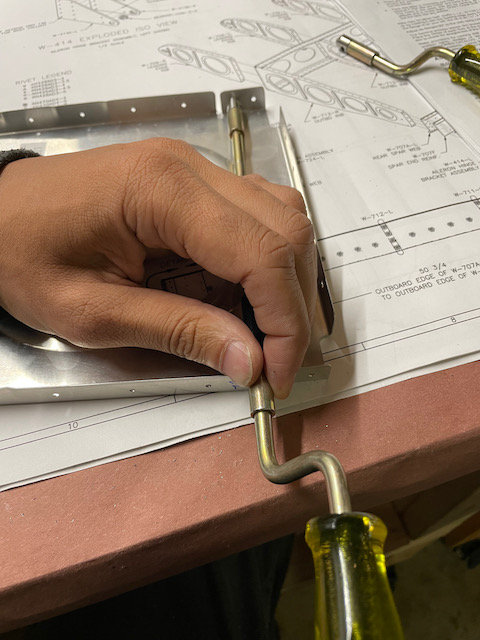
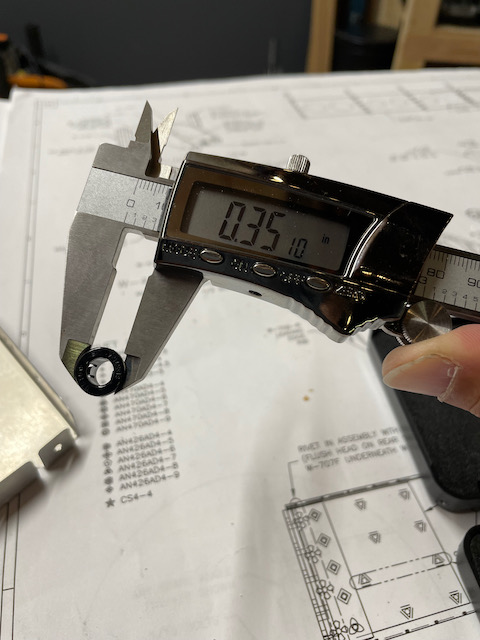
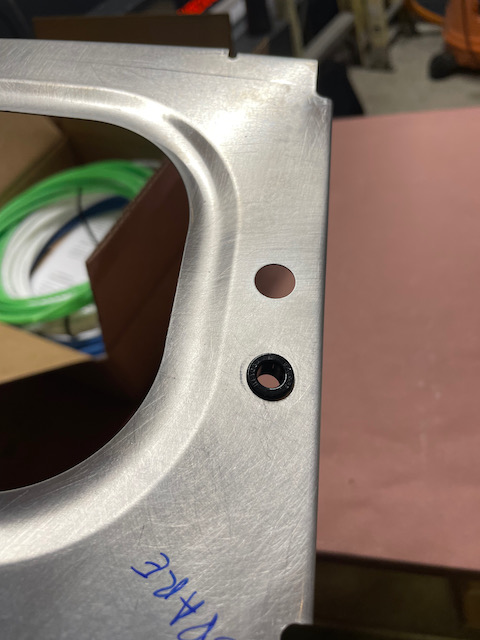
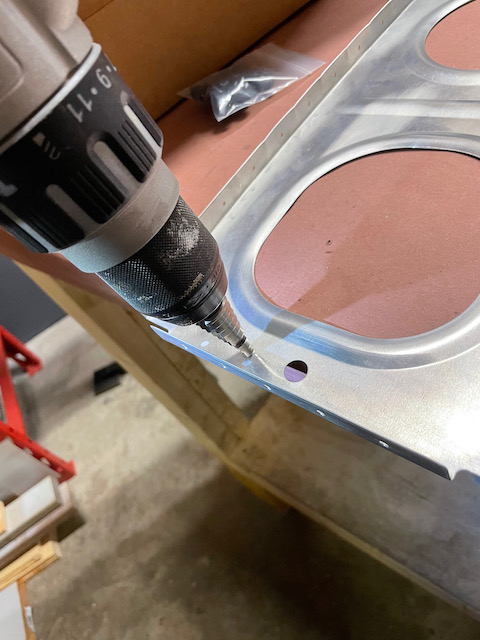
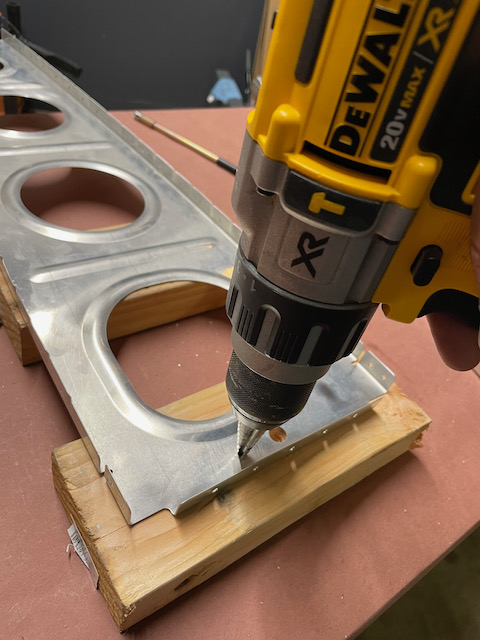
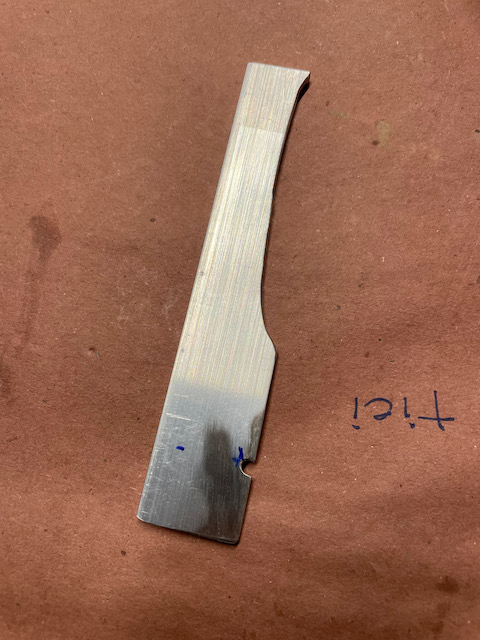
The Pitot line is already drilled out at the front of the ribs, and fit the snap bushings that come with the kit. I purchased an EFIS System Plumbing kit from Aircraft Spruce that provided an AoA line along with additional snap bushings of a different size. After measuring the right size hole, and marking this on the unibit, I used a wood block backing to drill out the left ribs that needed these lines (only the 10 most inboard ribs of the left side).
snap bushing from kit fits for pitot line
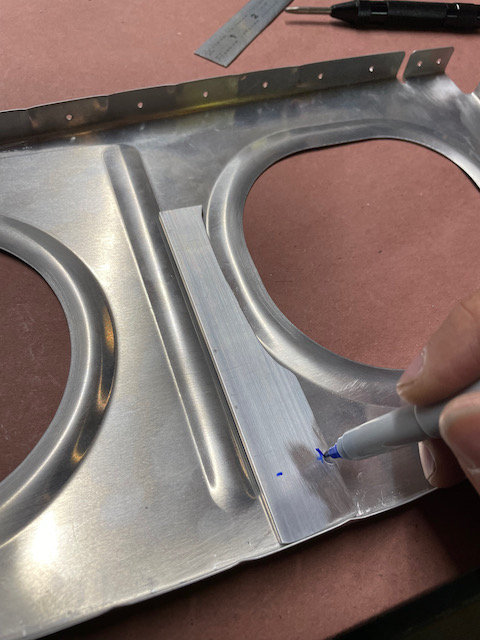
used the unibit to enlarge the tooling hole for the AoA line
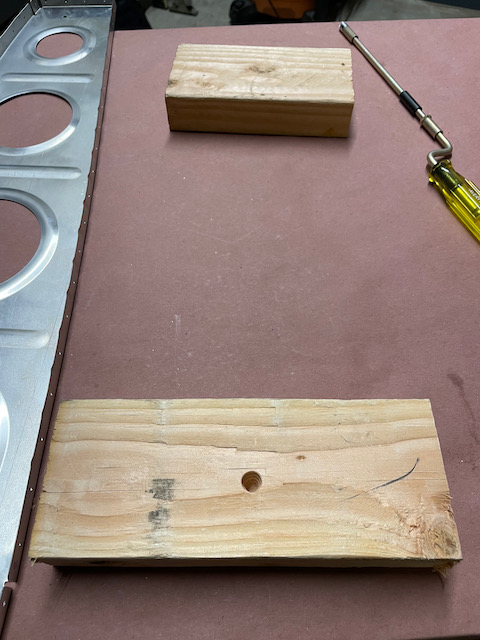
blocking created to make drilling easier
less vibration with wood backing
This task was pretty quick since there are only 10 total ribs that needed the drill out. Last task of the night was starting the drill out of the larger conduit holes. These holes will be filled with a corrugated tube from Van’s (DUCT NT5/8-50). The Van’s recommendation is to open up a (up to) .750″ hole aft of the largest front lightening hole.
Since there aren’t exact measurements, I eyeballed a location that looked good enough and built a template to get a consistent location of the hole.
The idea behind the template was a “key” I could fit on both Left and Right facing ribs, and mark the center point of the conduit drill out location. The template didn’t work out exactly how I wanted as there was too much play in the marking point, but was good enough to mark a location I could verify by measuring. A quick hole punch and then drilling with the unibit was straight forward after that.
I actually got through all of the W-711 ribs of the right side, but realized I didn’t take any photos. I will post these photos after grabbing some on the next session.
Overall, it was a great day of progress, and well on my way to priming and riveting of the wing skeletons!
4 comments
Really starting to look like something! Super fun to follow.
Thanks Gary!! Excited for it to start taking shape.
Quite impressive
Thanks!