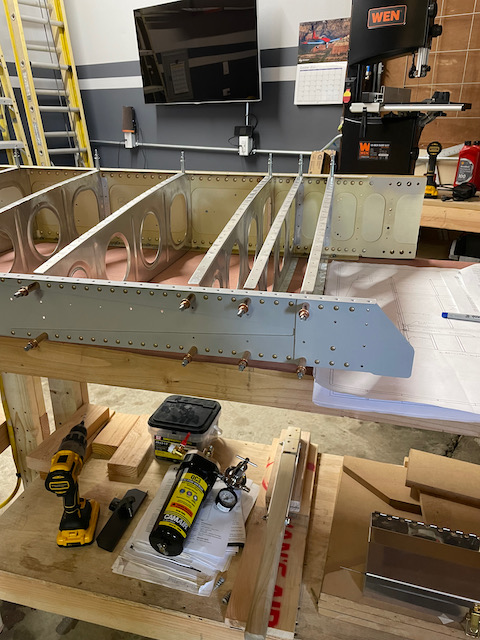
When you spend so much time working on individual parts, it is fun to see it all come together. The wing skeleton is one of those moments. Wow! I’m actually building a plane!!
After cleaning up the workshop and re-arranging the benches to support the full length of the spar, I spent the short morning session clekoing together the ribs to the spars. A few things to pay attention to.
- make sure you get the rib orientations correct. Some flanges face left, and some face right (and it will be different on the right wing).
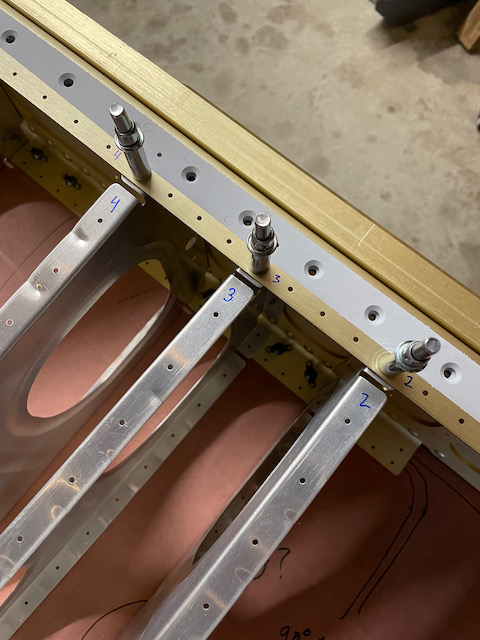
- I decided to mark the ribs and adjacent spot on the spars to make sure they will be put back in the same places once I disassemble anything. Double & triple check the ribs before marking them.
- use the opportunity to check out where you are going to drill all the wiring conduit locations. Once you disassemble is the time to drill all those holes. I”m planning on having the pitot and aoa tubes run up the front of the ribs, and a 5/8″ conduit drilled (hole size of 0.750″ as per Van’s recommendations) to pass through the bottom of the ribs on each side from root to tip.
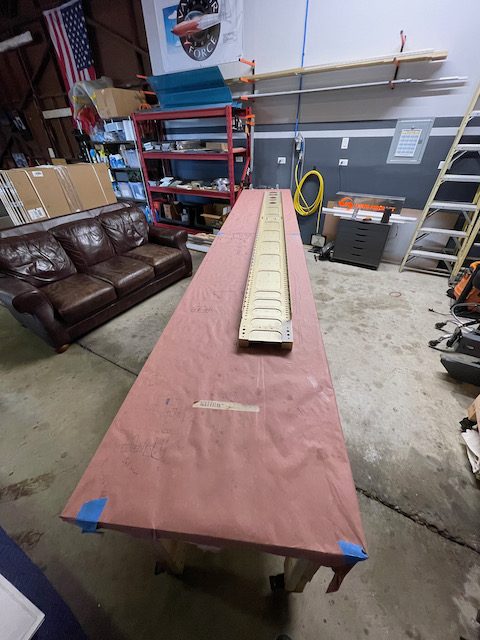
workbenches rearranged for skeleton assembly
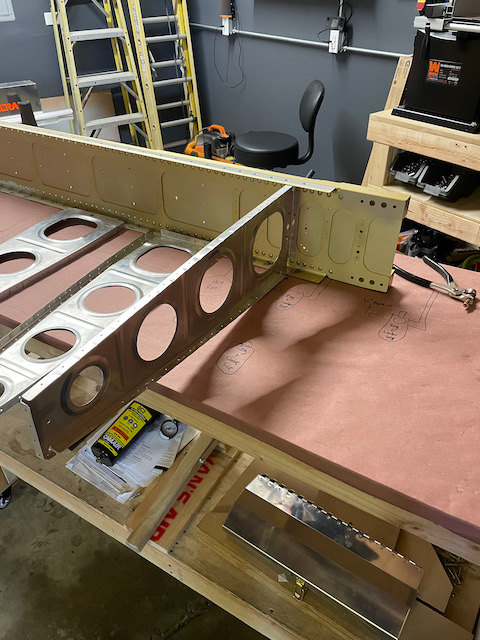
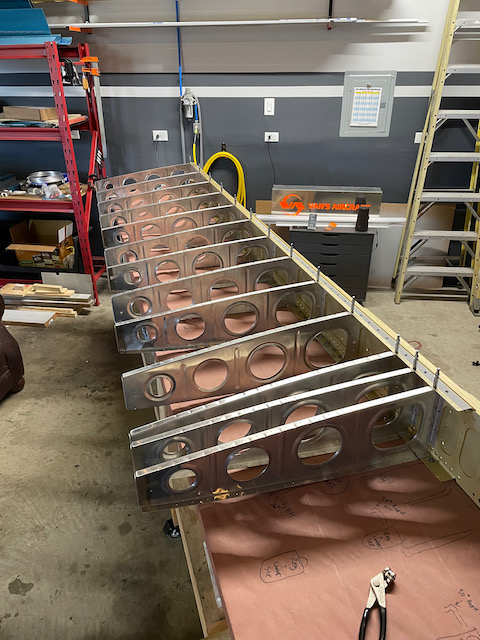
first rib in!
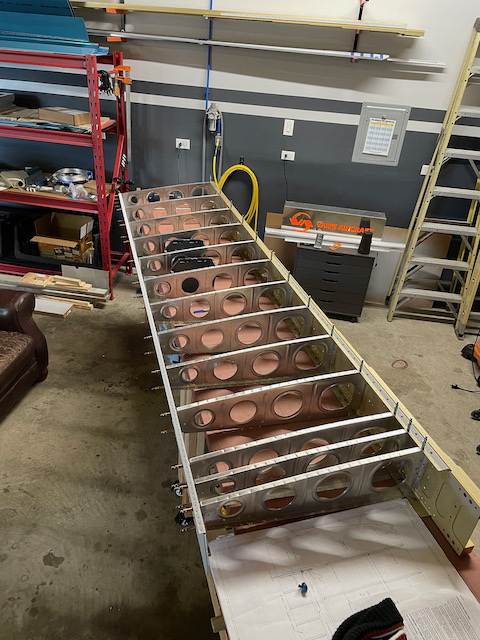
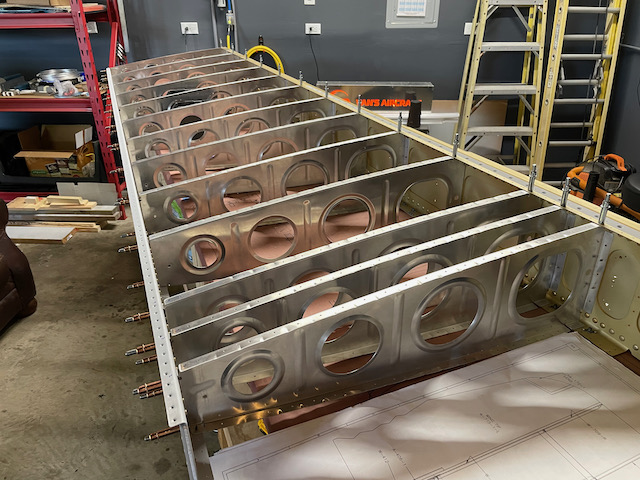
ribs all attached to main spar
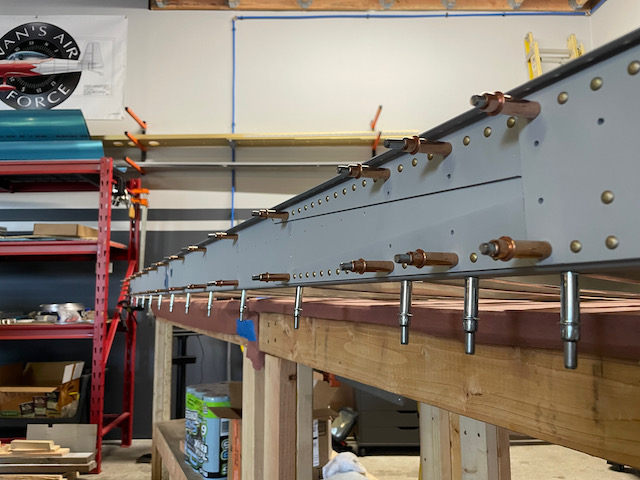
two clekos on the main webbing, and 1 on the flange
marked each rib so it always goes back in the same place after match drilling
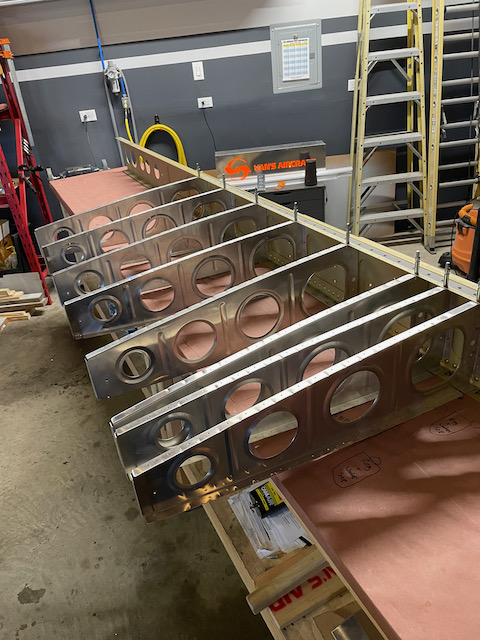
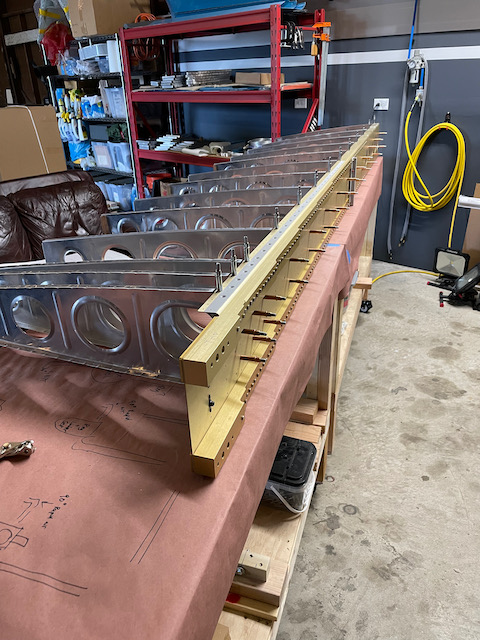
rear spar attached
fully clecko'd on the back
fully assembled! Looks like a wing!!
The plan for next session will be to drill out the ribs to final size, disassemble the skeleton, and assemble the right skeleton..hopefully getting all the way through drilling on that side. We’ll see how my energy holds up (still getting over this sickness!).
1 comment
Wowww. It must feel great to seeing it getting together. Congratulations