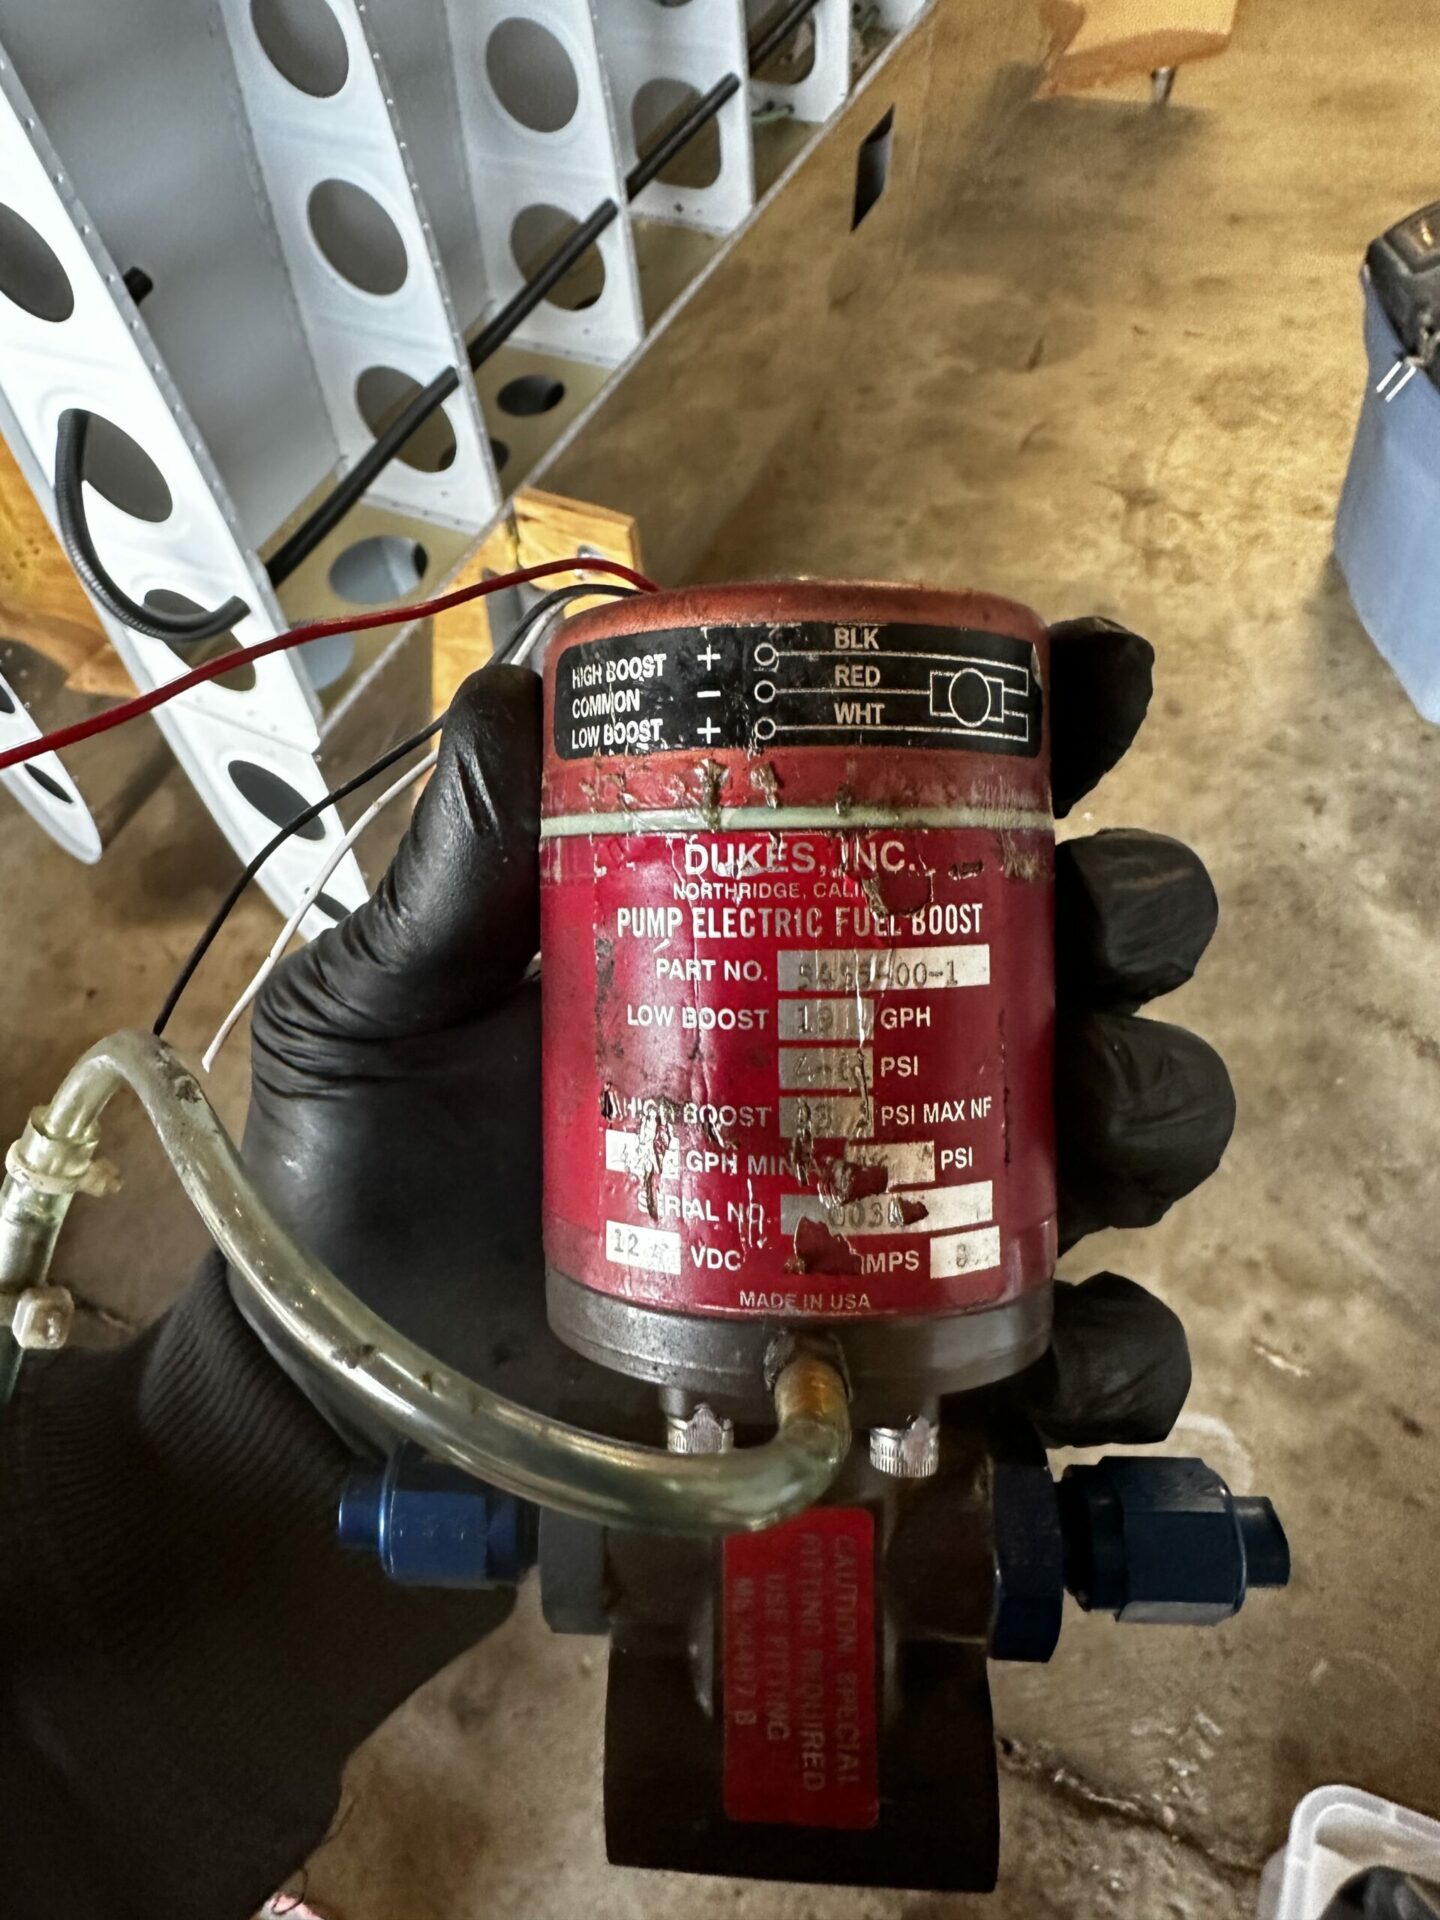
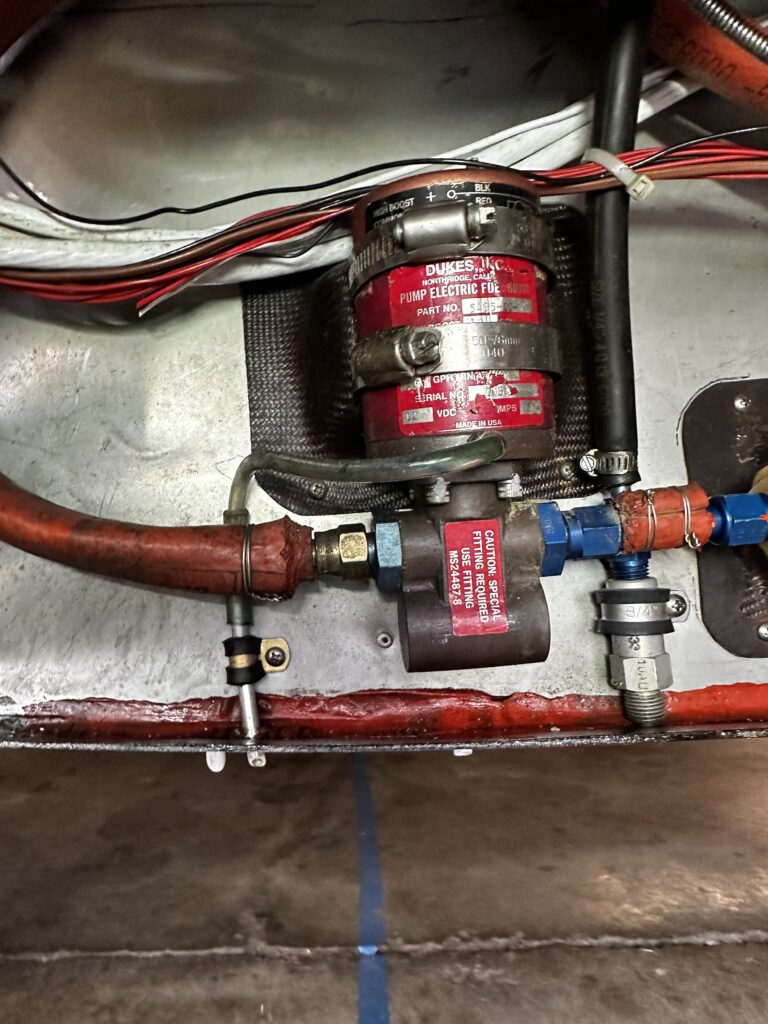
The Velocity has been flying well! I’ve put over 130 hours on it, with many successful flights down to the LA for work. Along the way I’ve run into a few components to fix and/or upgrade. This is par for the course with any plane, and probably more so with experimentals. That’s ok! Since I can do most of the work, it’s just a matter of finding the time, and getting the parts needed. It started with a bit of a fuel leak coming from the electric fuel pump overflow. Apparently that is a leading indicator of failure. Upon close inspection of the fuel pump, it had not been overhauled since 2001. Twenty-one years is not bad! After removing it I sent it off to CJ Aviation to get overhauled.
Old pump before removal
wow..this is an old one!
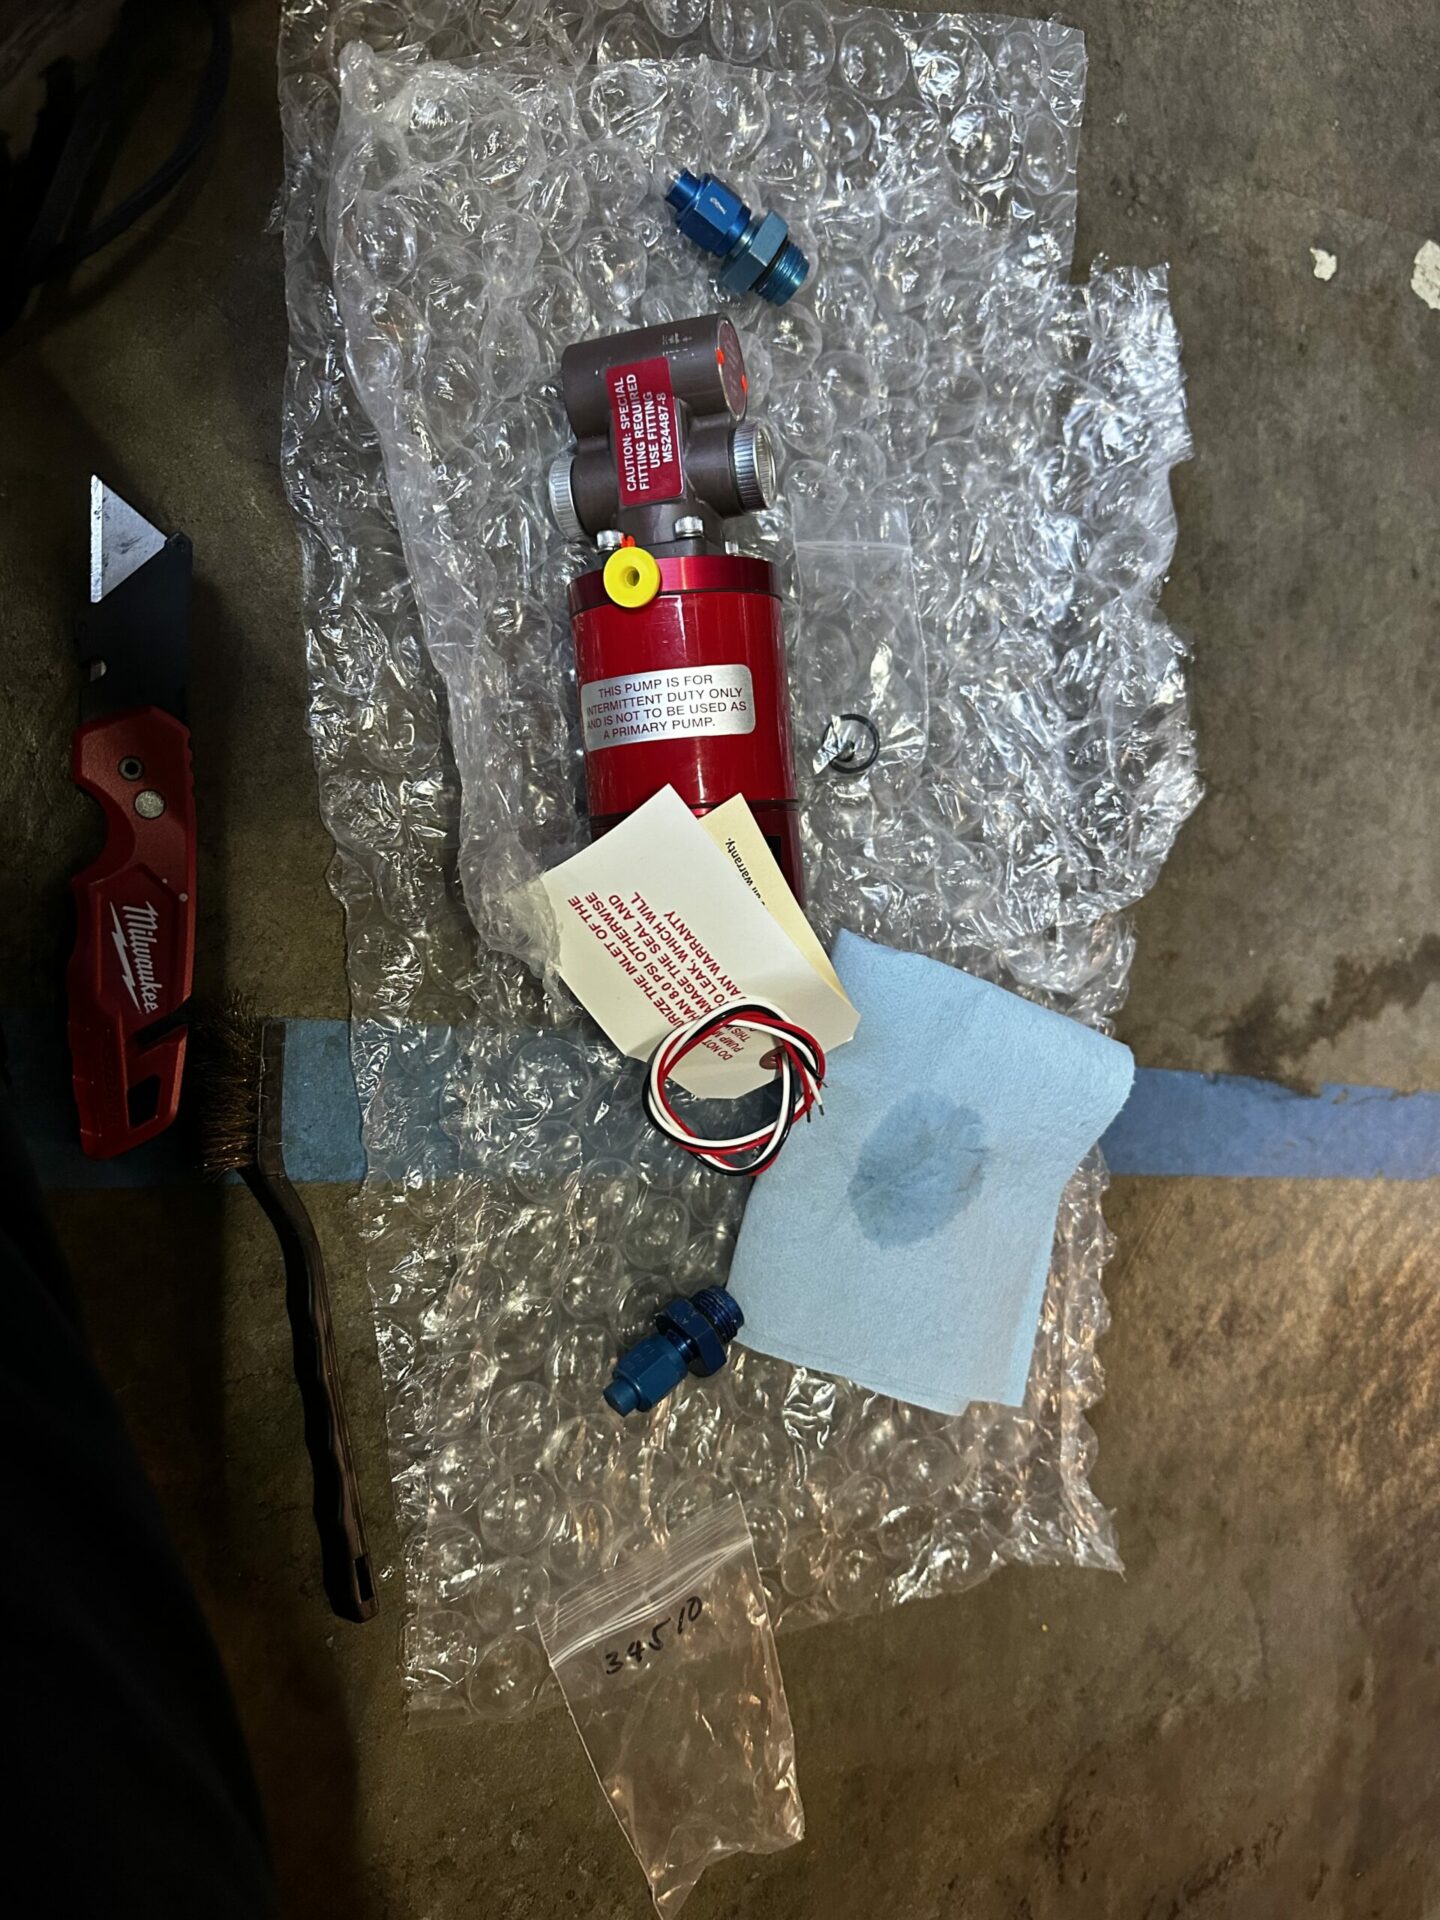
Overhauled pump arrived a week later
Looks great!
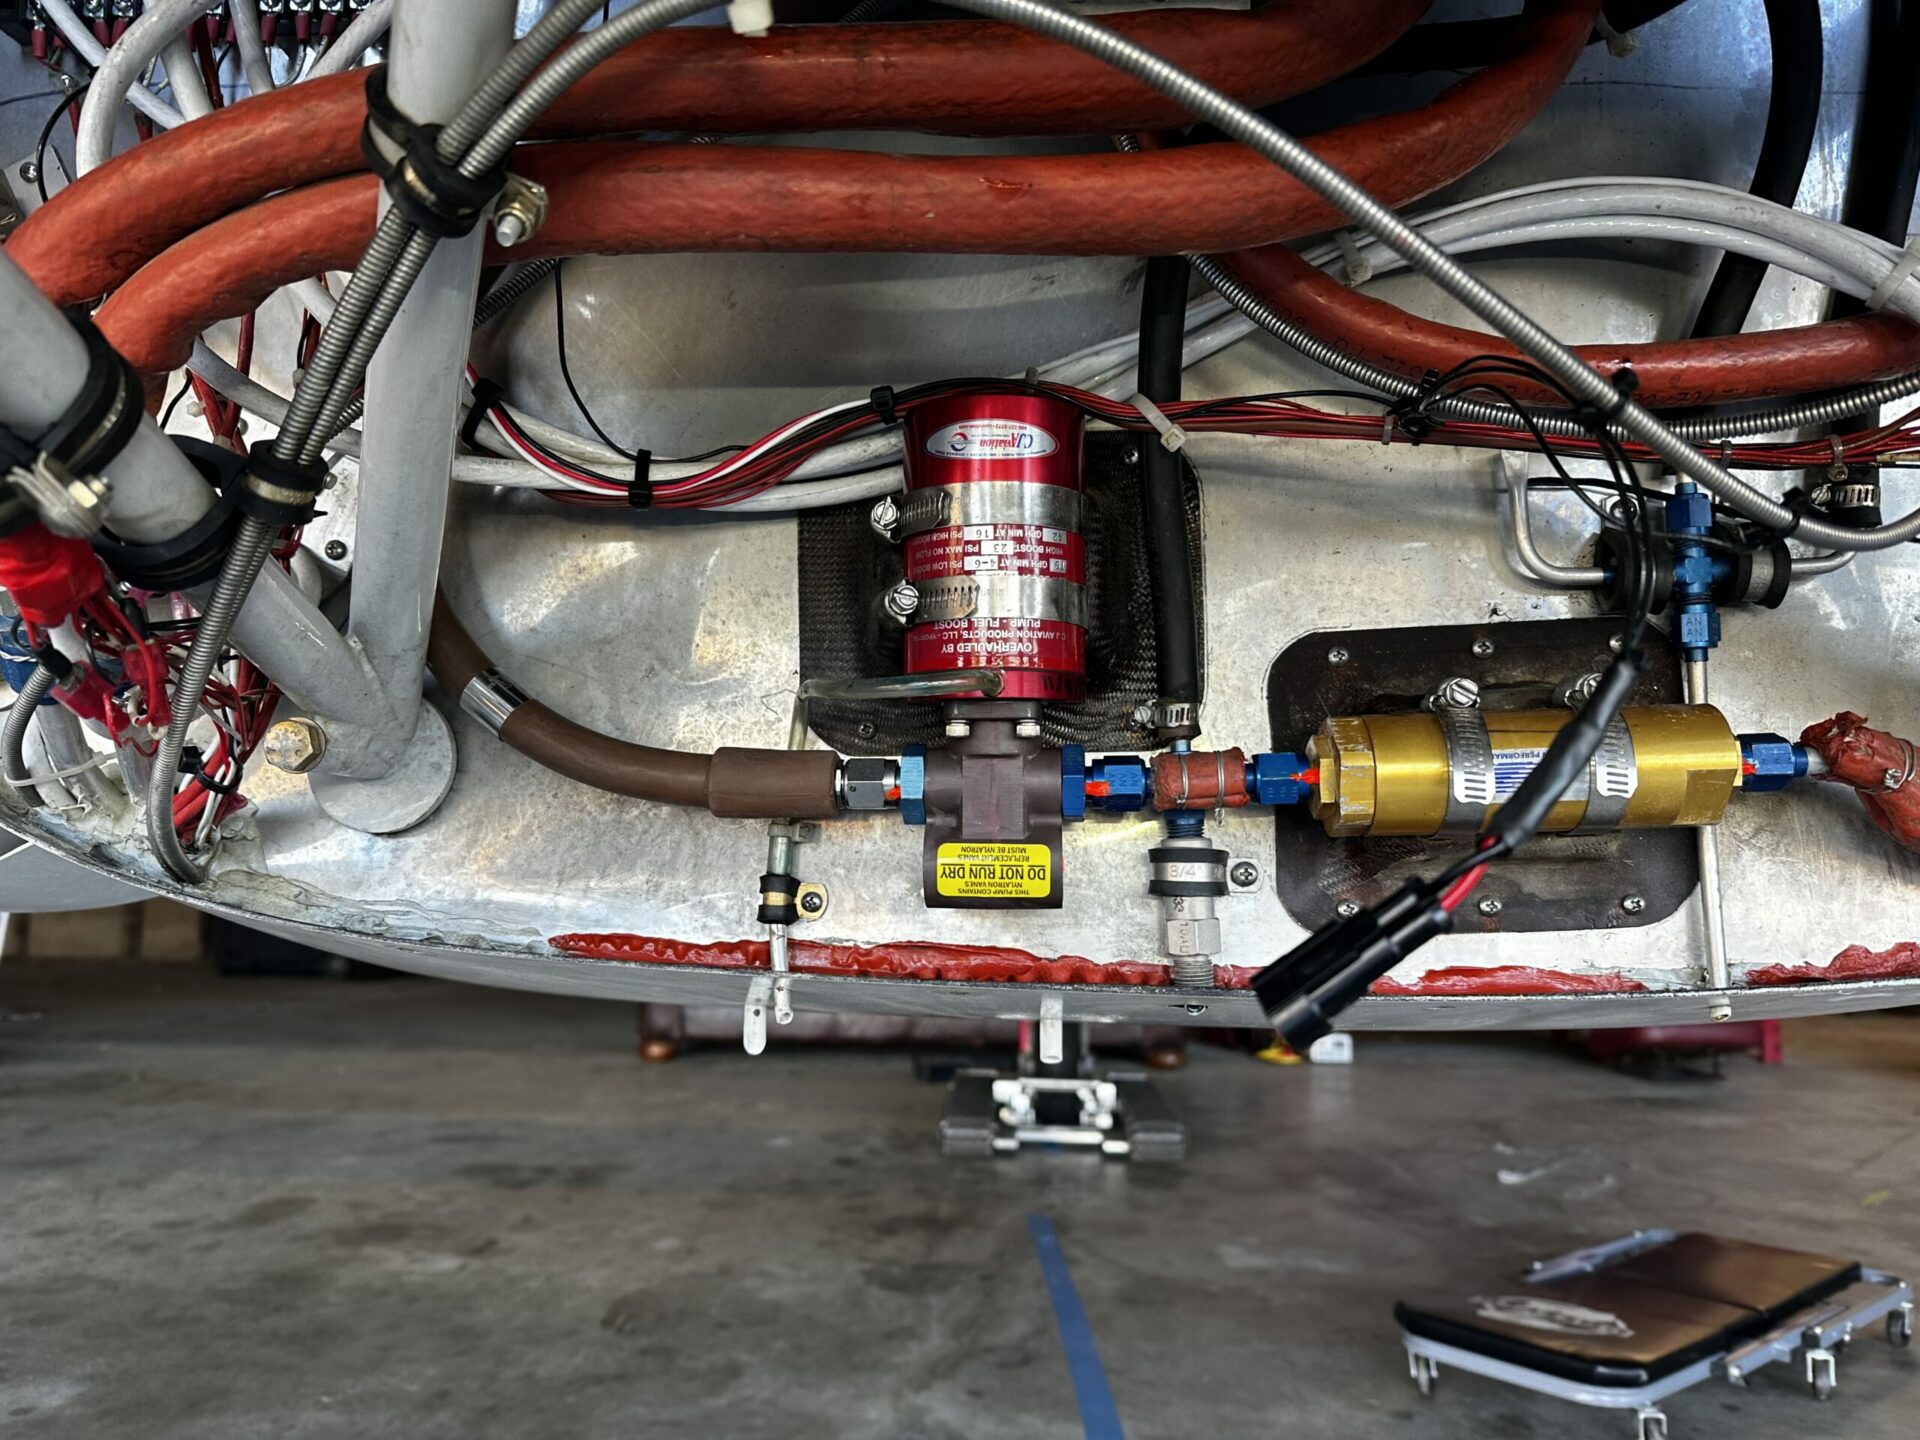
While the fuel pump was off, I actually took the opportunity to have Alberto (local mechanic) take a look at a few items that were on my improvement list. This included cleaning up a bit of weeping around the oil pan, and some sticky mixture and throttle controls. He was able to take care of these in time for the fuel pump to get back!
She'll be in good hands with Alberto!
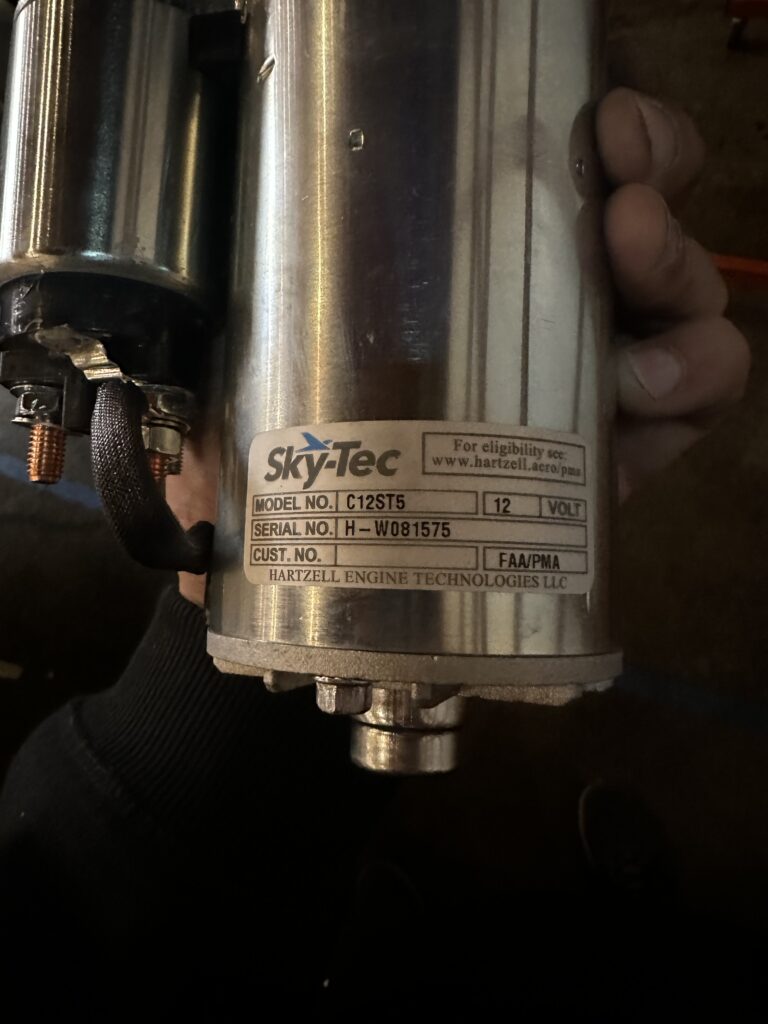
One thing Alberto noticed was that the starter was of an older variety. Because of the way Continental starting works, these older starters have a risk of damaging the inner portion of the starter. A failure can be quite expensive! With the newer version of starter it has a clutch built in so the failure will stay within the starter.
Skytec starter has a clutch to protect the engine
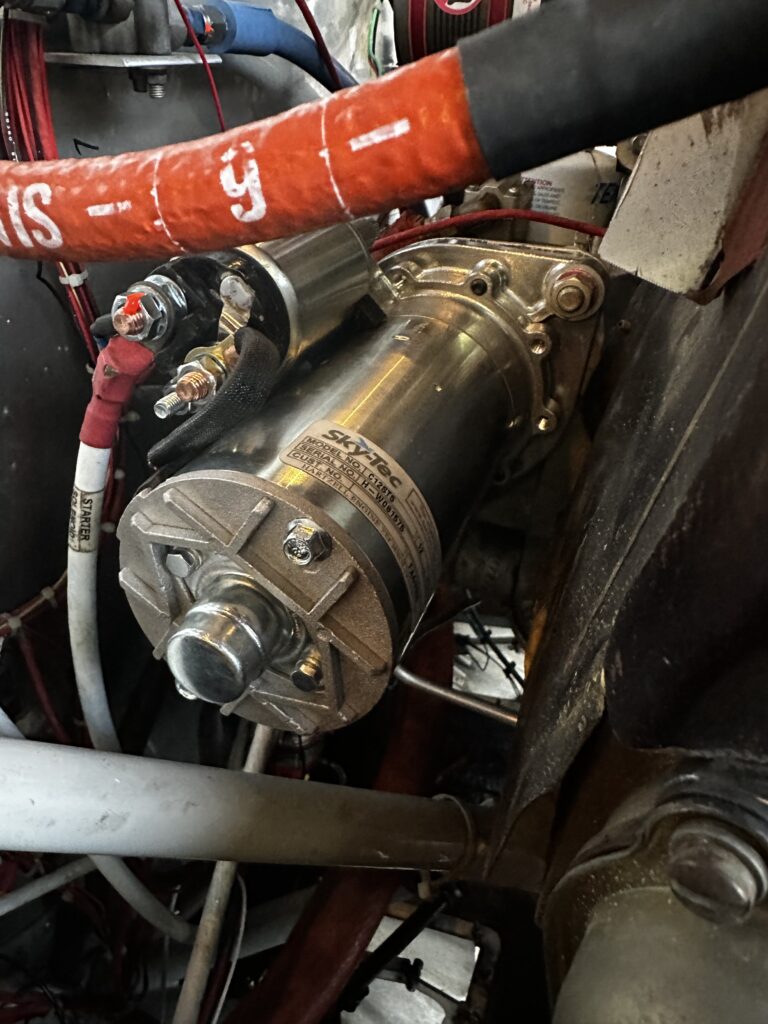
just barely fit, but install was successful!
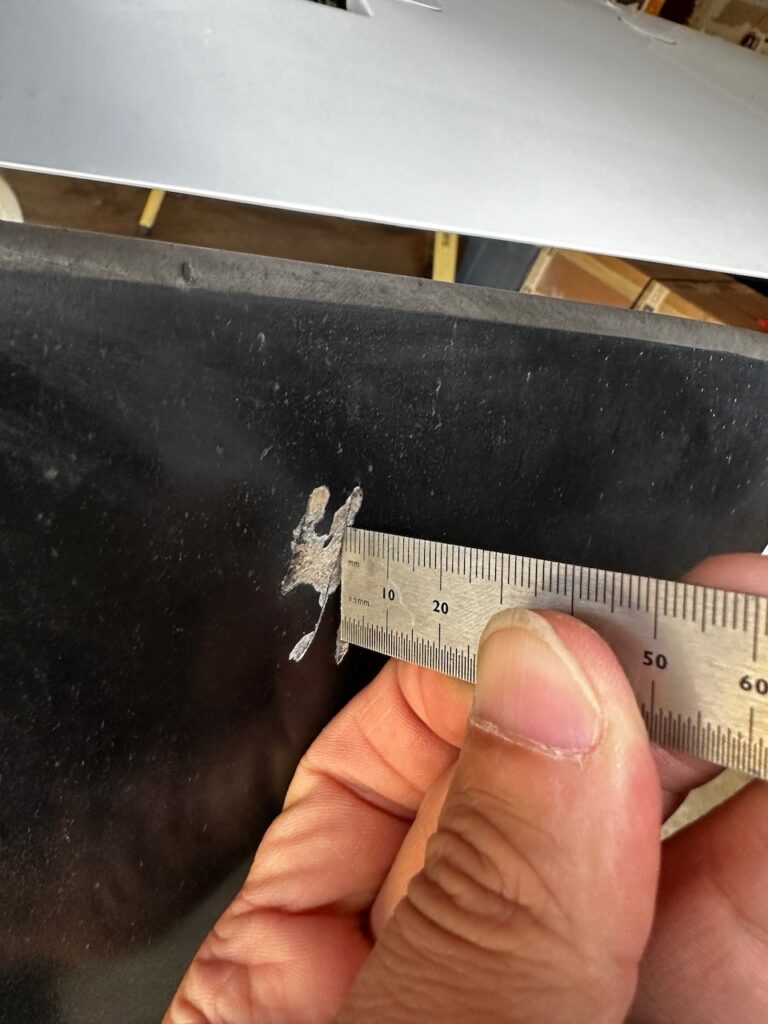
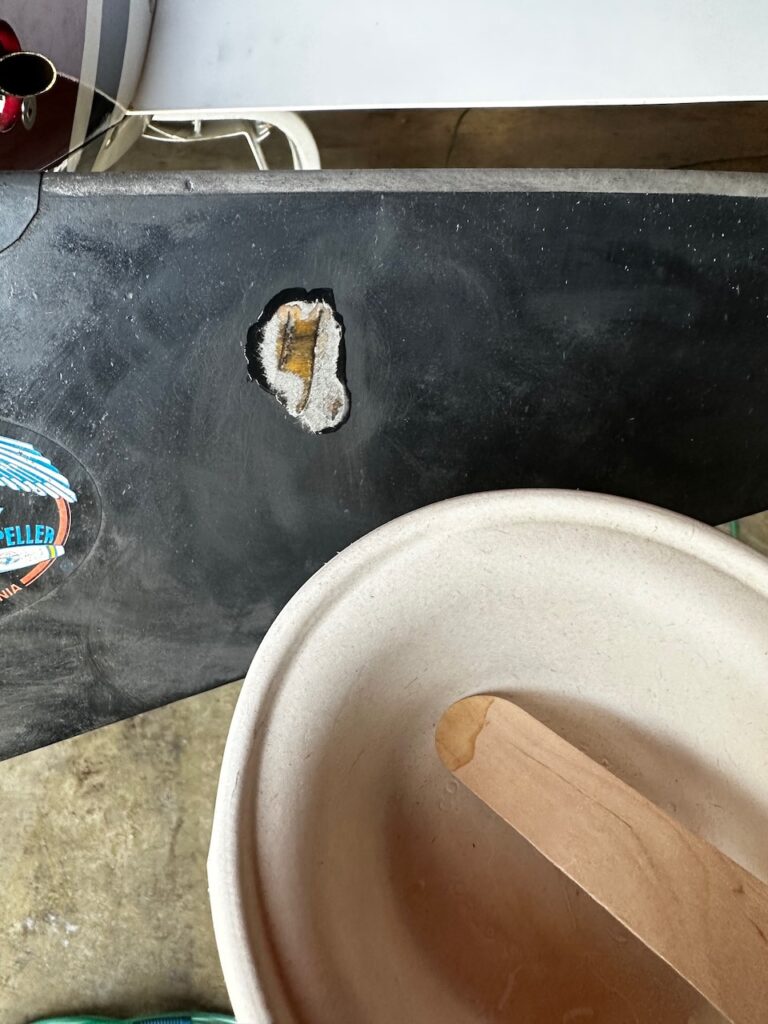
Of course as soon as everything was up and running again, a screw came off the cowling during operations. In a normal aircraft this wouldn’t be a major issue, but with pusher planes that has a good chance of damaging the prop. Sure enough, my routine postflight inspection showed a decent gouge in the prop. The good news is that the MT props have a bulletin for field repair if certain criteria are met. This includes location of the gouge, length and depth. My damage fit within that criteria, so simple cleaning, sanding, and epoxy repairs the damage until next prop overhaul.
I didn’t end up taking a picture of the remaining steps, but after the expoy cured, I sanded down the imperfections and applied a couple coats of matte paint. It didn’t end up matching perfectly, but was good enough to finish the repair.
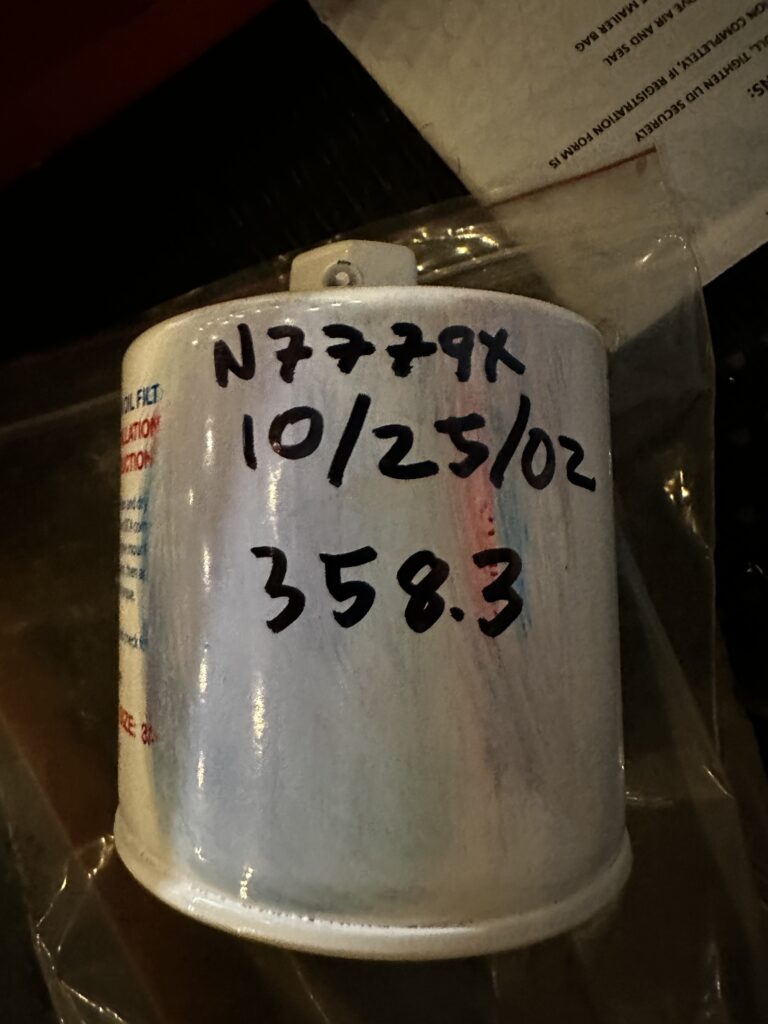
Did I mention I’ve done two additional oil changes since last update? It’s a 50 hour cadence, and with the amount of flying I’ve been putting in, it’s approximately once a quarter. Well….let’s hope I don’t run into anything new over the next while. My next major project will be redoing the avionics. The good news is that I will probably just have someone else do that, so I can focus my efforts on the RV-8. Until next update…Happy Flying!!